ZUKIWORLD Online – Everything Suzuki Your Complete Suzuki Automotive Resource for Editorial, Tech, Events, Adventure, Racing, and Forum
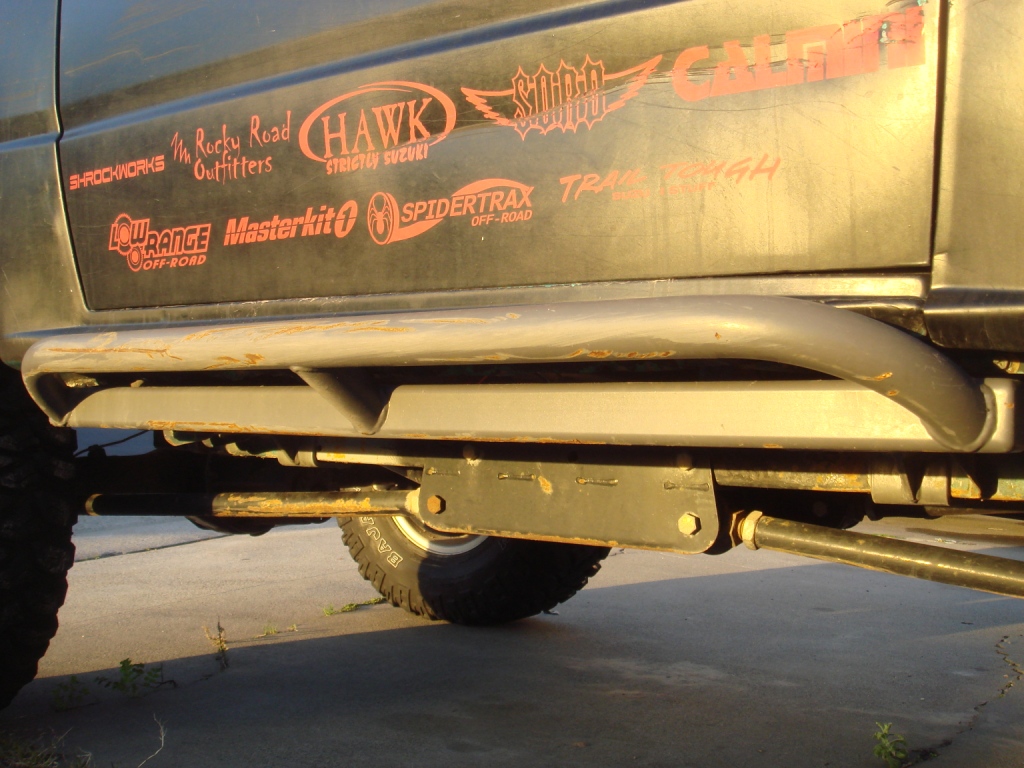
SHROCKWORKS SIDEKICK SLIDERS
Rocker Protection for your Sidekick.
Editor: Eric Bewley Story/Photo: J. Hutchison
San Diego, CA – If you plan to do any serious wheeling in your Sidekick or Tracker and you enjoy using your doors then rocker protection is a must. The door sill area is an exposed weak area and can get crushed which will of course cause your door to rub and creak when opening. Shrockworks has done a superb job engineering the sliders to be a snap to install and super tough. Shrockworks has used heavy wall square tube and thick plate as well as a bash guard tube on the outside of the slider which will be very effective to slide against those door caving rocks.

If you have smashed them in all ready here is a cool way to attempt to straighten out the area. Fellow Suzuki enthusiast Greg Metzger sent us this clever technique.
1. Weld a nut to the end of the adjusting screw on a set of “vise-grip” style pliers.  2. Pass a bolt through the end of my hi-lift jack and screwed it into the nut.
  3. Clamp the pliers to bent body underside and lay the hi-lift out perpendicular to the Tracker.
 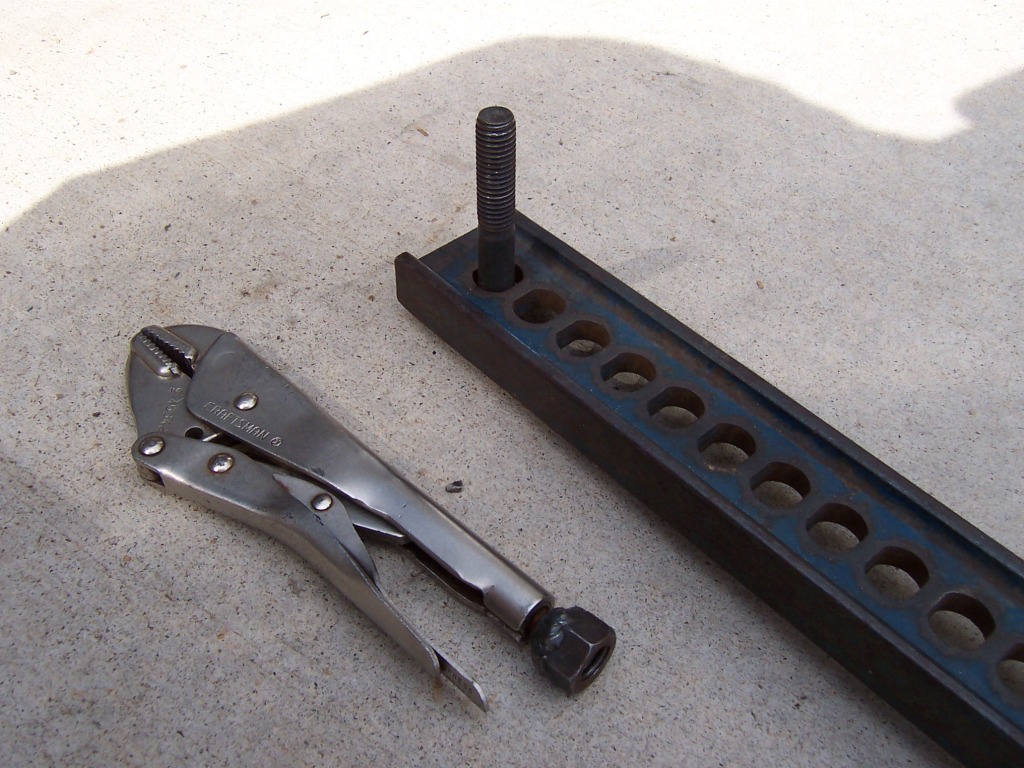 4. Apply a large force (body weight) to the end of the jack hanging from the underside of the Tracker by the pliers. One may have to literally hop on the jack end to pull the bent area down.
  5. By starting at the point farthest from the impact and working towards the most collapsed area one should be able to remove the damage to satisfaction.
  6. About 20 minutes per side to work out the kinks (pun intended).
Once you have your door jams fixed now its time to get the frame prepped for the new rocker protection.


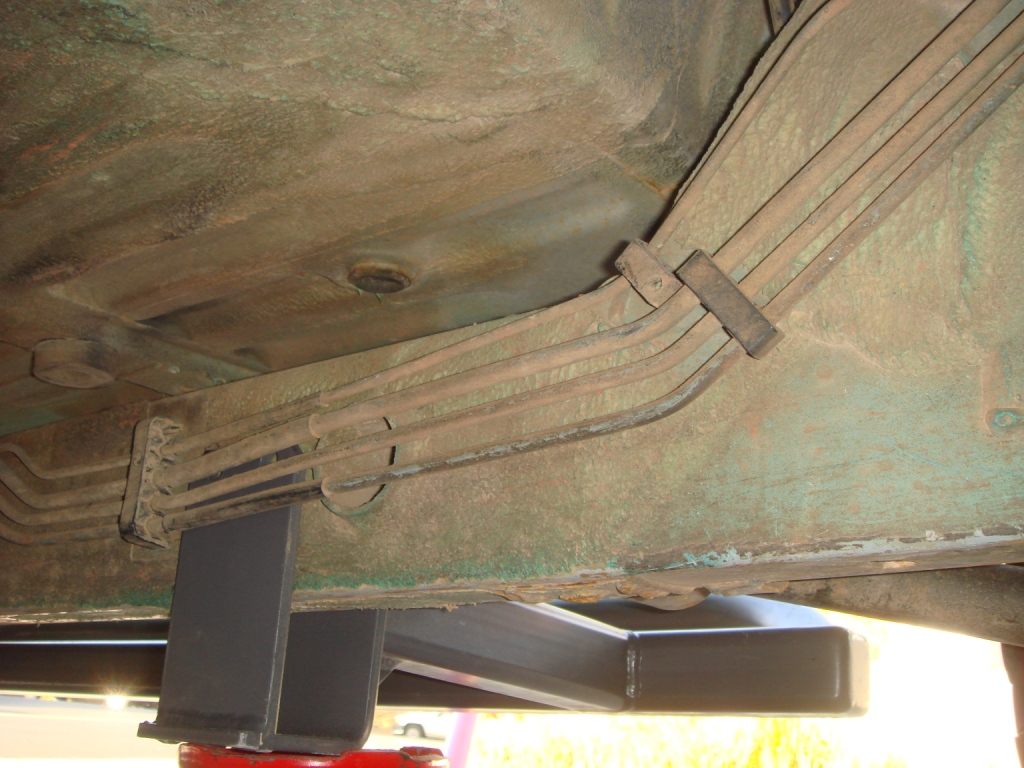
1. Line up the rock sliders to their location on the frame and perform a test fit. Make sure you massage the fuel lines on the inside of the frame to allow the slider to push onto the frame with out damaging the lines. Mark the area on the frame to clean away any of that lovely undercoating that we are all blessed to have on our cars. 
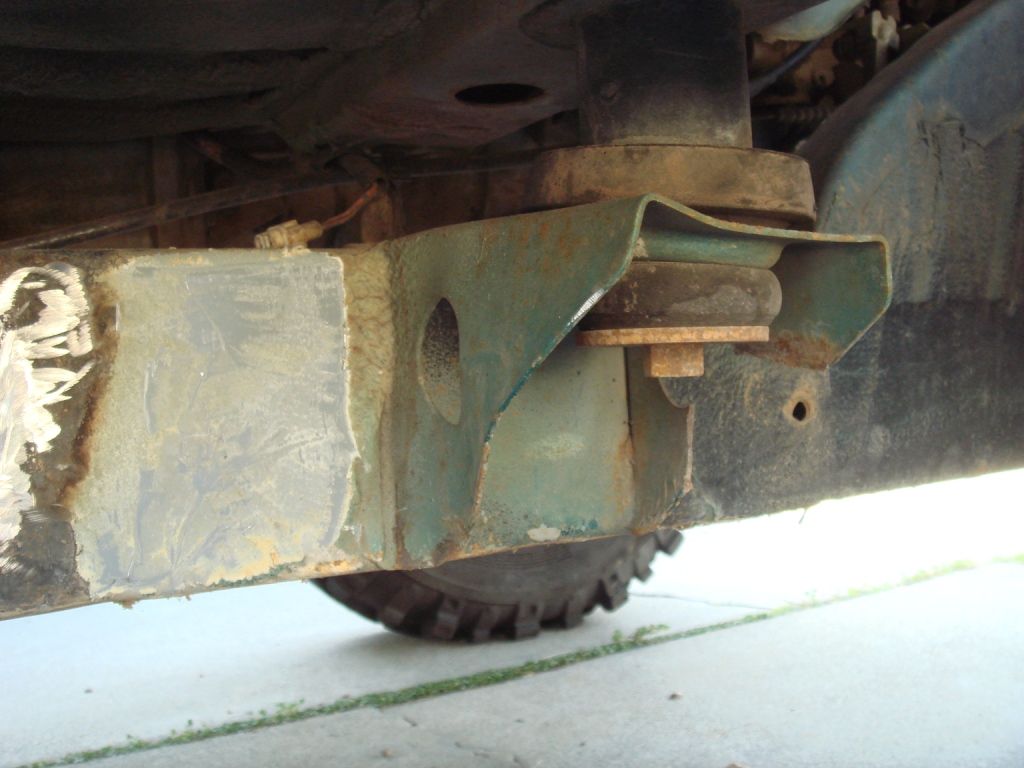
2. To clean away the undercoating I used a heat gun and a 5 in 1 painters tool with a sharpened edge for the big work. Any high spots I hit with an angle grinder If you expose any bare metal hit it with some Rustoleum to prevent your frame from rusting under the slider mounts. 
3.The sliders will only install correctly in one location on the correct side of the car. They fit with just a smidge of extra room in front of the T-case mount and behind the rear suspension link mount and center the slider on the car.  4.Hardware! Isnt it great when a vendor sends ALL the hardware and maybe an extra piece or two incase the driveway eats a piece!

5. Once the sliders are located in place install the provided hardware and tighten. 

6. Repeat on the other side and your done.
We have been running our sliders for a year now and these things are tough. I have abused these with out any concern and I have not been able to dent these Sliders. All that has happened is the powder coating has ground off! When I originally installed these sliders I was running a 2 body lift and I ordered rock sliders for a 2 body lift. By bending over the pinch weld on the bottom of the door I was able to remove my body lift down to a 0.75 body lift and the sliders fit snug to the body now. Just some food for thought if you are concerned about backwards compatibility when removing the beloved body lift!