Project TRICKER-KICKER
Calminis 6″ Combo Lift Kit, Theres More Then Just Clearance To Gain. -Junior
Continued. Once the body lift was complete we turned our attention to the suspension components. We elected to lift the vehicle and support it by the frame allowing the suspension to freely hang.
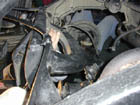
remove stock upper arm
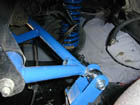
install new arm
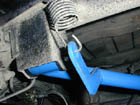
reconnect spring
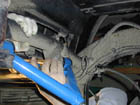
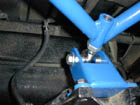
Now its a matter of pull a stock component and replace it with the Calmini stuff. We started with the upper control arm. Make certain to reconnect the brake assist spring as seen here. Pinion angle is attained by screwing the heim-joint in and out, and once the proper angle is achieved youd simply tighten the jam-nut. (Note; make sure you double and triple check this jam nut is still tight after wheeling a couple of hours.) I didnt do this and mine loosened. Luckily I caught it before the threads were damaged. Calmini specifically warns customers to always double check every nut and bolt after a days wheeling. In the case of the hemi-joint they are serious.
Heim-joint adjustment on upper arm.
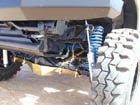
The finished look.
Install the lower trailing arms, shocks, brake line, and so forth per Calminis instructions. Once complete move to the front. And dont forget to adjust the emergency brake cables.
The front will take a little more time to complete, but is in no way any more difficult than the rear. Make sure the vehicle is well in the air and securely blocked and supported.
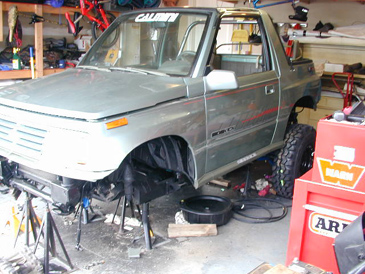
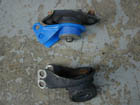
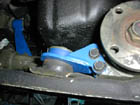
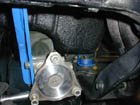
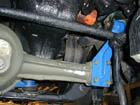
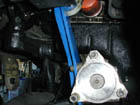
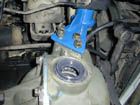
Next we located the new mounting hardware for the front axle housing. Note its very important that these be installed and installed correctly, they relocate and change the front pinion angle.
Front hardware mounting
Front hardware mounting (continued)

 ZUKIWORLD Online – Everything Suzuki Your Complete Suzuki Automotive Resource for Editorial, Tech, Events, Adventure, Racing, and Forum

