 ZUKIWORLD Online – Everything Suzuki Your Complete Suzuki Automotive Resource for Editorial, Tech, Events, Adventure, Racing, and Forum

Raising the Gas Tank on a Sidekick.
Editor: Eric Bewley Story/Photo: Mike Hagen
COTTAGE GROVE, MN. Mike Hagen is no stranger to hard core wheeling with Suzuki Vehicles. He has owned and operated, or shall we say thrashed on, several Samurai and Sidekicks over the years. His last creation, however, is a mobile work of art. It is the best culmination of trial and error, proper parts selection, and vehicle tweaking we’ve ever seen. Mike has graciously agreed to share some of those tweaks and modifications he has done and we at ZUKIWORLD plan to pass them on to you.
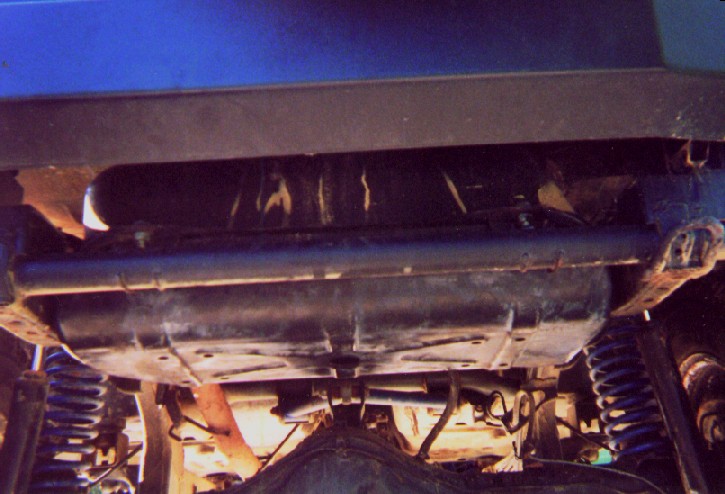
This month were going to demonstrate how to lift the gas tank on your Sidekick or Tracker to gain the added and desired clearance at the rear of the vehicle.
First, remove the four 8 mm screws in the gas door. Remove the three 10mm filler tube shield bolts. Remove the rear bumper. Remove four 14mm bolts in the impact bar or aftermarket hitch, whichever yours has. Support the tank and remove the four 14mm bolts holding it to the frame. Cut the remaining skid plate bracket going to the frame in the middle.

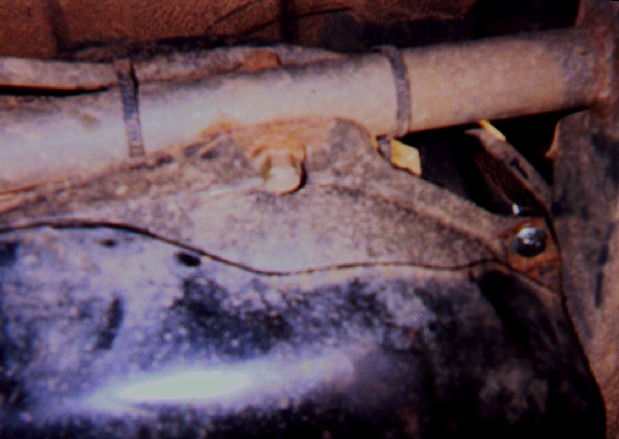
Next, drop the tank as far as you can without pulling on the lines. Cut the original brackets off the frame as closely as possible. The front ones need to be flush. If your body lift came with a filler extension, remove it now. You will want the filler tube to remain the stock length. Lift the tank and skid plate over the rear of the frame and up against the front.
At this point, support the tank here. Make sure the tank is not rubbing anywhere, especially on the lines on the passengers rear. 95 and older model may need to bend the lip of the rear of the tank a little because of the frame design. Drill two ½ inch holes in the frame where the front of the tank bolts in. Using two 2-½ inch long ½ inch bolts with 4 washers and plastic filled locking nuts proceed to bolt the tank into place.
Now, you will want to tighten the bolts carefully as to not crush the frame. This is why you want the plastic filled locking nuts. In the rear install two 1 ½ inch long ½ inch bolts in the bottom of the skid plate through the tank. If you can raise the tank more without interfering add a nut and make it adjustable.

Overlap the last skid plate piece and weld it back together. Reinstall the four 8mm bolts for the filler tube. Reinstall the three 10mm filler tube shield bolts.
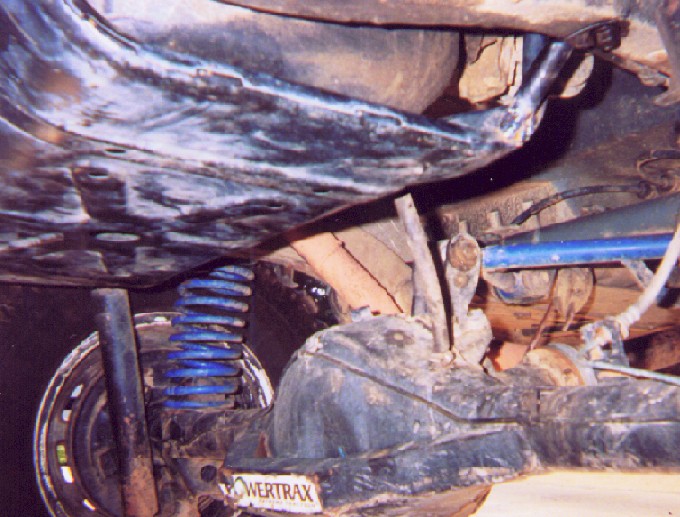
Finally, reinstall the rear bumper and take a moment to appreciate the new found ground clearance your vehicles has.