Rocky Road Outfitters Sidekick 2wd Low kit
We install and test their new kit for the Sidekick.
Editor: Eric Bewley Photo/Story: Mike Hagen
COTTAGE GROVE, MN -Mike Hagen installed and tested Rocky Road Outfitter’s new 2WD low Conversion Kit for the Sidekick. Results were overwhelmingly positive. This new kit really adds another dimension to the Sidekick’s wheeling ability.

After I was done I was pleasantly surprised to see that it was so smooth it felt like Suzuki built it this way. Unlike the Sami 2 low, which I like to call the mystery shifter, the shift pattern is simple. Picture a backwards question mark. Thats what it looks like. Another neat thing about the 2 low kit is when you are in 2 low the 4wd light goes out. You can flip into 2 low on the fly from 4 low. If you have manual hubs you could also shift on the fly from 2 low to 4 low. Turning on the tight trails was so much easier and I dont need to get out and unlock the hubs when I come up to a jump I want to hit.
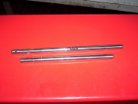
The kit consists of 2 replacement shift rods.
Start by removing the same things you would to do a 4 to 1. The top shift cap, springs, switch, and ball bearings.
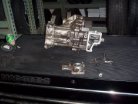
Remove the front of the case.
Remove the two 14mm screws that retain the shift balls and springs. Two of the balls are easy to see. Remove the rubber plug on the side of the case. There is another ball that is not as easily seen. Flip the case over to remove it. If it does not come out be prepared to catch it as your removing the fork. 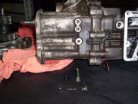 Remove the first shift fork.
 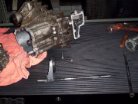 Switching this rod with the RRO replacement is as simple as tapping out a roll pin and sliding the fork off. Before you tap out the roll pin make sure you know which way the rod is. You could possibly install it 180 degrees off. I cant imagine that it would work very well this way.
  Remove the big 4 low gear.
 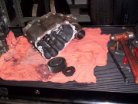 Remove the rear of the case. Watch out for this little shim. It fell out of the back of the case when I wasnt looking. I can see how easily it could be missed.
 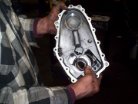 Suzuki probably recommends pressing the shaft out the back of the case, but a couple taps with a rubber mallet works pretty good too.
 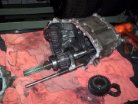 Now the second shift rod is easily accessible. This rod can only be installed one way so its not too tricky. There is a spring on the rod but it can easily be compressed with your fingers to remove the clip.
 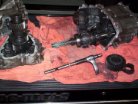 Directions for install are basically reverse procedure. A little tip for holding the shim in place is to smear some grease in the bearing cup to hold the shim in place so you can get everything lined up for install.
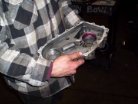
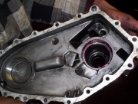
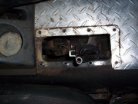
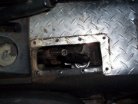
If you have a body lift, as I do, you need to be sure the shift lever is as far to the drivers seat of the hole as possible. Under high torque situations the driveline will twist to the passengers side causing the shifter to rub. I heated up the shift rod and bent it over just a touch.
This would be a great addition to a 4 to 1 install. Most of the things that need to be done to install these rods are already done when doing a 4 to 1. It would only take an extra 10 minutes or so.

 ZUKIWORLD Online – Everything Suzuki Your Complete Suzuki Automotive Resource for Editorial, Tech, Events, Adventure, Racing, and Forum

