 ZUKIWORLD Online – Everything Suzuki Your Complete Suzuki Automotive Resource for Editorial, Tech, Events, Adventure, Racing, and Forum

ON HIGHER GROUND
Installing Calmini’s 2 Inch Suspension Kit For The Sidekick
Editor: Eric Bewley Story/Photo: Corey Kychik
TOPEKA, KS -The first time I took my 97 Tracker out wheeling, I was piloting my trusty Tracker over a breaking ledge and my cross member met up with the rocks in a most unfavorable fashion. It was then, I quickly realized more ground clearance was needed. After a short debate, some research, and previous experience, I decided on the Calmini 2″ lift kit. Here is a detailed write-up on how to install the Calmini 2″ lift.

Lift the vehicle and support is with jack stands. Never work under a vehicle supported only by a jack!  Remove the front tires. Remove the sway bar end links from the a-arms and swing the sway bar up and out of the way. I removed my sway bar
completely. Place a floor jack under the a-arms and jack them up to preload the springs. 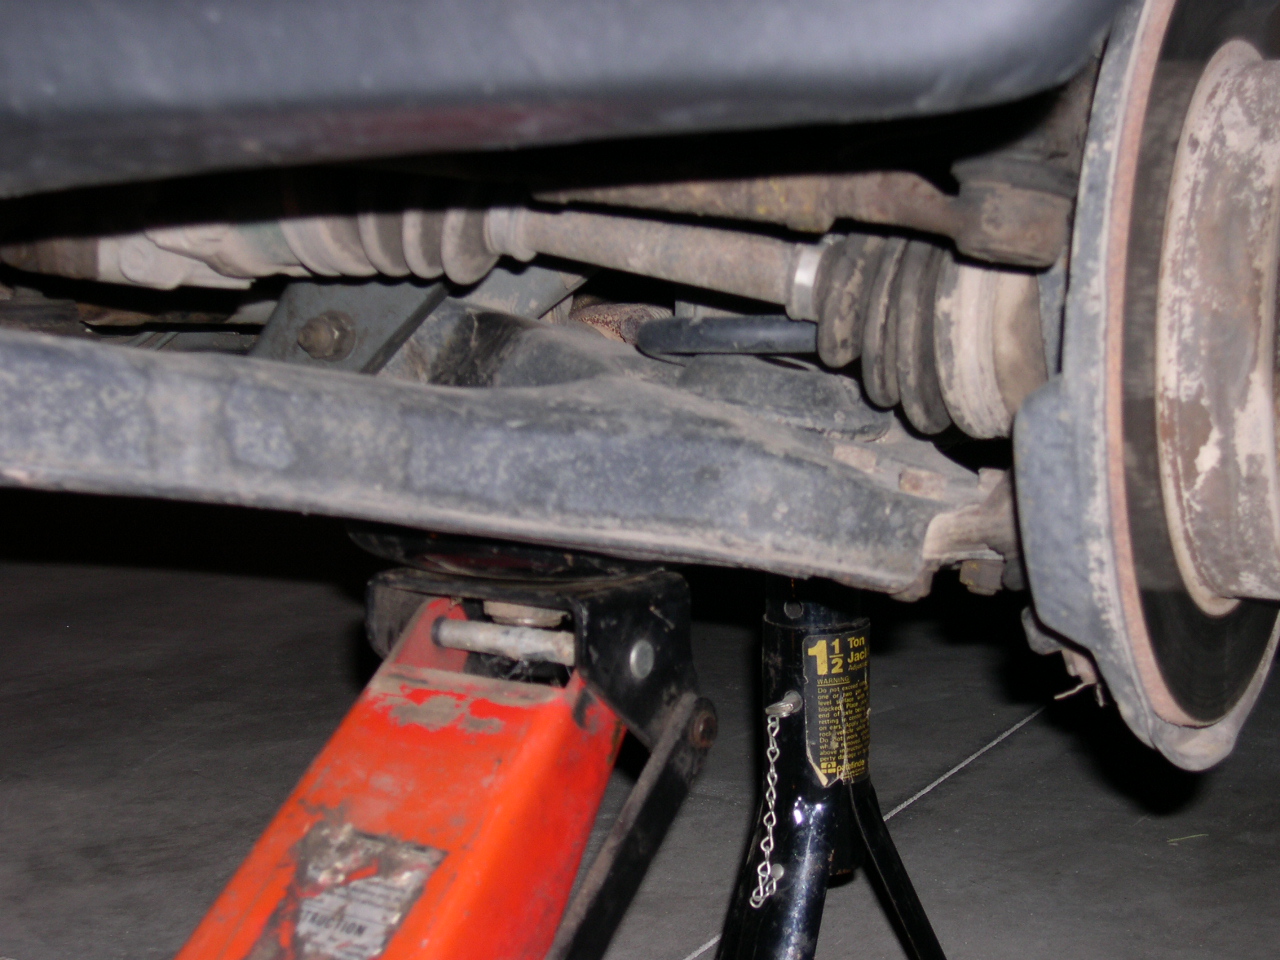 Remove the 3 nuts and bolts holding the ball joints to the a-arms and save the hardware. Remove the brake lines from the struts and remove the calipers. Hang the calipers off to the side. Support the spindles and remove the lower strut bolts. Save the hardware. Slowly lower the a-arms and remove the springs.
 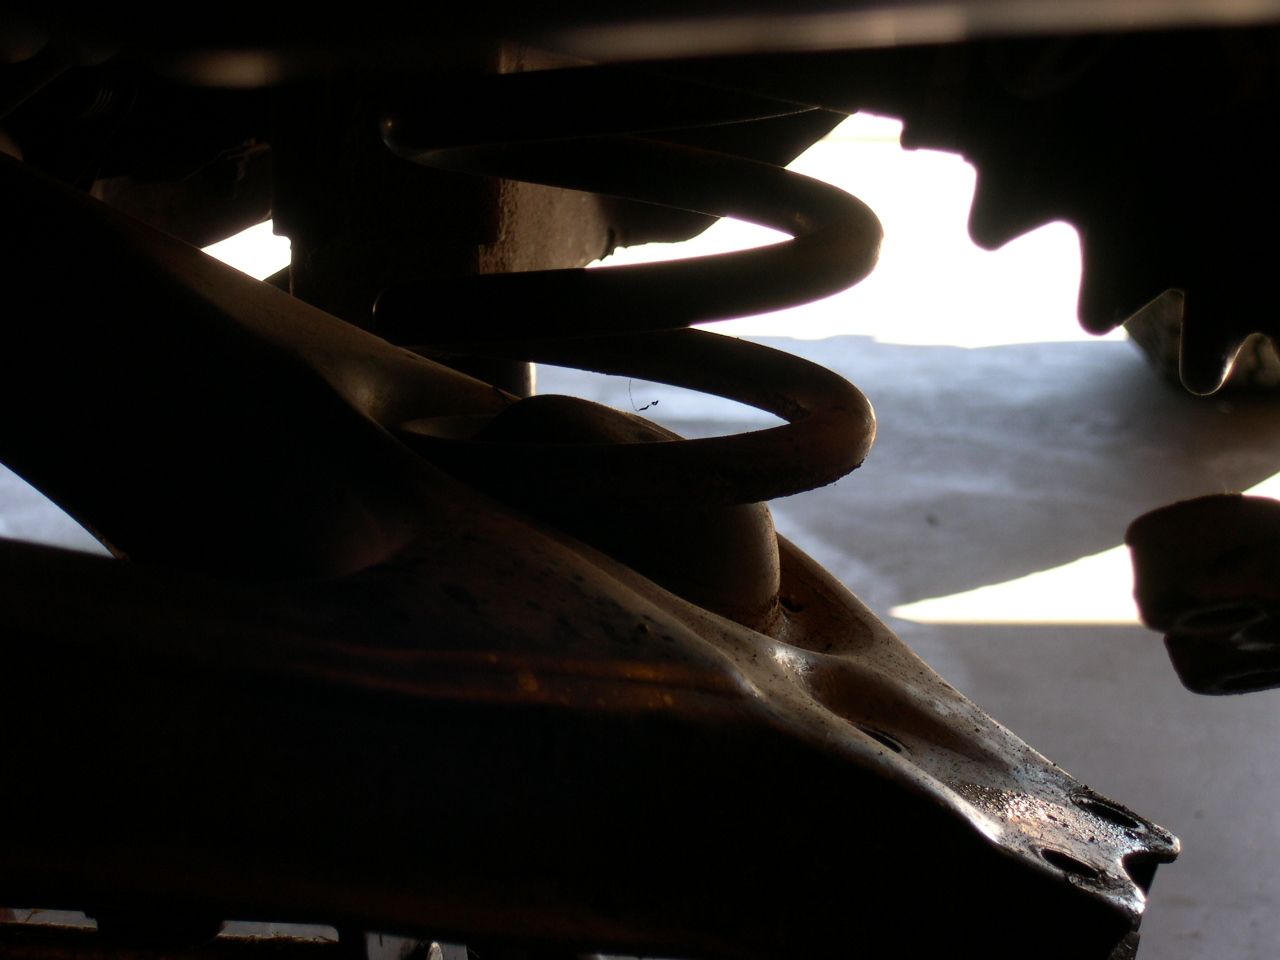 Remove the a-arms and save the hardware. Remove the center axle housing bushing. Cut the sleeve. I cut off about a quarter of an inch. Replace the lower bushing
with the one supplied. 

Reinstall the center axle housing bushing and torque all the hardware. Remove the driver’s side axle support, reuse the hardware, and replace it with the one supplied.  Remove the passenger side axle support, reuse the hardware, and replace it with the one supplied.
  Open the hood and remove the nuts holding the struts to the body and remove the struts
  Remove the strut bushings. Knock the 3 studs out of the strut bushings and drill the holes out to 5/16 of an inch.
 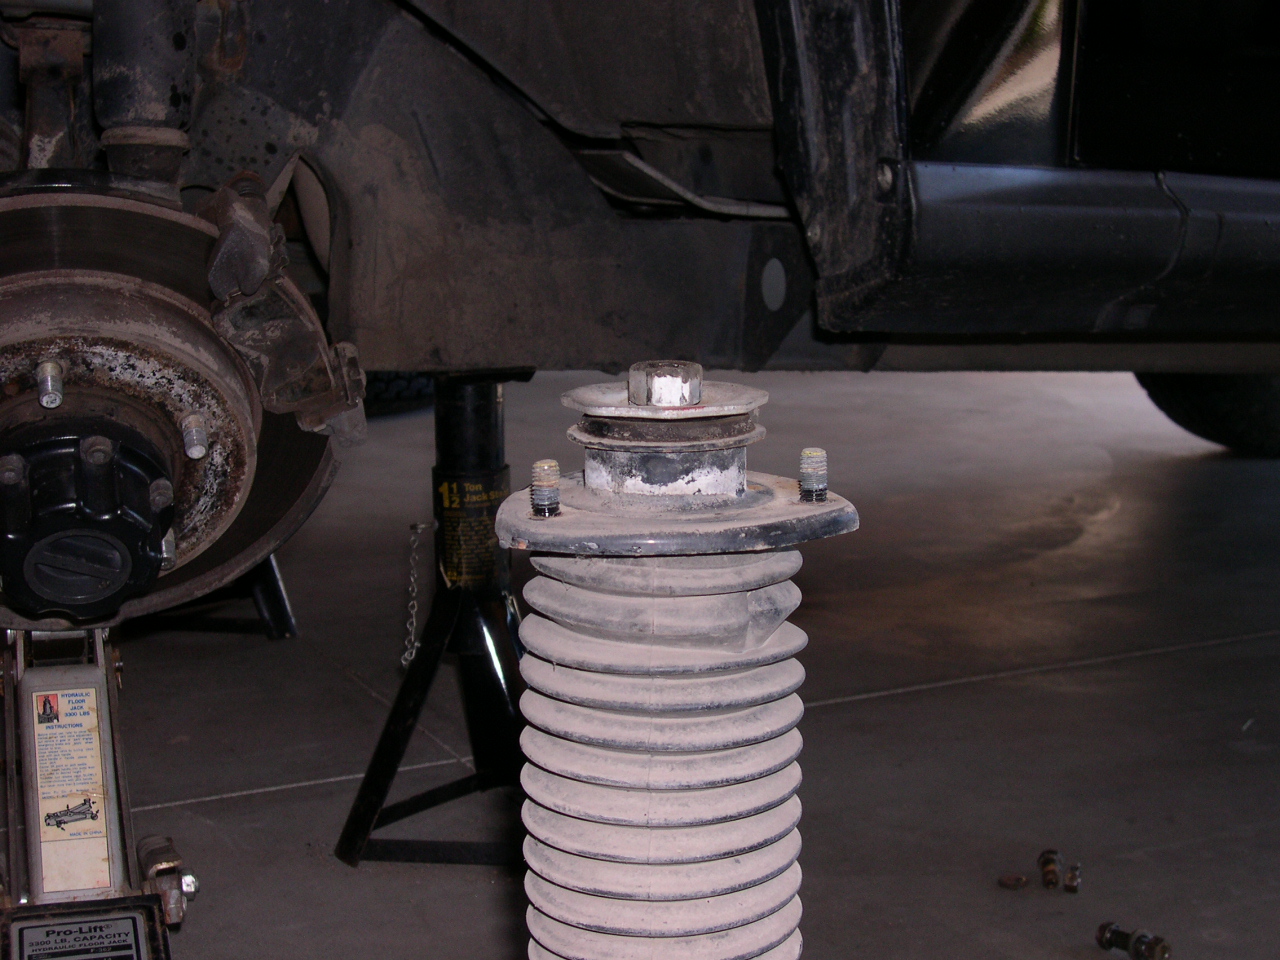 Flip the strut bushings over and install on the new supplied struts. Tighten the large center nuts. Place the gold anodized “exhaust flange” on top of the strut bushing.
  Use the 3 supplied nuts and bolts to reinstall the struts and torque them to 7.5 Ft. Lbs Take the new tubular a-arms and grease the bushings with silicon grease. Install them using the new supplied front nuts
and bolts and the old rear nuts and bolts. Don’t tighten them yet. Place a floor jack under the new a-arms, position the factory springs, and raise the floor jack while indexing the spring into
the slot in the a-arm cup.  Place the ball joints on top of the a-arms and tighten the 3 nuts and bolts.
  Reattach the spindle to the strut.
  Reattach the calipers and hook the brake lines to the struts. With the a-arms still preloaded, torque the a-arm mounting bolts and nuts.
 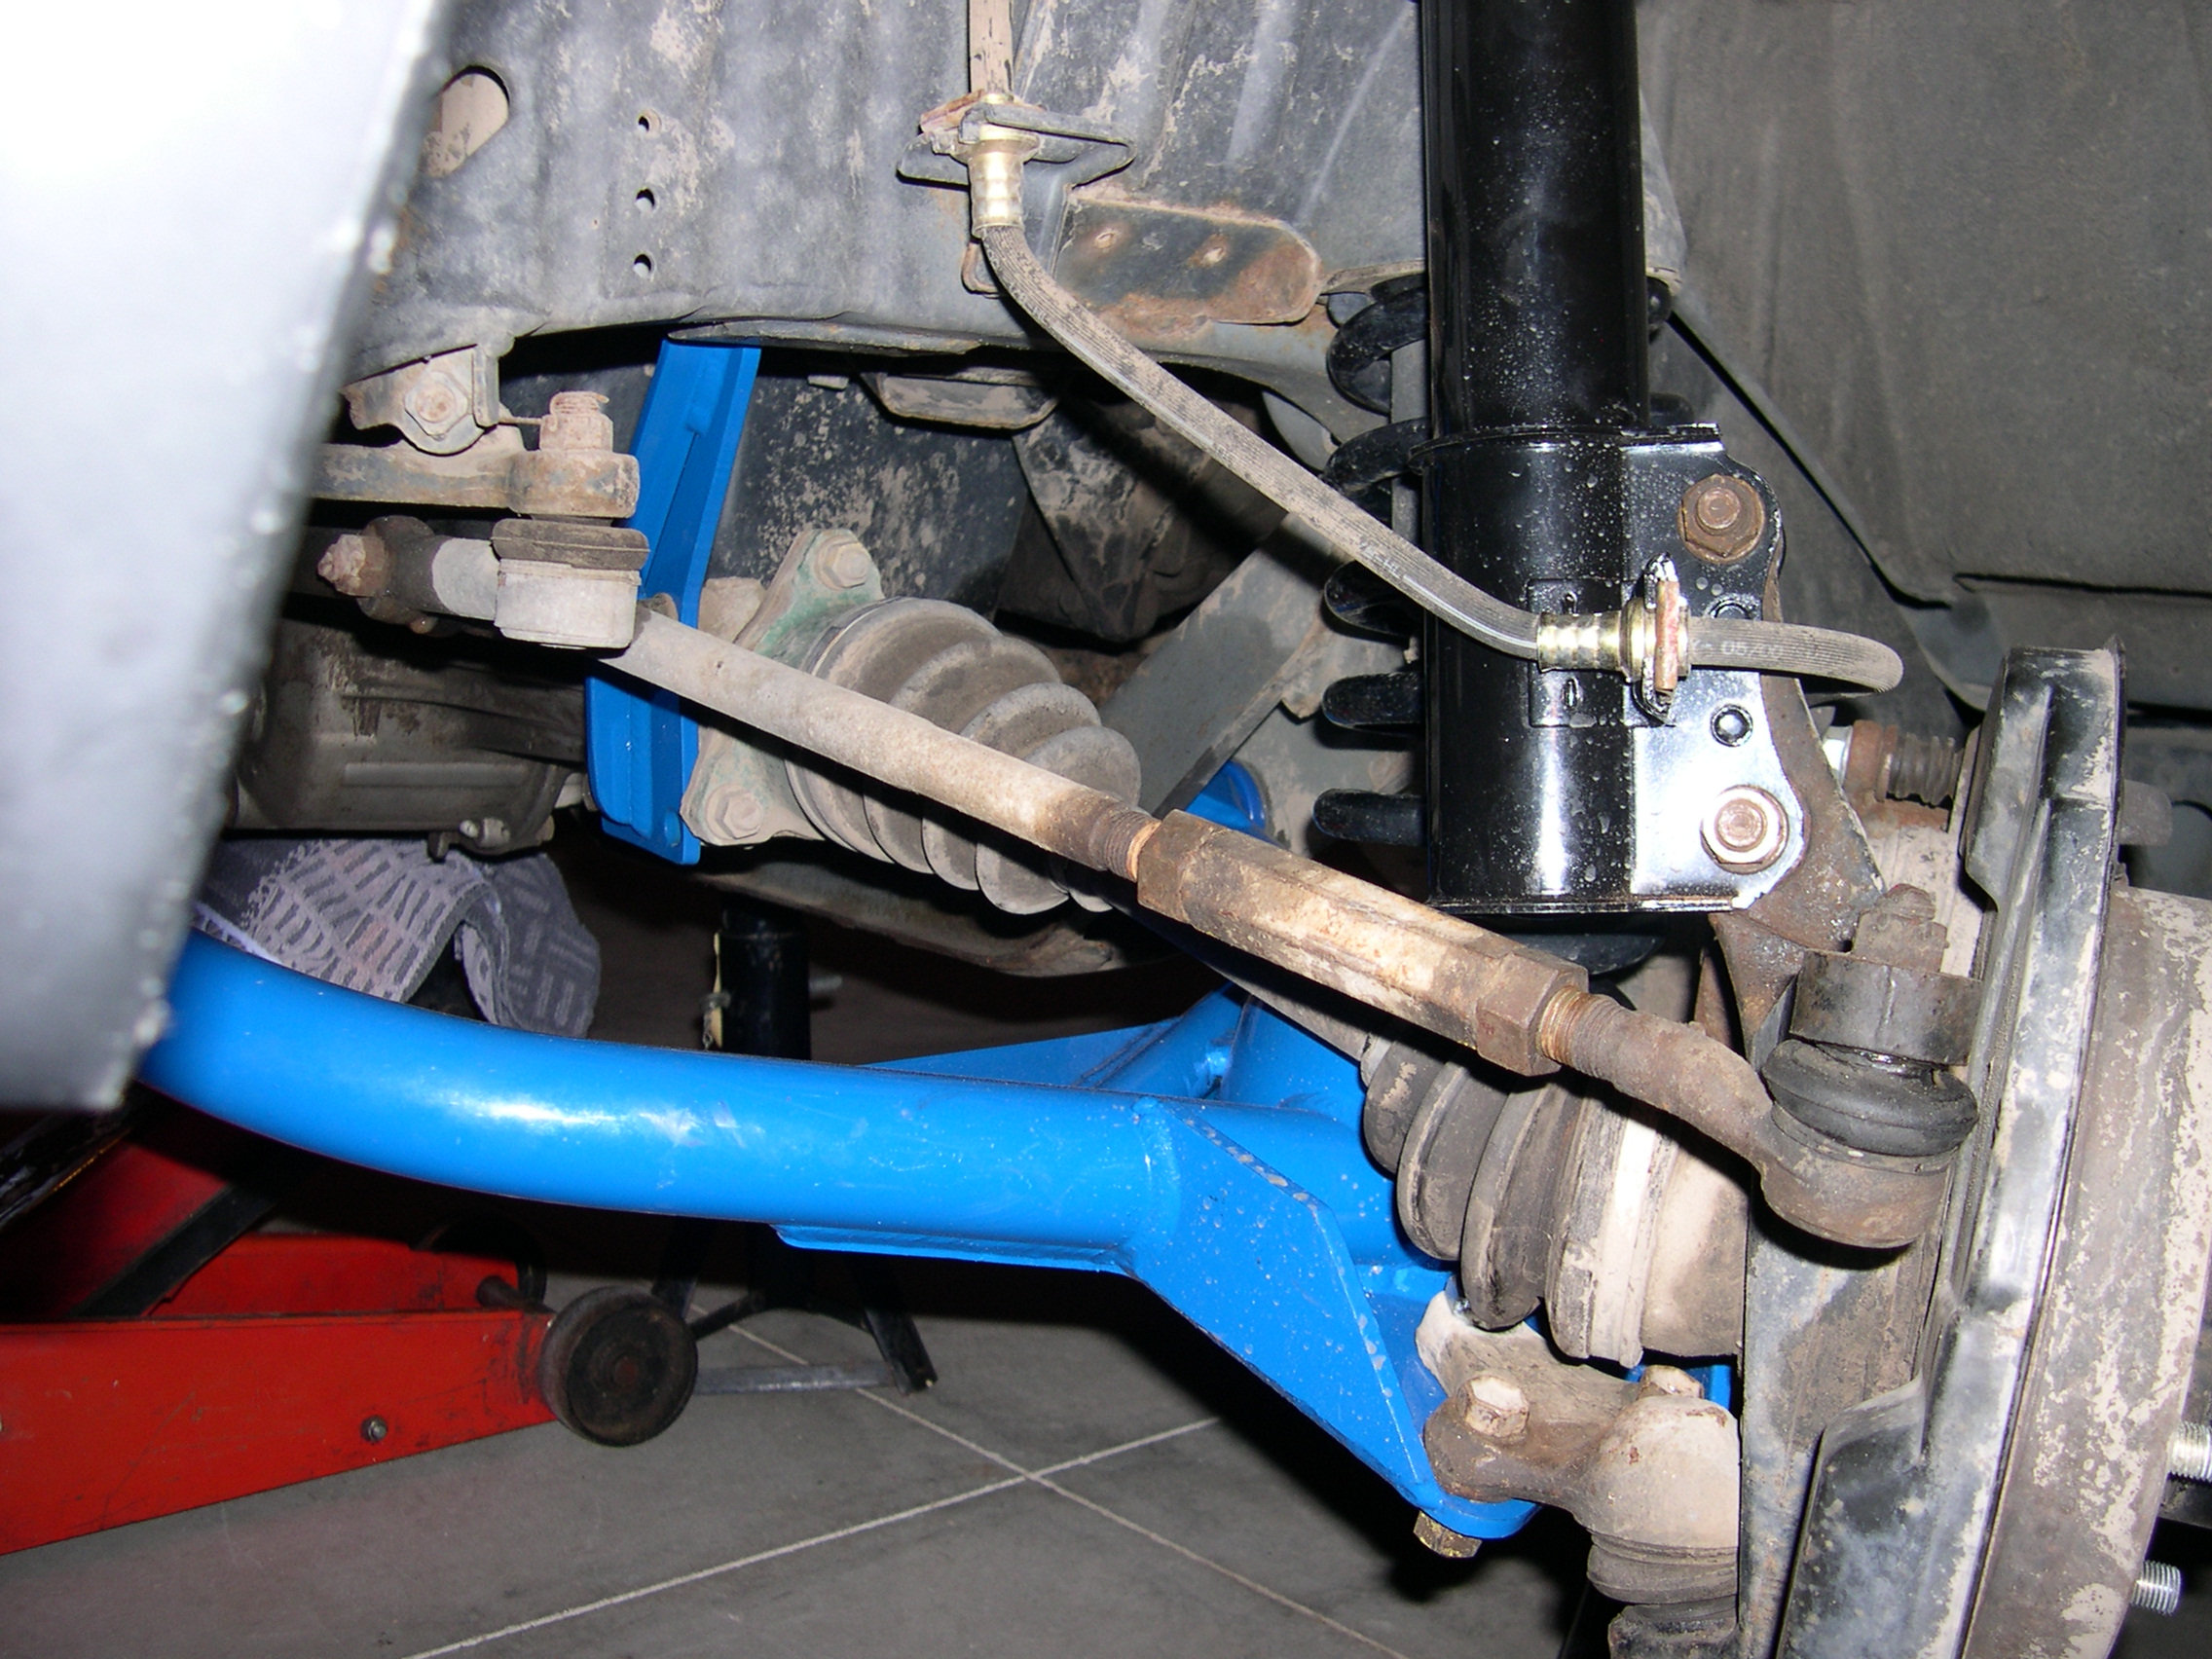 Reinstall your wheels and tires and you are finished with the front!
  Now for the rear. Jack the rear up by the pumpkin and support the frame with jack stands. NEVER work under a vehicle supported only by
a jack!  Remove the rear tires and wheels. Remove the rear shocks.
  Lower the axle and remove the rear springs. Remove the bump stops.
  Install the bump stops on the new bump stop extensions
 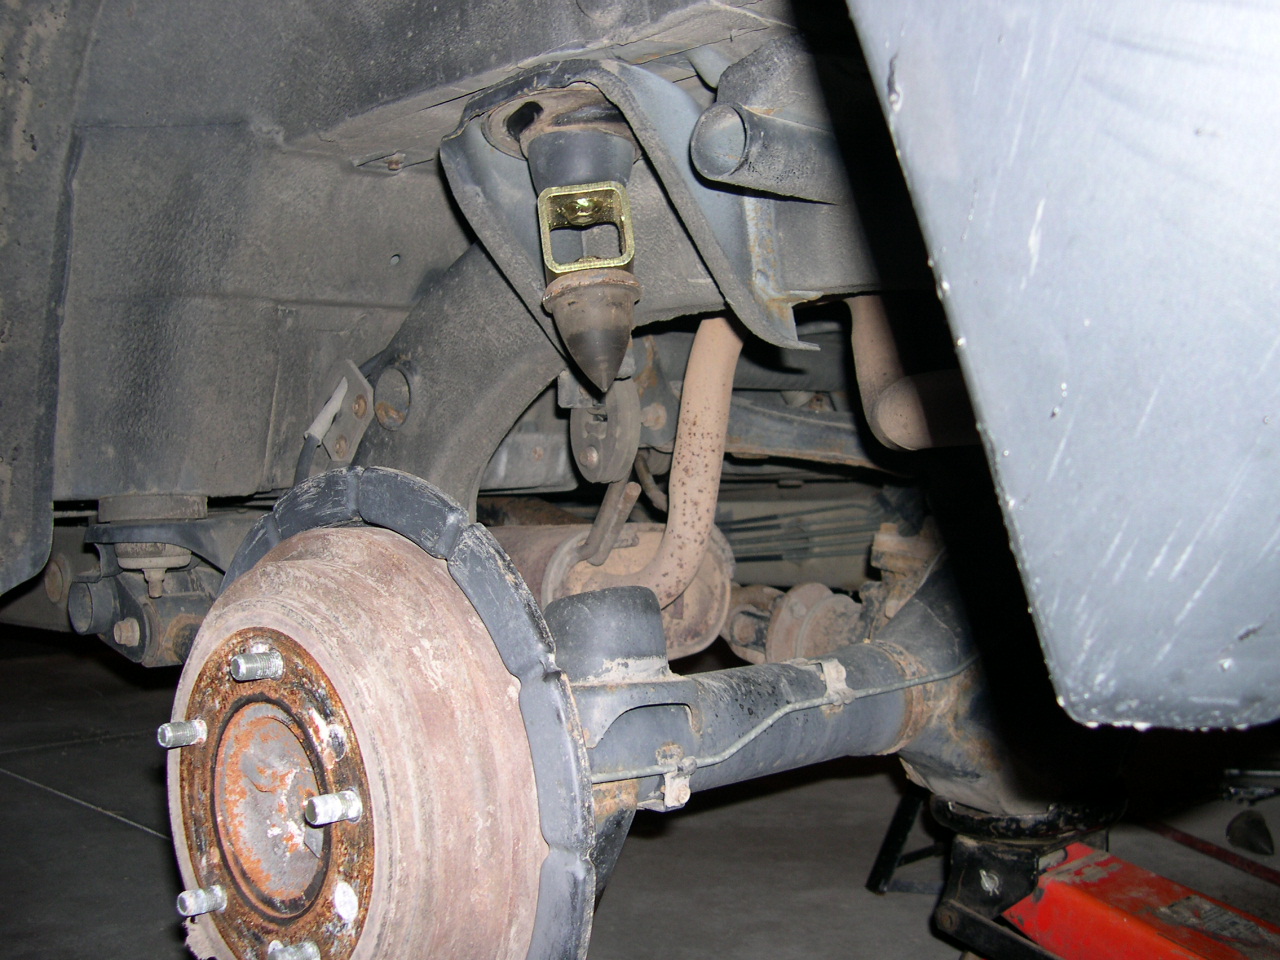 I had to hold the bump stops inside the new springs, install the springs, and then tighten down the bump stops.
 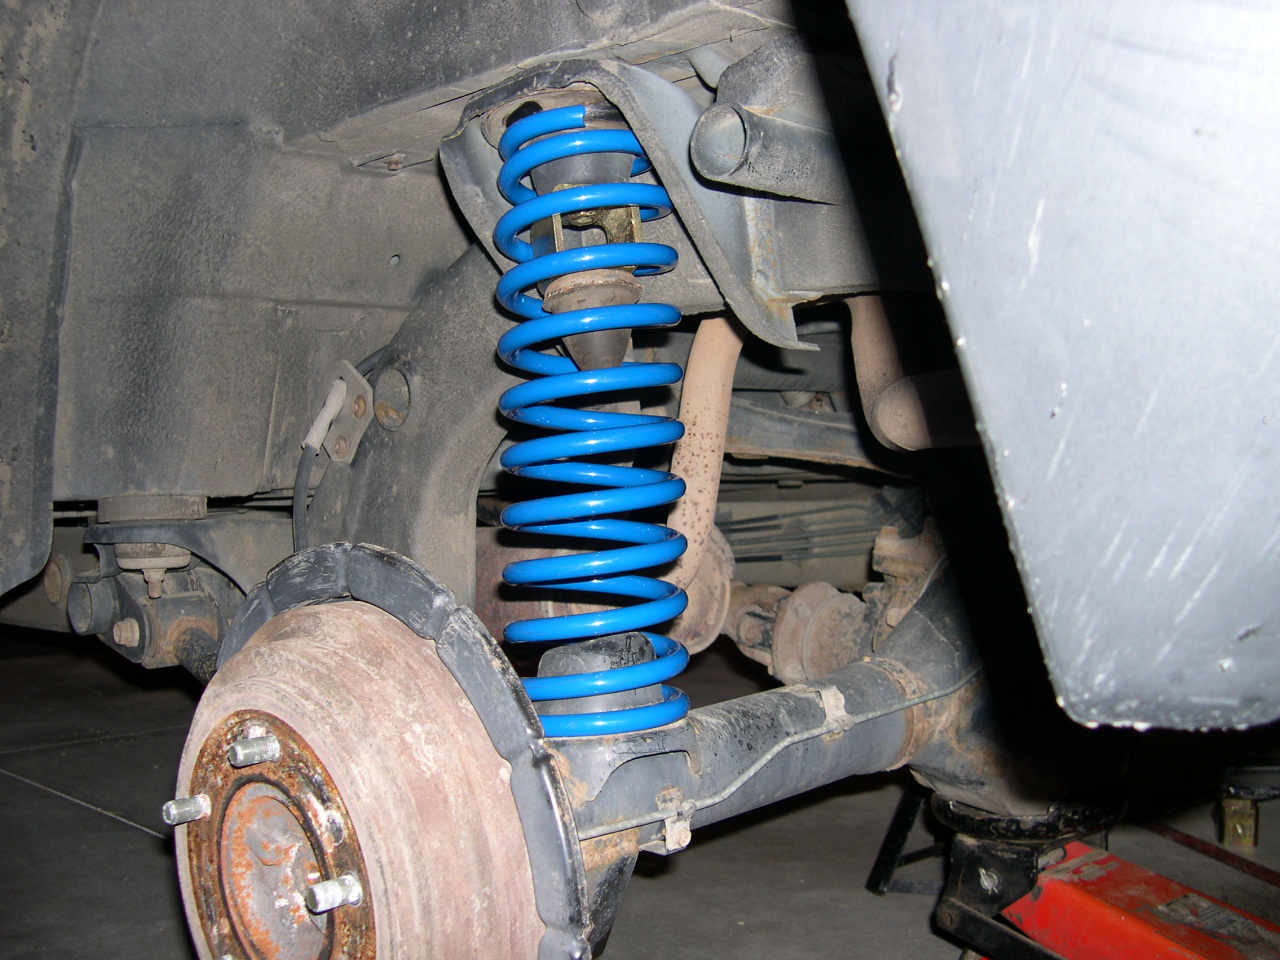 Jack up the axle on the side with the new spring. This forced the other side down and made it easy to install the
spring/bump stop combo. 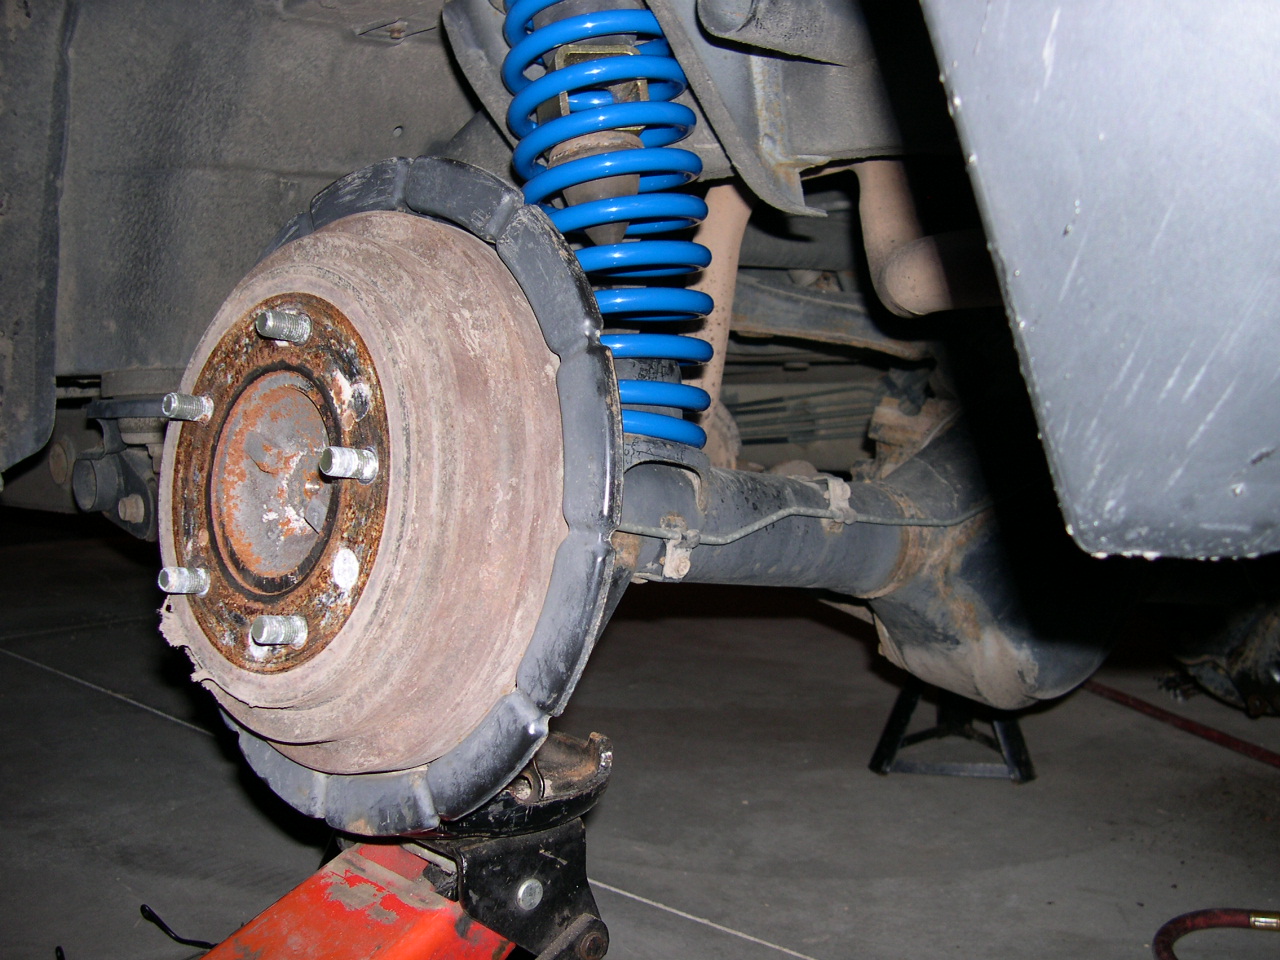 Put the jack back under the pumpkin and raise the rear axle. Make sure that the new rear springs are indexed and seated
properly. Install the new shocks.  Install the tires and wheels. Your alignment will be off. I eyeballed mine and drove it for a few days to settle in the springs then had it professionally
aligned. 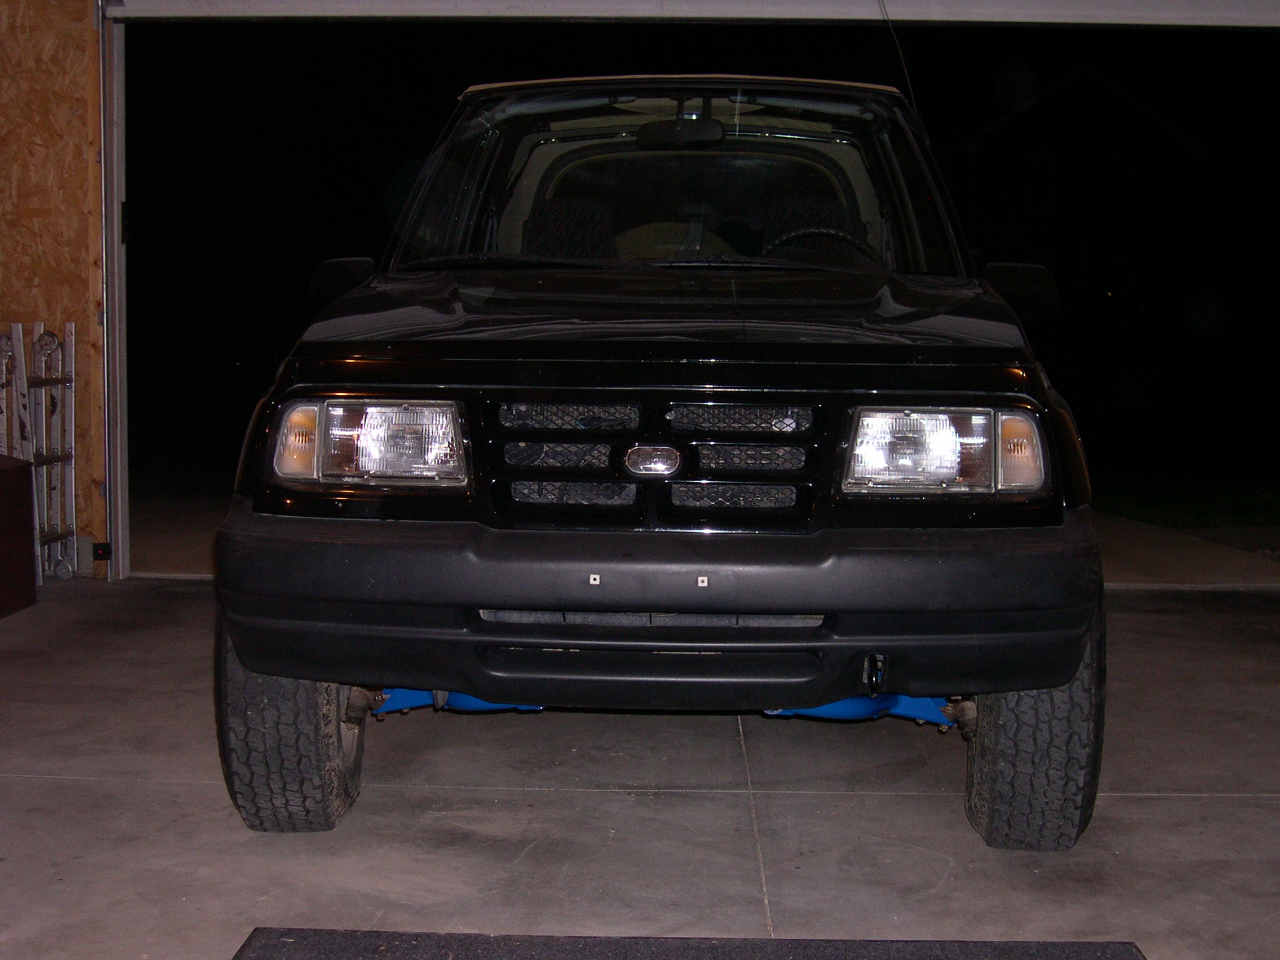
Final results and tips:
Be prepared for rusted hardware! This Tracker had 5 bolts that were hard to remove. I had to cut, drill, grind, and hammer the out. Remember to check all the hardware after the first 100 miles and/or after the first time you take it out wheeling.
Front before 
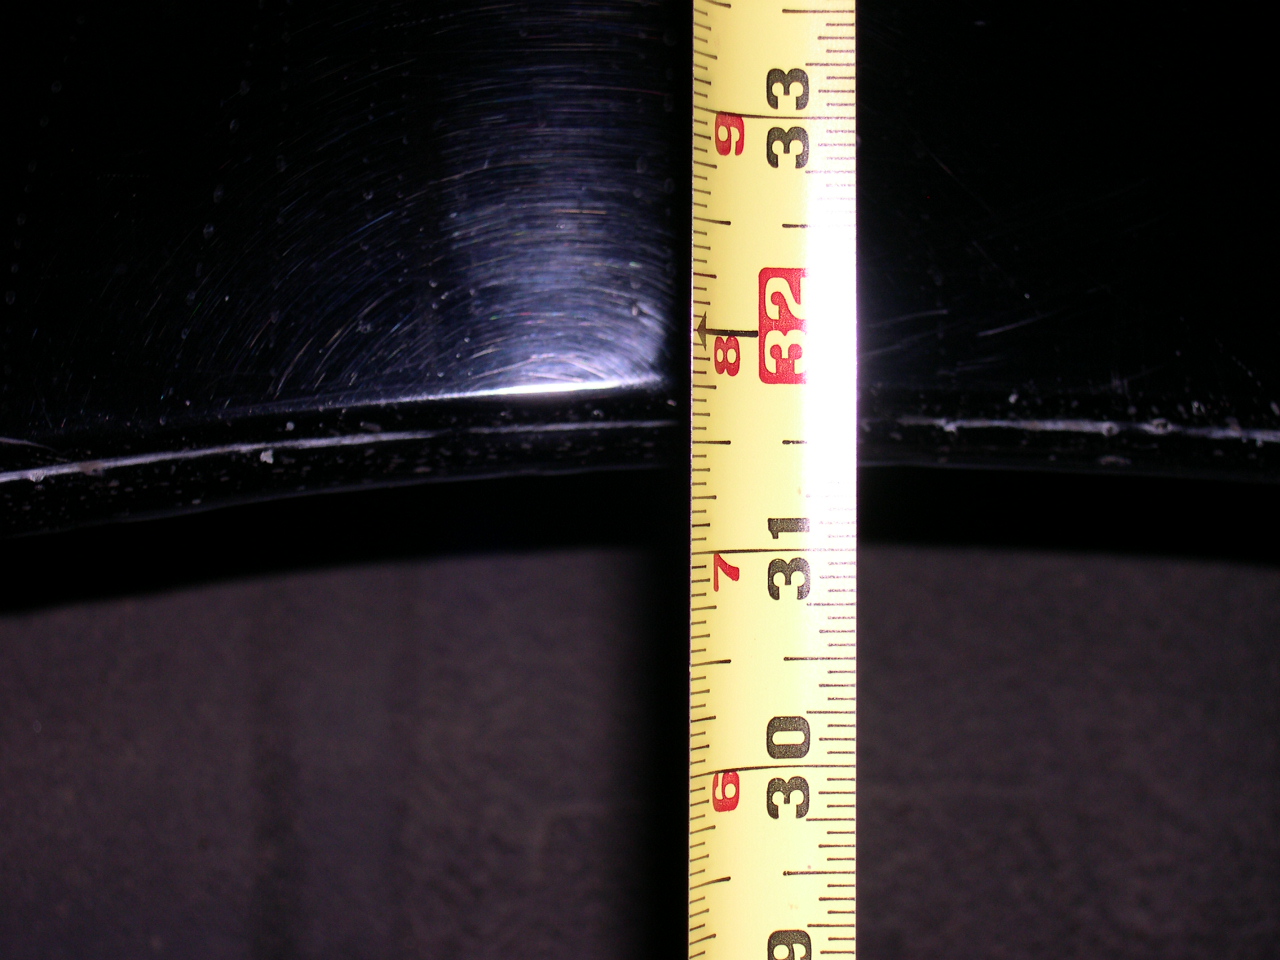 Front after
Rear before 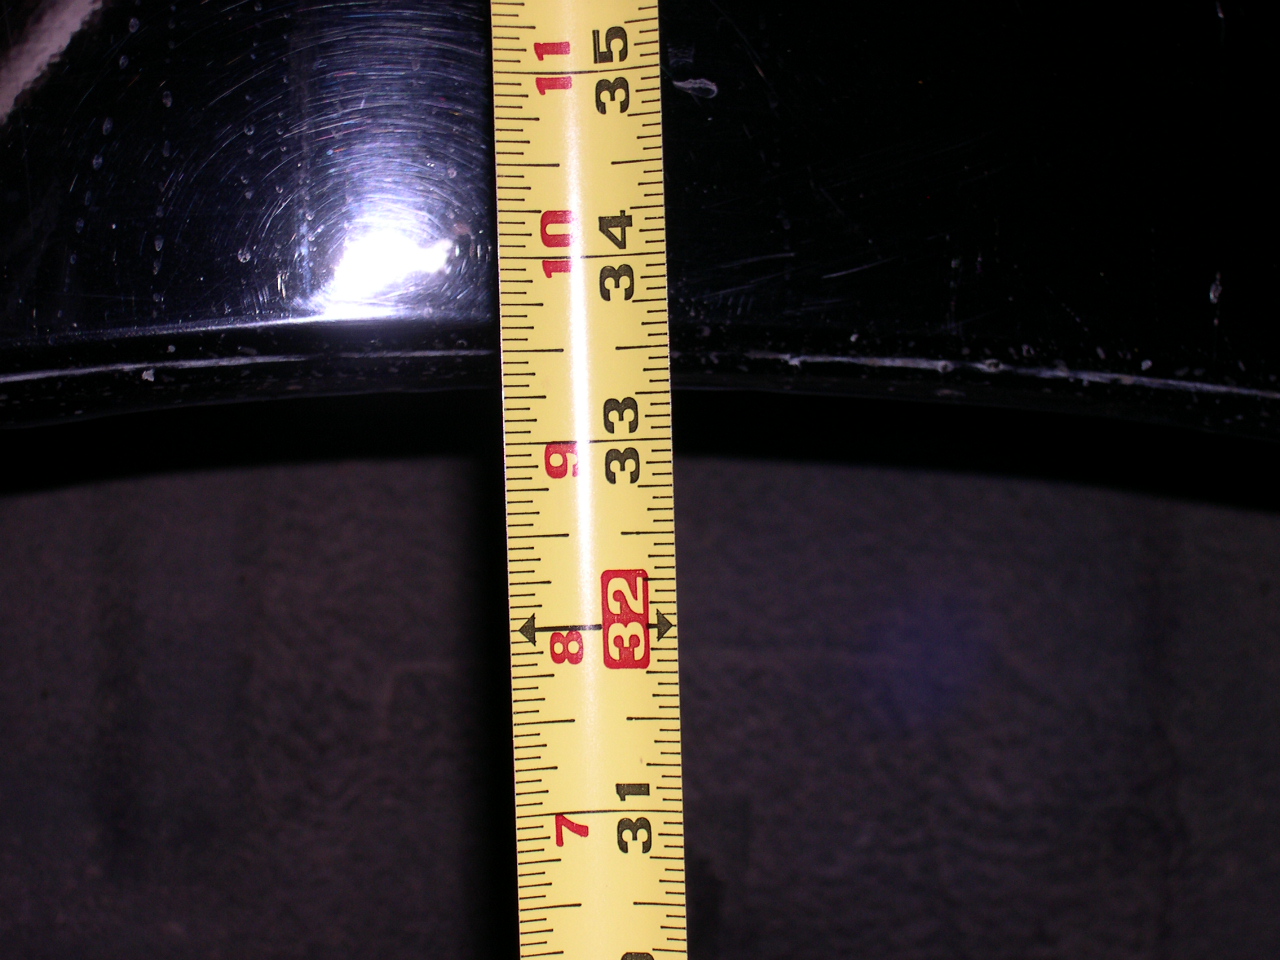 Rear after


Hi webmaster do you need unlimited articles for your website ?
What if you could copy post from other pages,
make it unique and publish on your site – i know the right tool for you, just search
in google:
kisamtai’s article tool