Big Dreams; No Money – Suzuki Sidekick Rock Crawler Build Project
Editor: E. Bewley Story/Photo M. Hagen
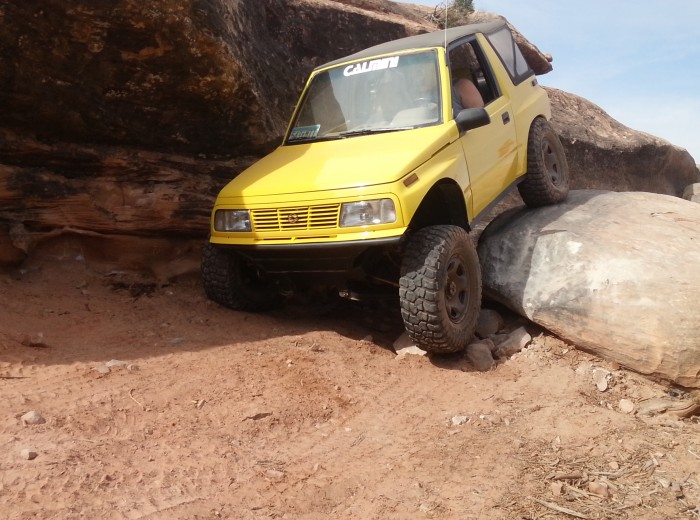
Minneapolis, MN – Building a rig for maximum performance on a budget means that it will require a lot of time and you will need to get creative with as many stock components as possible. Keeping it lightweight helps keep the stock components alive so we ditched as much weight as we could shave and only added what was necessary. That’s where it can get tricky…
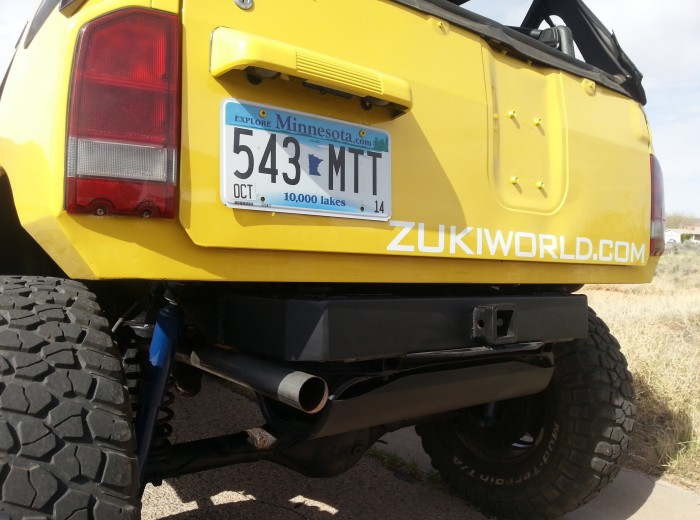
What money is necessary for the performance you expect and what can you pass on. We started with what appeared to be pretty solid 93 Tracker. The inner fenders were cut out for weight savings and to make room for our frame chop. I like the frame chop because I can get wheelbase, better approach angle, and lift, all with one modification. We cut the rockers out and sleeved a 2×4 piece of steel in place for rust repair and some added protection. The back of the body was cut off below the tailgate and sleeved with a thin piece of 2×4 steel and capped off on the sides to clean up the way it looked without the rear bumper. After seeing how nice the body looked we decided the frame needed to be reworked as well. We cut off the frame off behind the shock mount and tightened it up. In doing so we were able to raise the gas tank an inch and make a bulletproof pull point.
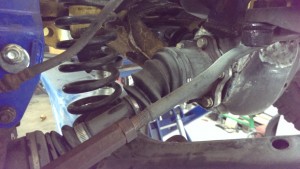
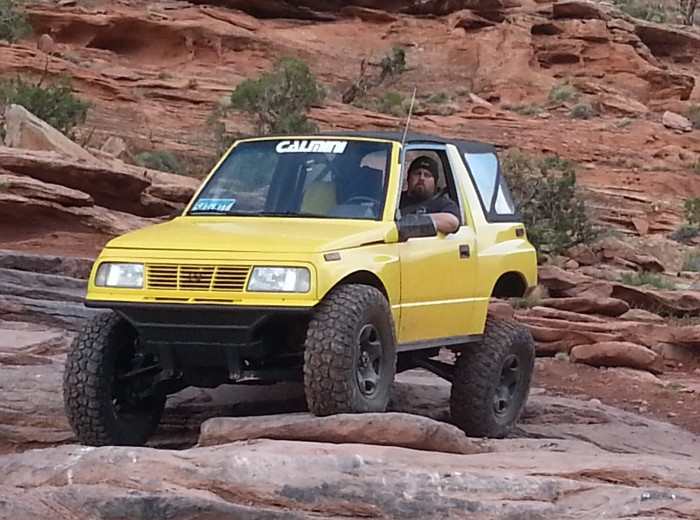
For the front lift the frame was cut, dropped 3 ½ inches, and moved forward 3 ½ to make room for 33 inch tires. 4 door coils and a 1 inch spacer were also added to the front for additional lift. A Sky Off Road Design idler arm was installed because the stock idler is such a common failure. Front struts have always been a common failure in our circle so when we heard Calmini had come out with the strut elimination kit we had to give it a try. This rig may be a budget build but we have been known to have more strut failures than axle shafts so the EDSES kit sounded like money well spent. The front of the frame was also bobbed up to the gearbox for the best approach angle.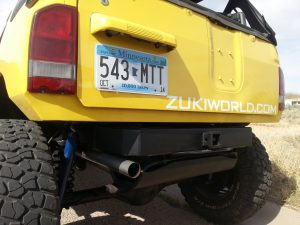
When you exceed 3 inches of lift in the rear of a tracker the control arms get too much angle causing poor trail manners. Longer arms help keep the rear axle from driving under the vehicle during flexing situations, especially on steep hill climbs. A long arm triangulated 4 link sounded like the most logical solution. Because we were on a budget and we wanted the softness of the stock bushings we built the upper links and lower links out of stock lower control arms. They were just cut and sleeved. The rear axle was move 3 inches rearward during this process. That was as far rearward as we could go without getting the axle into the gas tank. For lift the coil pockets were cut off and relocated to the bottom of the frame for about 4 inches of lift. 4 door coils were also added for additional lift. Crown Victoria shocks were used.
Other specs you may want to know
Calmini 4.23 t case
Toyota cv conversion
Rear axle narrowed to front diff
The shakedown:
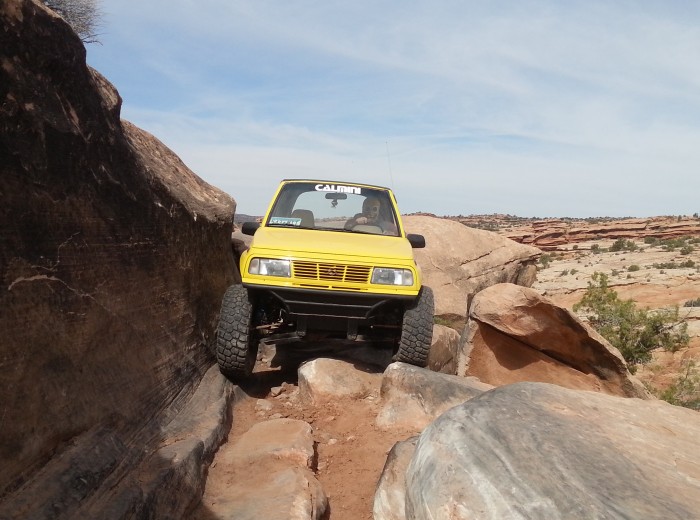
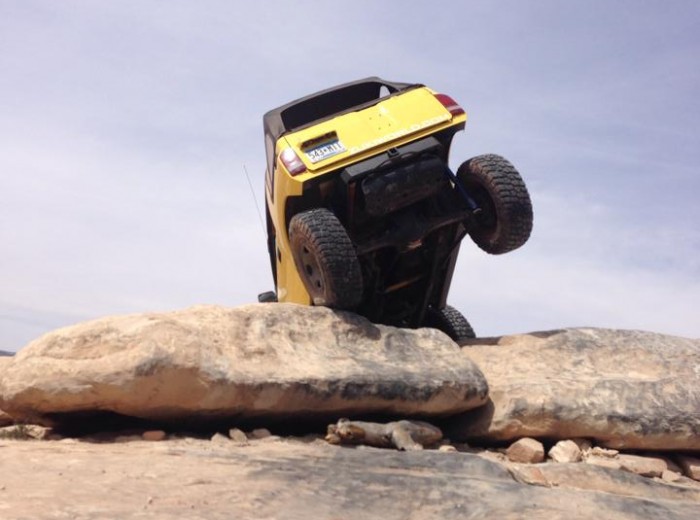
Minnesota had an unusually large amount of snow this winter so there was no ability to test this rig off road before the Easter Jeep Safari. It was built, hauled it 22 hours away, and wheeled. Initial feel was far better than could be expected. It was super stable on steep climbs and off camber. One of the first things we noticed was how the Calmini EDSES kit made the front suspension work so much better than we expected.
We never considered that there would be a trail advantage to the kit. We were just hoping that we would not have so many strut failures.
When the suspension is at full droop on a rig with struts, the camber goes very positive, which also causes a toe in situation. This is very hard on steering components, especially on the Moab slickrock. The EDSES kit keeps the tires nearly straight in the whole suspension cycle. It was much easier to hold a line in a V notch climb as well. It was fun to watch this rig climbing hills because it almost looked fake with how effortless the suspension worked. I’ve always liked the simplicity of the strut, but there is no denying the performance of having an upper control arm. The long arm rear suspension works excellent as well. The combination of the two things brought this rig to a new level that we had not seen before. The shocks rode great on the trail, and on the street it rode better than factory. I would really like to try some high end shocks on this setup. Now that we are not limited by a strut, I have to wonder if there is a rally car waiting to be unleashed!
 ZUKIWORLD Online – Everything Suzuki Your Complete Suzuki Automotive Resource for Editorial, Tech, Events, Adventure, Racing, and Forum




So after driving this rig for awhile how have your 2×4 rock sliders held up. Im thinking of doing the same to my 4door Kick.
Did you ever do a 4 door
And now put all this nice stuff in an under a LWB Kick.
When you relocated the rear spring pockets from the side of the frame to under the frame did you also move the spring pads on the axle in on the axle? Thanks
I’d like to find more info/pics of this build. I need more understanding on how the front frame drop was done.
There are a couple of other article written by Hagen here on the site that show more detail about the frame chop. You could also contact him via the forum username mikerpm4x4 Good luck!
Can you tell me if you drove it with the short links and why you felt you needed longer links?
I got a EDSES kit installed by Calmini and had to remove it and have called and e-mailed the company only to be told that they would sell me the new longer link’s for $200.00 plus shipping and I wrote them back and asked them if I could just swap the Std kit short link’s for the upgraded link’s so I would be able to re install the kit. They never called or wrote me back!
Have an 89 sidekick, new exhaust and new 235 tires , now I need rock sliders 2 inch lift and skidvplates , what do you recommend ?
Try asking this question in our forum. It’s still active and useful!
Awesome. I assume those are 33s you’re running? Stock gearing? How does it do on the freeway? I’d love to see more pics and details.
great job looks like it performs incredibly well . im atempting x90 build and you have confirmed that my approach a no money similar build ,similar modifications is going to work well also. im from Minnesota but iam living in alaska since 1980.cant wait to get our x90 project up and running as its nearing completion, we are running a 12.5 35 15 tire with lots of frame and body mods for clearance. lockers and low gear kit I can see is a monie thing that’s a must if we want it to perform and not just look cool. to keep cost down ,we even use stock big ford 5 on 5.5 alloys bfg all terrains Suzuki badge in ford center caps .this little car looks realy tuff ive nicknamed it badzuki guess we will see if it lives up to its name .good luck and keep on building.
It looks like what you lack in money is made up ten fold with your knowledge and hard work. Well done.