Custom Front Bumper for a Sidekick Sport
Story & Photos by: M. Verley
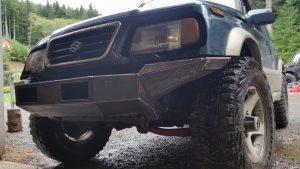
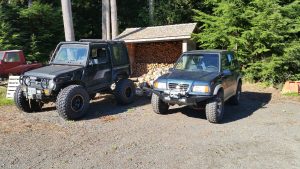
SEASIDE, OR – One of the great things about the 1996-1998 Sidekick Sport is its wide stance from the factory. The frame rails are spaced a few inches further apart to accommodate a different engine. Unfortunately, this spacing causes some problems in the aftermarket. Since Sidekick bumpers bolt to the frame rails, most aftermarket bumpers designed for the Sidekick simply won’t work on the Sport submodel.
The factory front bumper on my sport was in sad shape; the previous owner hadn’t been kind to it, and I had, um, “clearanced” it with a sawzall to allow room for bigger tires. I have also added some character to it throughout the years; rocks, brush, and dirt all had left their marks on the plastic.
I was growing tired of looking at it each morning, so the gears began to turn. How could I put a good-looking and functional front bumper on this sidekick? I thought about buying and modifying one of the offerings from the Suzuki aftermarket; there are some decent looking bumpers out there. But, I decided that I wanted something more.
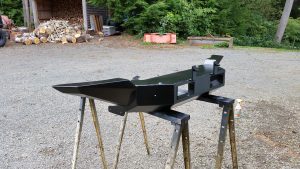
[embedyt] http://www.youtube.com/watch?v=pM_bRb9pZHo[/embedyt]Tube or plate? Did I want the minimalist prerunner look, or the angular stealth look? What features did I want to build into this bumper? I had a pile of tube and a tubing bender. I had several sheets of 3/16” plate steel. I had a few winches, lights, tow hooks, D rings, and more. After staring at the front of the sidekick for a bit, I decided to go with the plate. Basic idea for the bumper: I needed to protect the front fenders and radiator, allow for full travel of the front suspension, house auxiliary lights, provide for easy and safe tow strap and shackle connections, and support a Warn M8000 winch. After some additional thought, I decided to install a Viair 400c air compressor and integrate some air tanks into the bumper body, as well.
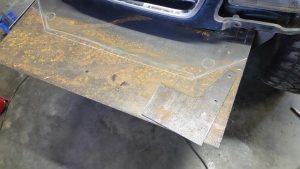
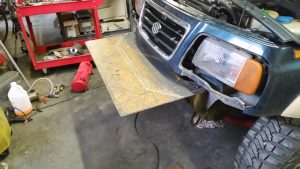
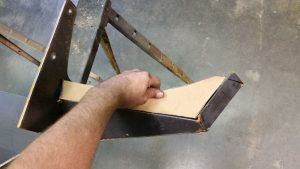
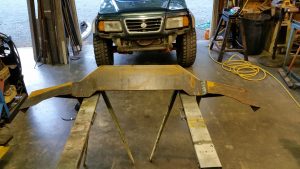
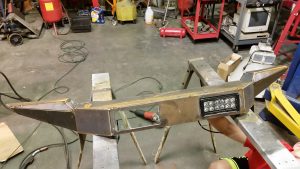
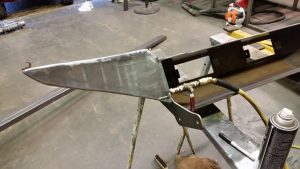
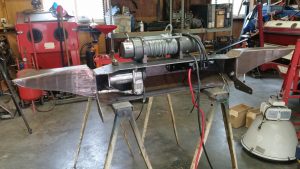
I’m an obsessive planner. I like to fully plan a project before starting it. I’m happiest when all of my bolts and nuts are lined up in a neat row, all of my material is accounted for, my welders are full of filler metal and shielding gas, and I have some sketches of my project up on the whiteboard. I didn’t do any of that for this project. I grabbed a scrap of 3/16” plate, bolted it to the frame, drew some lines on it with a soapstone, then fired up the plasma cutter. Then I cut some cardboard templates, transferred them to steel, cut them out, and tacked the steel into place. If I liked the look, I tacked it in a few more places. If I didn’t like it, I cut it off and made a new piece.
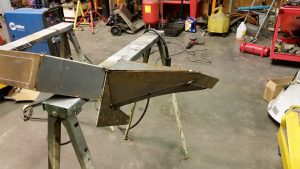
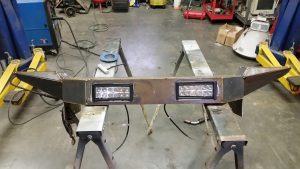
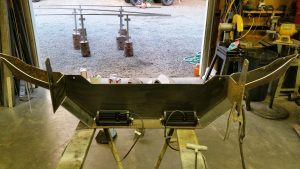
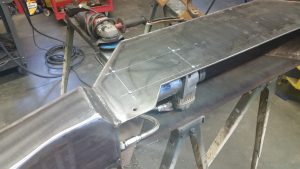
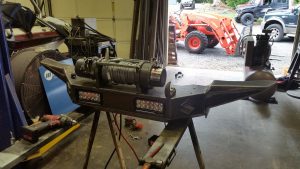
Once I had the basic shape tacked together, I added the lights. I had a couple of 8” LED light bars sitting on a shelf in my shop; this was the perfect application. I decided to enclose the outside wings and turn them into air tanks. I added ¼” NPT fittings near the bottom.
Once the tanks were fully welded, I pressurized them with shop air and used soapy water to check for leaks, and then installed the compressor..
The bumper was re-installed on the sidekick to test fit the winch and mark holes for drilling
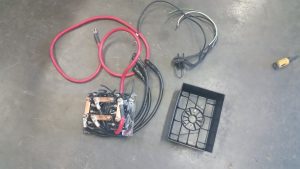
Next I installed the air compressor, lights, the winch, and the winch solenoid pack. I even cut out some Suzuki “S” emblems on my CNC plasma table to dress up the bumper.
I installed the bumper on the Sidekick again just to make sure there were no interference issues with all of the accessories installed, then removed it for paint. I shot on a couple of coats of self-etching primer, followed by some wet sanding, then a few coats of rattle can gloss black. Previous experience with spray paint has taught me that it doesn’t last for more than a year or two out in the sun, so I shot on a few coats of satin Permalac. I have used Permalac on some of my welding projects around town (handrails, etc.) with good success; it has UV inhibitors and should make the paint last much longer.
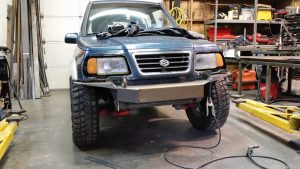
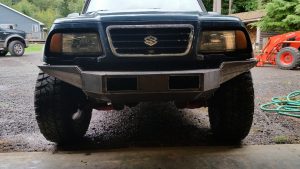
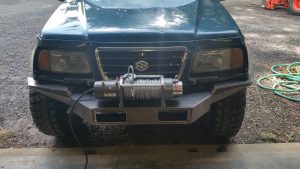
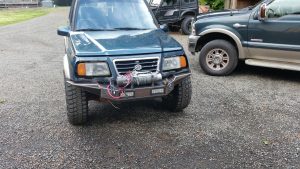
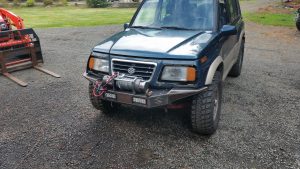
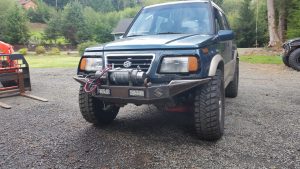
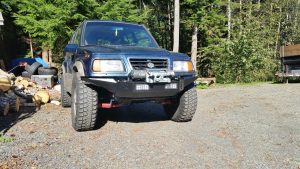
I installed all of the parts (one last time!) and bolted the bumper up to the Sidekick (one last time!)
Next up was the wiring; I used Carling Contura switches for both the air compressor and the lights; they fit in the Sidekick’s existing switch cutouts and are available in almost unlimited configurations. I used a SPST rocker for the air compressor, and a DPDT switch for the LED lights. Why use a complicated DPDT switch for the LED lights? I decided to set them up like this: Center position is off, up position is LED lights always on, down position is tied in with the high beams (LED lights come on whenever high beams are turned on). I added a couple of relays for the lights and compressor, and the project was complete! I now have a bumper that protects the front of the sidekick, provides onboard air, provides auxiliary lighting, and allows for self-recovery with a winch.
About ZUKIWORLD Online: We are an enthusiast web site dedicated to the promotion of the Suzuki Automobile as the best and most capable vehicle on the planet. We offer product reviews, Tech tips, DIY, Travel and Adventure, Forum, Technical information, Life Style, and so much more!
 ZUKIWORLD Online – Everything Suzuki Your Complete Suzuki Automotive Resource for Editorial, Tech, Events, Adventure, Racing, and Forum












Awesome bumper any chances that you would build another one ?I want one.
I really like this style Matt. Nice work! If only I had some dimensions I could cut this awesome design on my CNC table. Any chance you could forward the dimensions?
Love what you did with the bumper! Functional and good looking!
What is the air for? Clean up? Pumping up flat tires? Air tools?
The bumper looks good.
The onboard air is so that When I air tires down at the beginning of a trail, I have the ability to air them back up again at the end.
how much would you charge for a bumper like this ?
I’d love to have that bumper on my 1997 Sport! Maybe he’d give a volume discount! ;-)