HAGEN
Stronger CV Shafts For Your Sidekick.
Story/Photo: Mike Hagen Editor: Eric Bewley
Cottage Grove, MN -Its no secret that the CV shafts are the weak link on this rig. The good thing is that they are fairly cheap and easy to change. For those of you who dont break them very often this works just fine. For those who cant get through a day of wheeling without failure this article is for you. Building your own shafts may not be a good idea for street use. This will depend on how accurate you are with your build. Of coarse there are better, more accurate ways to build CV shafts, but this article is geared toward the average Joe garage mechanic. Someone who is pretty handy with a chop saw and a wire feed welder can do this.
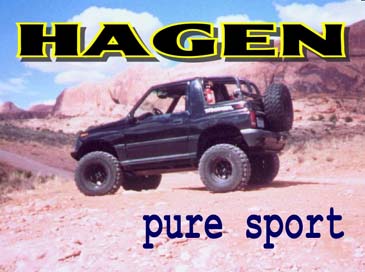
Please note: I have only done this on the widened Calmini set up. If this is not your set up you may have to change a few variables and or check your clearances. My personal rig is running donors out of the left front of a 95 Nissan Maxima V-6 5 speed without antilock. This shaft is much more difficult to build, but it has the ability to droop further at the inner joint, thats why I spent the extra time building it. A far simpler donor is the front CVs out of a 95 up Ford Ranger or Explorer either side. Since these are easier to locate and perform the modification on, this is what we are using today.
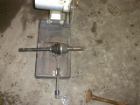
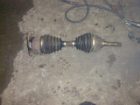
1. You will need a 3 bolt inner shaft and an outer joint from a Sidekick or Tracker
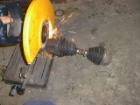
2. Cut the joint off at the base of the cup.
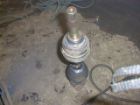
3. This will leave you with your donor nub
3. continued.
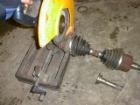
4. Now cut the nub off of the Explorer shaft.
5. Use a magnet to remove all the metal shavings.
6. This may sound bad but actually the metal shavings pretty much stay in one clump in the grease and are fairly easy to remove.
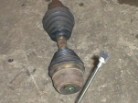
7. Cut the 3 bolt inner shaft at the base.
8. Cut the inner cup off the Explorer shaft.
9. Line up the 3-bolt flange with the inner cup on the Explorer shaft.
10. Tack weld it and double-check it. Then weld it on all the way around.
11. Now do the same on the other end.
12. Hurrah! you’re done.
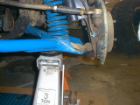
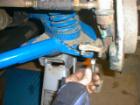
13. You will needed to trim a little off the corner of the arm to keep the CV boot from getting a hole rubbed in it.
14. Next press wheel studs into the ball joint for extra clearance. With the stud there is not enough room for lock washers. Use strut nuts with Locktite
Once youre all finished, check your clearances by letting the suspension hang and spin the wheel with the lockout engaged. Also do this while turning from side to side.

 ZUKIWORLD Online – Everything Suzuki Your Complete Suzuki Automotive Resource for Editorial, Tech, Events, Adventure, Racing, and Forum








Is it possible to perform this not on Calmini wishbones?
Did you use the same axle approach for both sides or just the one.
I’m having the Calmini 3″ lift axle separation issue.