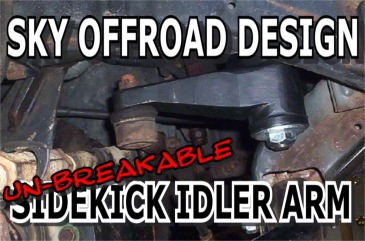
SKY’S OFFROAD DESIGN’s Idler Arm
A Great Solution For The Sidekick Bent Idler Arm Blues.
Editor: Eric Bewley Story/Photo: Mike Hagen
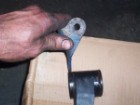
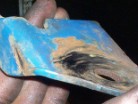
COTTAGE GROVE, MN. -After installing the front locker on my Sidekick, I really had a problem with bending Idler arms. Even though this has been a known problem for the Sidekick enthusiast, there hasn’t been a solution to fix the problem other than keeping a lot of spares and occasionally bending back the arm with a large pry bar when it got to far out of shape. Fortunately, Sky’s Offroad Design has recently released a bulletproof Idler arm that solves the problem. We really abused the sample set us and feel that it would be extremely hard to bend one of these new idler arms.

 The install is as simple as removing three 14mm bolts and a 17mm nut on the drag link.
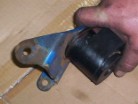
I was a bit concerned about eliminating the Calmini Idler brace. The thinking was that if the Idler doesn’t bend, would that just move the stress to the three 14mm bolts holding it to the frame? So just to be safe I thought Id see if I could modify something to retain the brace. This would dissipate the stress to more areas thus gaining strength. Fortunately Sky’s new design works well with the Calmini idler arm brace and the two can be used together for an extremely tough package. Installing the new Sky Offroad Design’s idler arm and retaining the Calmini idler arm brace is what we will demonstrate below:
Start by removing the 24mm nut on the bottom of the Sky Idler. Then removed the washer and discarded it. The Calmini bracket will take its place. Slide the Idler arm off the shaft. Take the bottom of the Idler to a belt sander and shaved off the thickness of the Calmini brace off the poly.  About 1/3 inch in from the edge of the poly roll the edge of the poly with a sander.
  Drill out the hole in the Calmini brace to the size of the Sky Idler shaft.
  Slide the Calmini brace on and marked where the poly rides in the brace.
  Using a 2-inch round hand held sander, sand the Calmini brace down where the bend pushes up on the Idler. This sounds a little confusing but when you get that far it will be clear.
Dry assembled everything to be sure it fit.
When all was well I took it apart and greased everything by hand and reassembled it. The Sky Idler comes with a grease fitting so I also greased it there when I was done. The nut on the bottom of the Sky Idler arm can be over tightened so don’t just crank it down. For those of you that are running Trackers as I am, Calmini will tell you that their Idler brace only fits Sidekicks. However it will fit a Tracker with the addition of a little tab welded onto the frame as shown in this photo.
Road response is great and handling is superb and as suspected even after several punishing weekends out wheeling, I couldn’t bend it! I’ve been using and abusing it for several

 ZUKIWORLD Online – Everything Suzuki Your Complete Suzuki Automotive Resource for Editorial, Tech, Events, Adventure, Racing, and Forum


