 ZUKIWORLD Online – Everything Suzuki Your Complete Suzuki Automotive Resource for Editorial, Tech, Events, Adventure, Racing, and Forum

Roof Rack by CALMINI
ZUKIWORLD Installs CALMINI’s Roof Rack For Sidekick.
Editor: Eric Bewley Story/Photo: Jason Hutchison
CORVALLIS, OR -The only thing that can compare to receiving gifts on Christmas Morning is coming home to big boxes full of CALMINI off-road product leaning against your garage doors. It seems almost as if time stops and all the things in life that seem so important take a back seat. A new offering has arrived and it is time to begin a new project on our beloved vehicle. We call this “Garage-Therapy.” The act of self-medication by immersing one’s self in the act of modifying the ever precious and all important off-road vehicle or family SUV. We embrace it as an escape from the daily grind, reminiscence of trips past, and dream of new adventures waiting.
So, how do we get prepared to carry all the essentials on the next adventure? With a CALMINI Tubular Roof Rack of course. This bad boy is a super simple install and it’s tough tubular design can carry 200lbs of gear into the outback for you. We all know how small Suzuki vehicles tend to be and why is it that the cab seems to shrink when packing camping gear at 2:00 in the morning the night before an adventure. Is it just me, or have others seen this phenomenon? The CALMINI Roof Rack is a great way to carry those bulky big items that steel space from the important things like the cooler of beer or the ever precious chain saw. We followed CALMINI’s simple instructions and had the rack on the truck in about 2 hours with one person.
PERFORMANCE PREP:
- Metric Socket set
- Hammer
- Hardened steel center punch
- An electric Drill, & Misc. Drill Bits
- Optional Items:
1.25″ flat rubber gaskets
Step 1: Lay the roof rack components out on a flat surface upside down. The side rails have small tabs that prevent the ends from sitting flat. This will make the assemble of the rack portion much simpler  Step 2: Install the center side sections and the cross pipes.
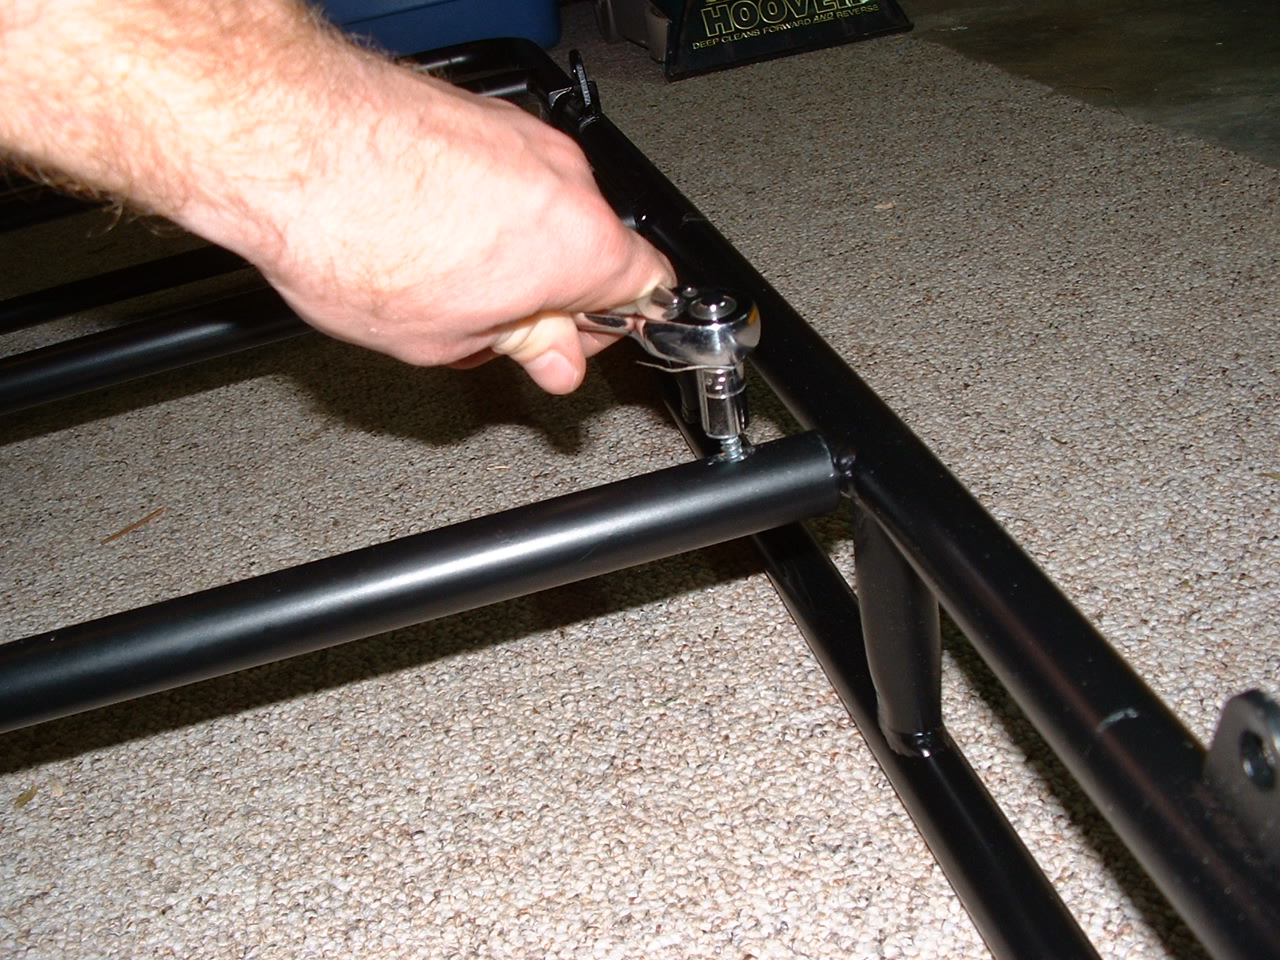
  Step 3: Bolt the side sections together using the provided hardware.
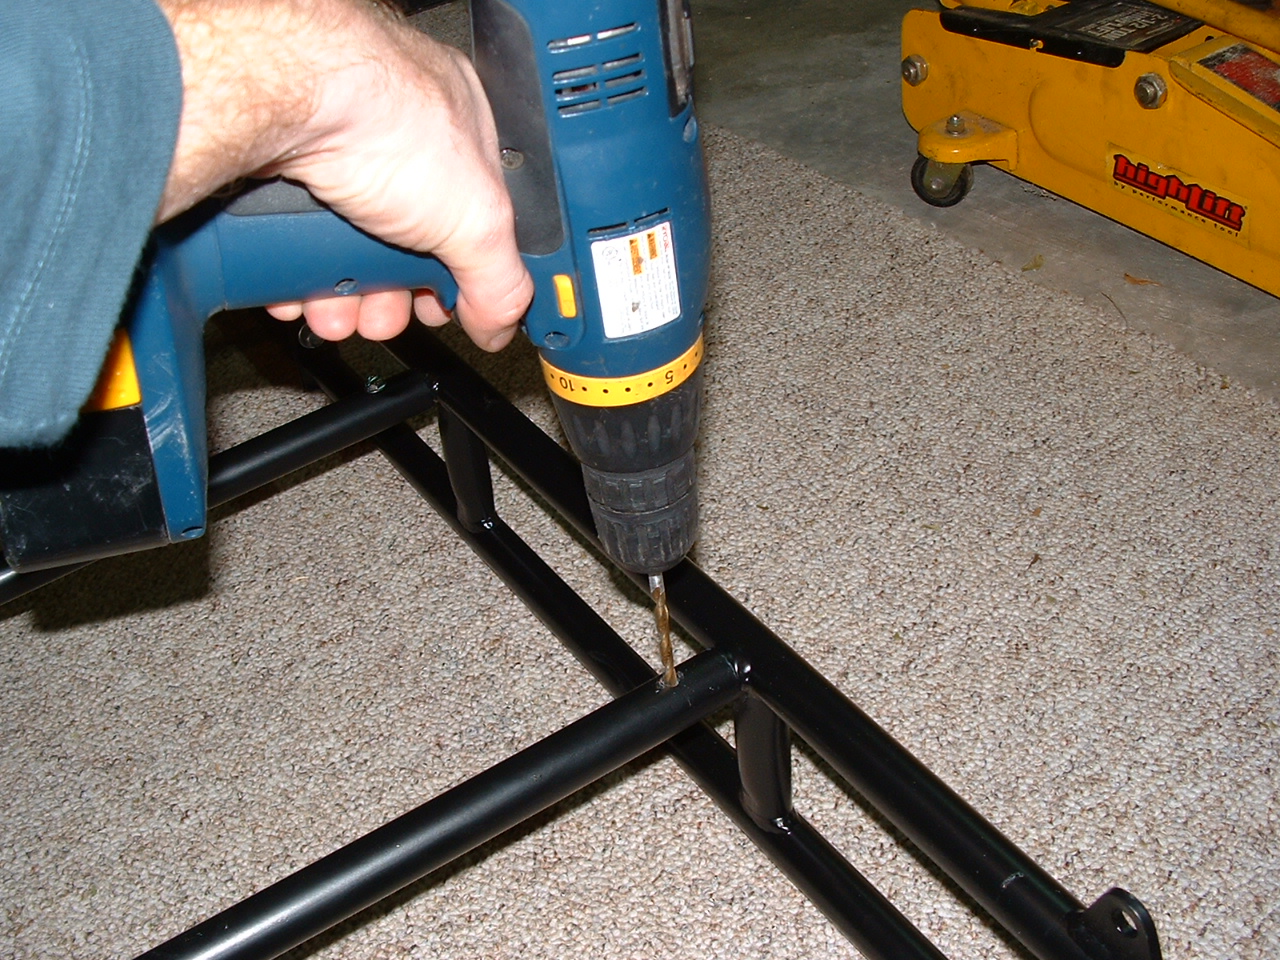
  Step 4: Use the center Punch to mark the centers of the predrilled cross tubes. By assembling the rack upside down you can mark drill and tap the cross bars all at once.
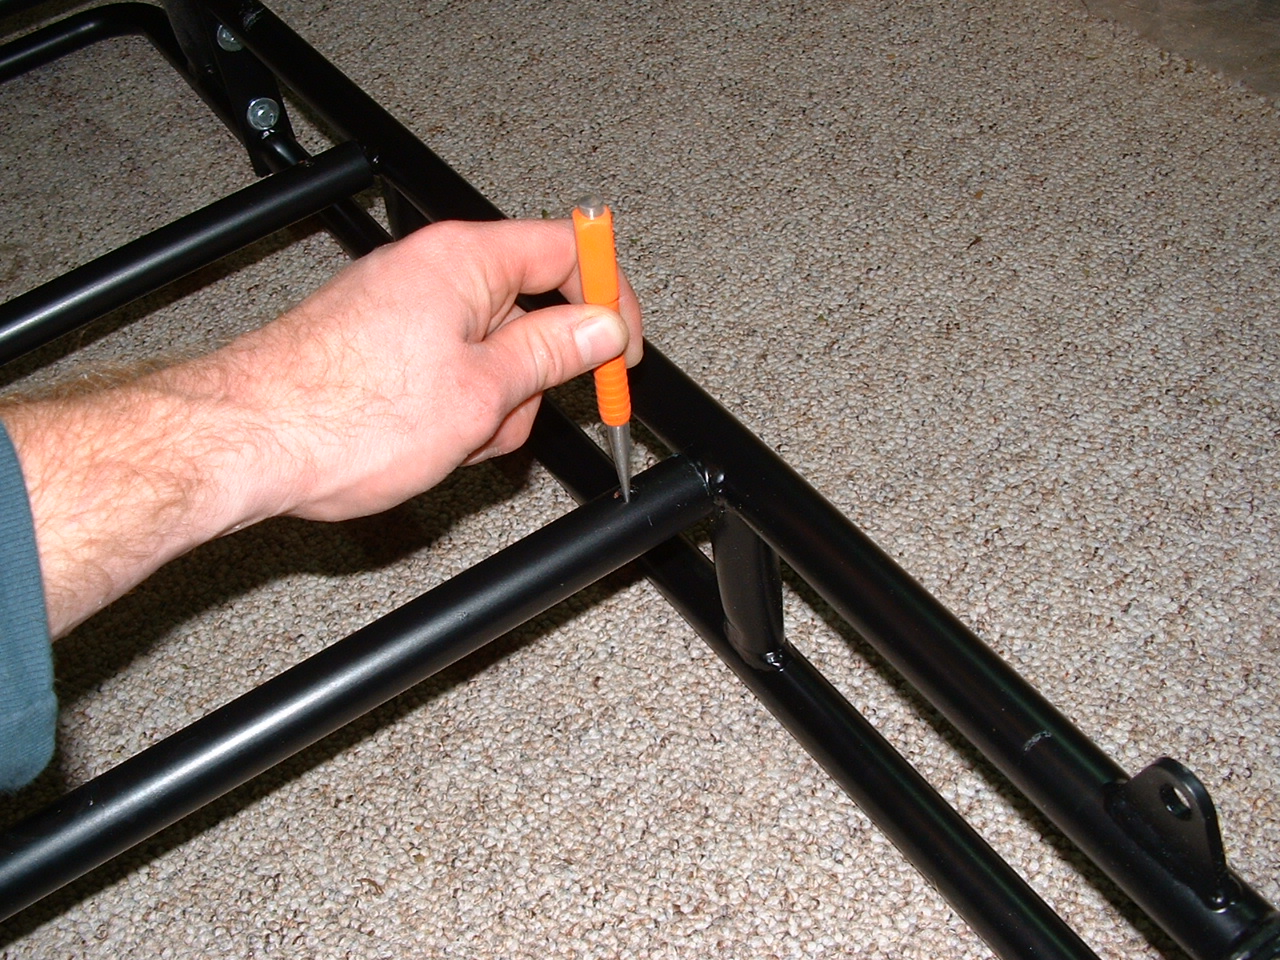
Step 5: Next loosely bolt on the sidebars with the curved section in.  Step 6: Place the roof rack on the vehicle using some spare pieces of wood to level the rack.
  Step 7: Remove the trim pieces on either side of the tailgate. Use a putty knife to clean off the foam adhesive material that holds on the trim pieces.
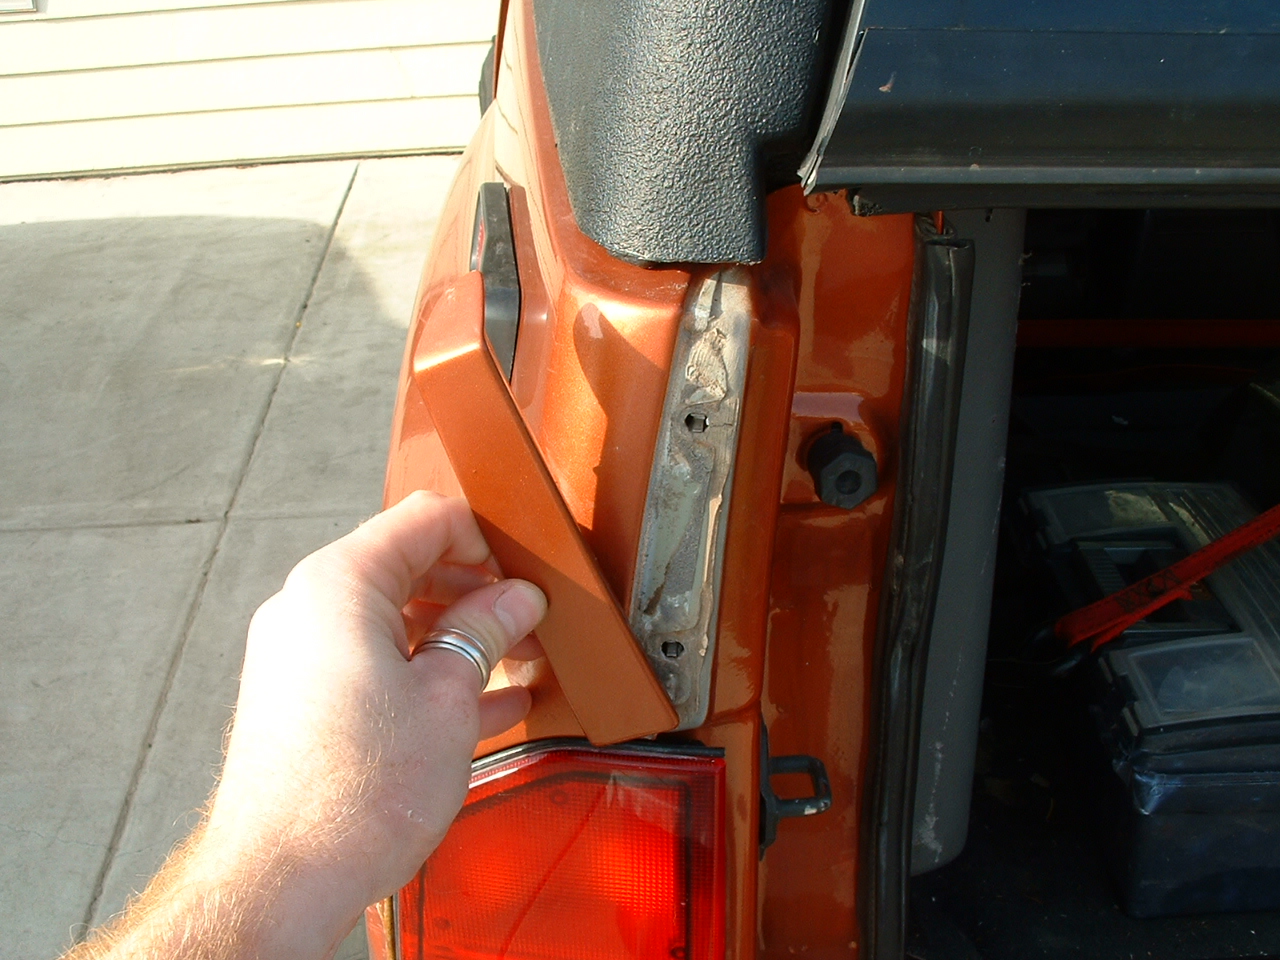


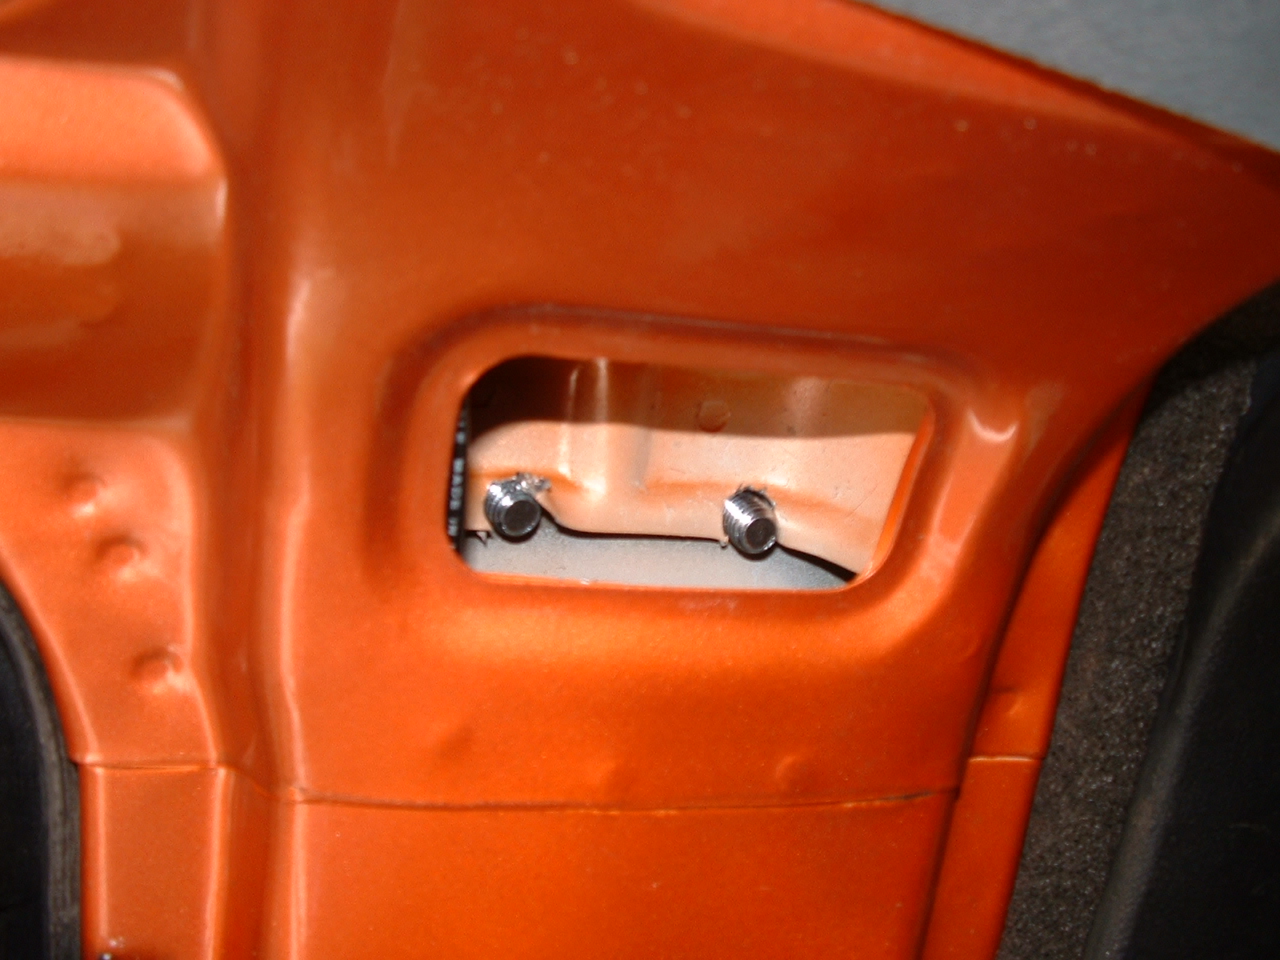
Step 8: The next step is to install the rear rack supports. We removed the taillights from both sides of the truck. This is done by simply removing the two screws in the bottom of each taillight. We then took the “L” shaped bracket and bolted it through the factory holes that were exposed by removing the trim pieces in step 7. The brackets are shaped appropriately for the right and left sides and can easily be identified by holding the bracket up to each side. The bracket should cover all of the area exposed under the trim piece and follow the natural body lines of the vehicle with out interfering with the tailgate. We love to see aftermarket kits use factory holes. The less holes we have to drill the better. 

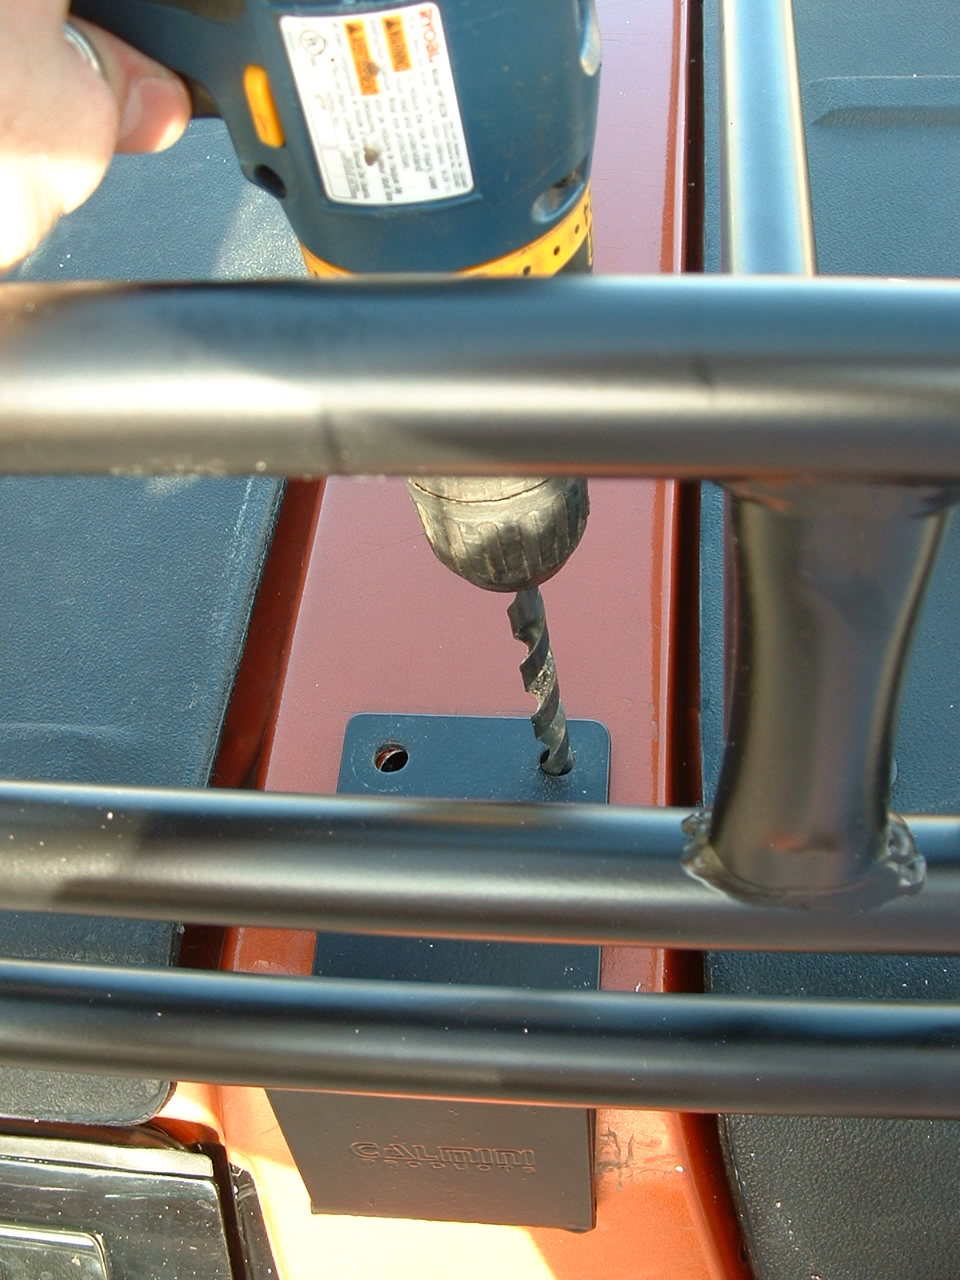
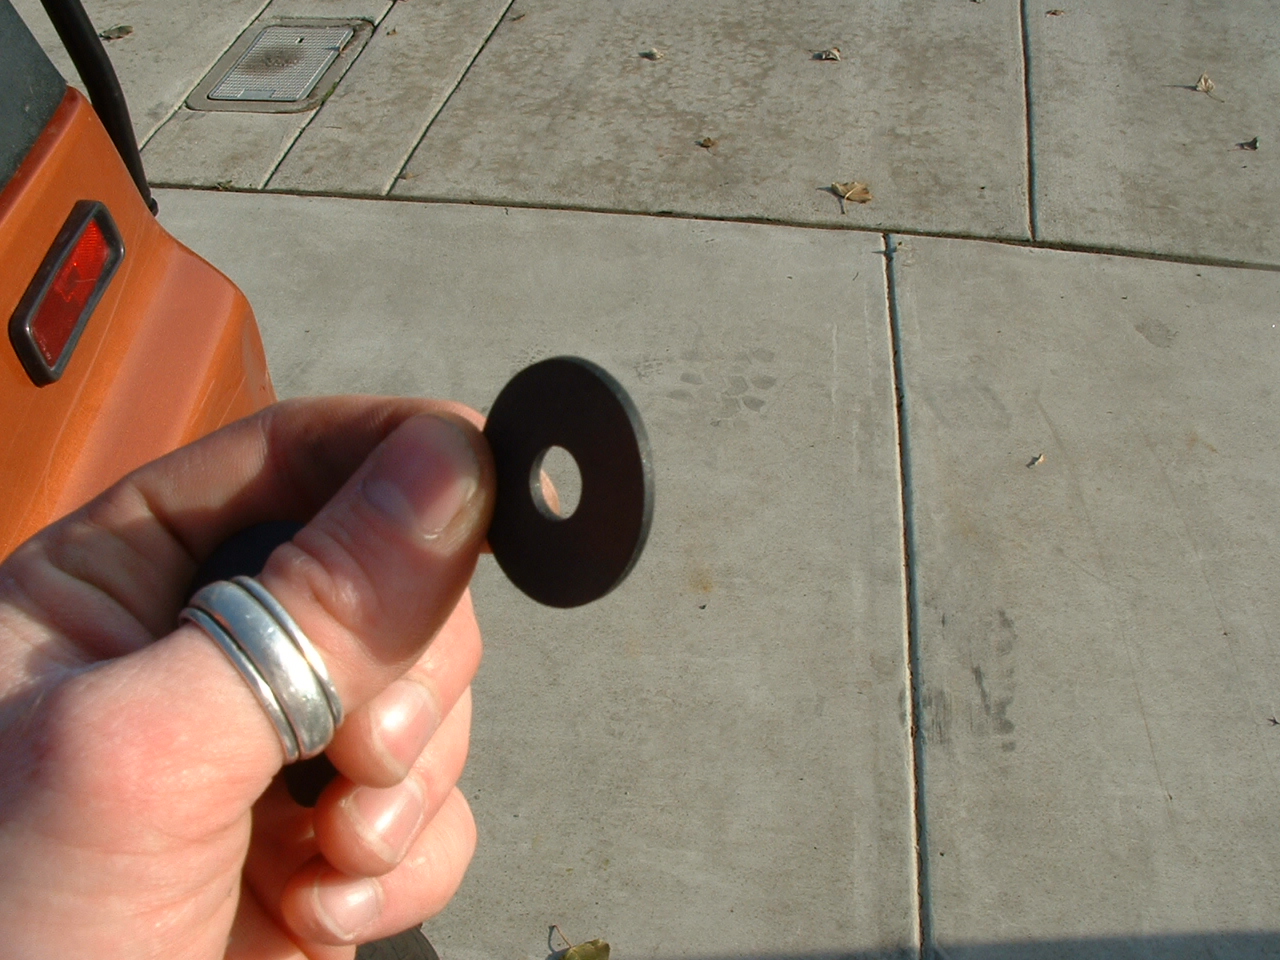
Step 9: Install the rack support rods and thread the large bolt through the bracket and into the bottom of the support rods. Do not tighten at this point. Step 10: Next line the rack up so that it’s straight on the vehicle, and the support rods are vertical. Check the spacing on the targa bar in front of and behind the roof bracket for even spacing. Remember to keep the rack bolts slightly loose to ease alignment. 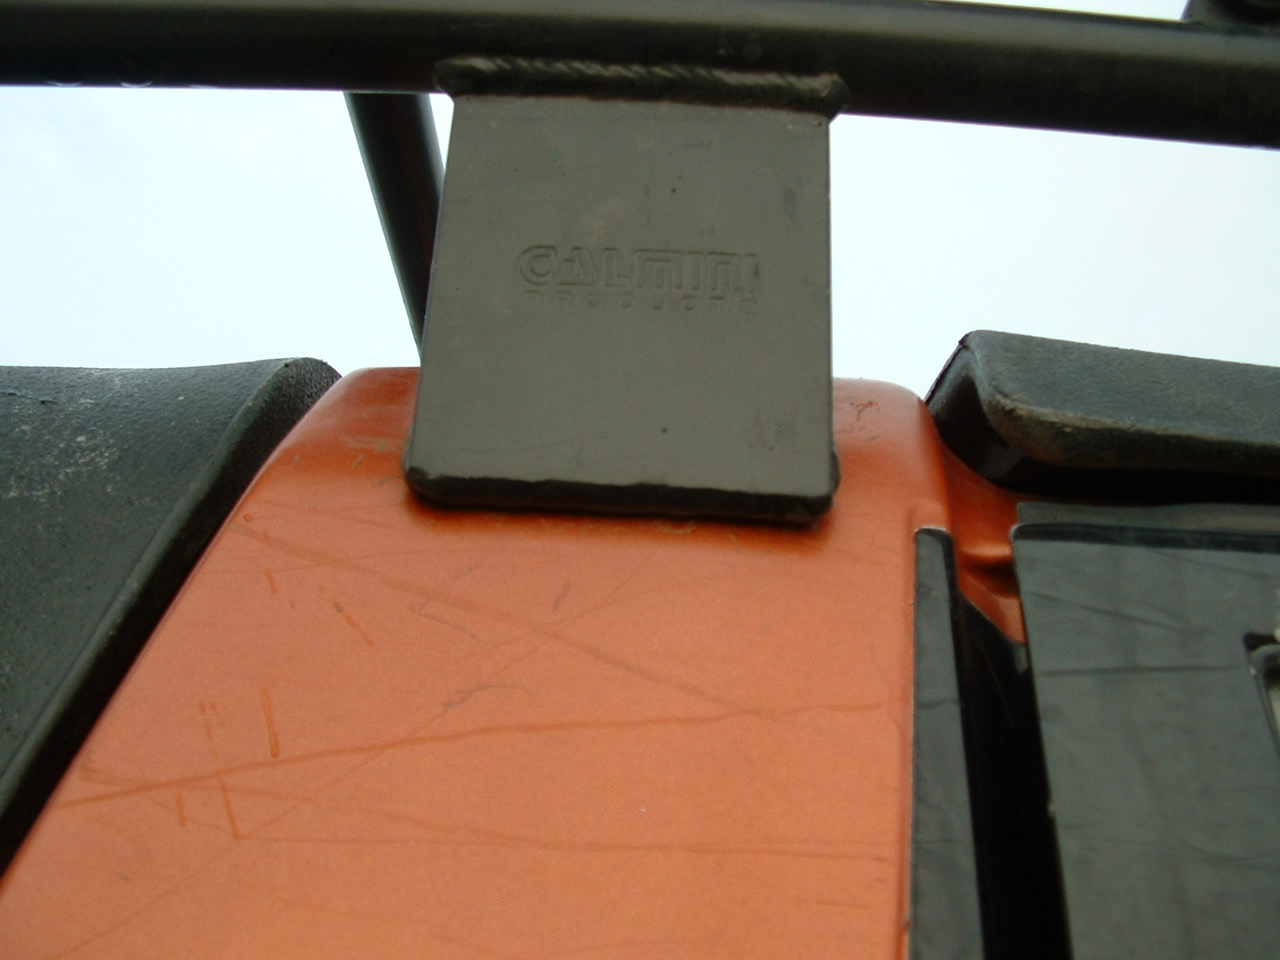 Step 11: Once the rack is lined up and centered, drill 4 holes through the bracket and the roof. Lift the rack up and clean all the metal shaving out from underneath the bracket. Here is the only place we deviated from CALMINI’s direction ever so slightly. We stopped at the local hardware store and picked up 4, 1-1/4″ diameter flat rubber washers. This is an attempt to make a good seal between the targa bar and the roof rack mounting brackets. It rains an awful lot in Oregon and the last thing we want is water running down the inside of the targa bar and rusting out the floor boards and the seat belt mechanisms from the inside. In dryer locations this won’t be a problem. These will also help with vibration if any where to occur.

Step 12: Once the holes where drilled we removed the plastic covers on the inside of the targa bar and threaded the provided nylon-locking nuts on the inside of the targa bar. This was by far the most frustrating part of the kit.
To stop the nuts from falling down the targa bar, we stuffed some paper down into the side of the targa bar to catch the falling nuts before they fell out of reach.
 Step 13: Once the rack is fastened down securely we marked with a center punch the rack support bars making sure they were all the way seated in to the roof rack. We then drilled and bolted the support bars in place with the last remaining sheet metal screws.
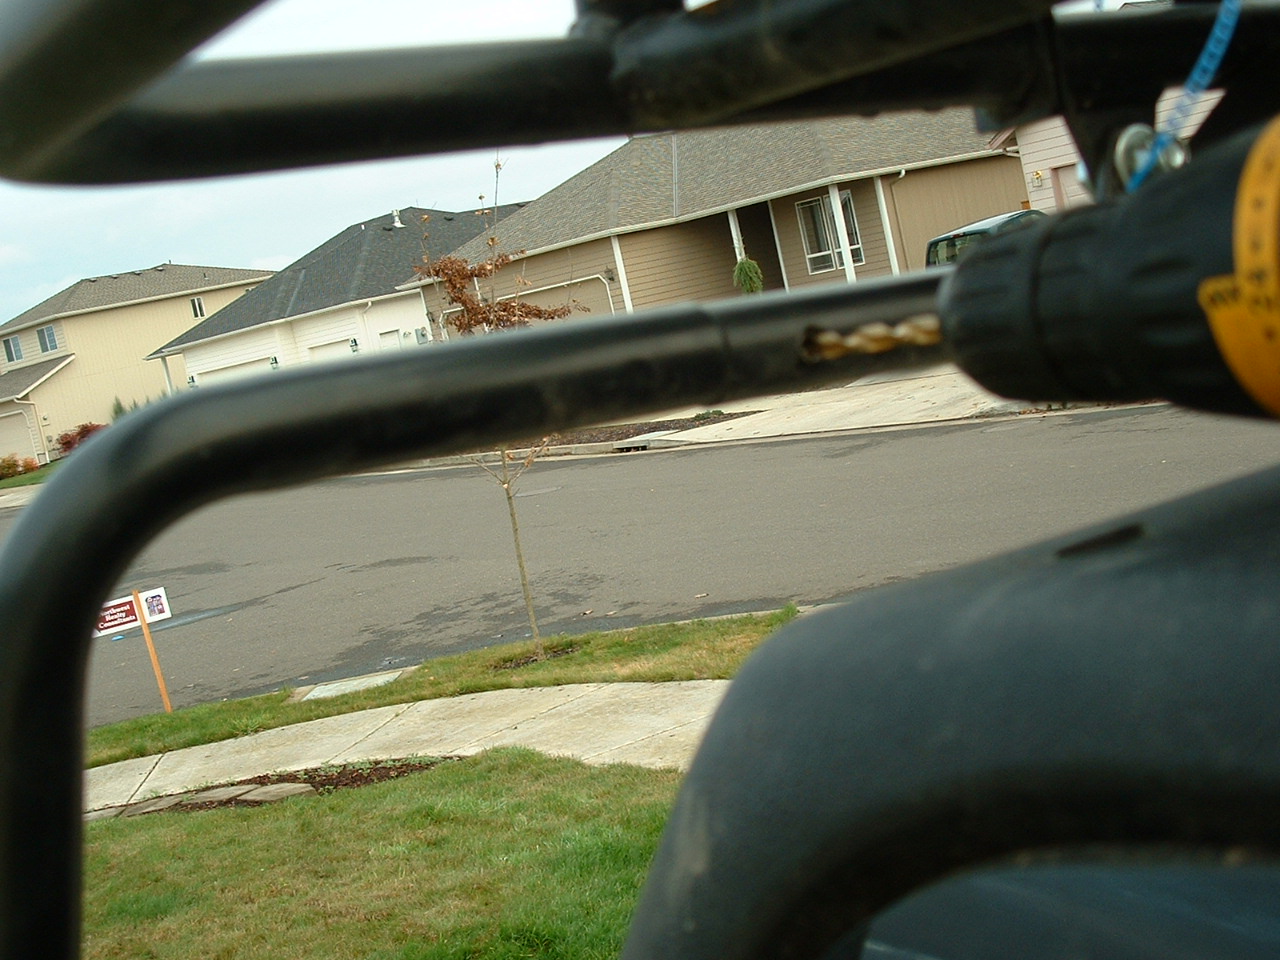

Step 14: Last step is to go over all the bolts and make sure they are tightened securely, reinstall the taillights, and the targa bar interior inspection covers. 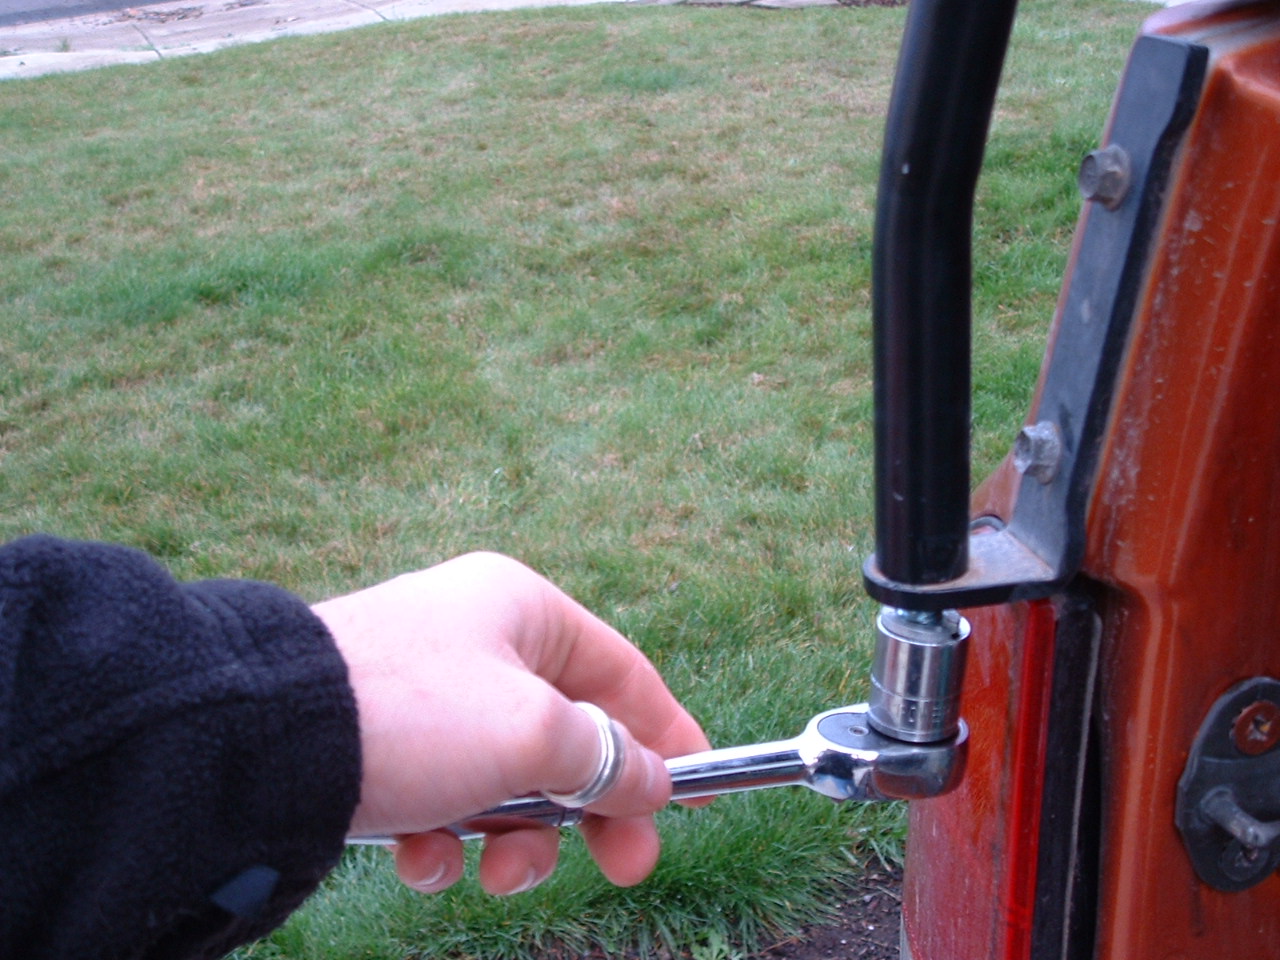
In conclusion, we found the roof rack to be an excellent accessory for the Sidekick In fact, the following weekend we loaded up the rack with a six-gallon gas can, 5 gallons of water, two chairs, a high-lift jack, a shovel, and a collapsible table. There was no problems found and tons of room left over. Through the course of the adventure we added two totes of camping gear and 10 to 15 logs for the next nights fire of which the CALMINI roof rack accepted with ease. There was no additional wind noise, no creaking, or squeaking. The folks at CALMINI specs out the rack for 200 lbs of gear and we have no doubt that we tested it to that limit and all the while the rack remained solid. This rack is a great addition to any Sidekick and will help out the avid adventure with the effortless stowage of their gear.


Shame that Calmini is going through legal troubles (Google “Calmini lawsuit”) as I’d wanted to order a rack and lift-kit for my 1992 Geo Tracker.
Concerned they might go bankrupt if they lose the litigation.
Will you rack fit a 1996 Suzuki sidekick softtop
there is pretty good space between the bottom of the rack and the top fo the car. A flip up from the back sunroof should be fine. We were able to remove and install the hard top front section as it toes in on the back and the standard soft top latches in the front lock it down.. Sun roofs are rare on sidekicks and samurais for that matter and any “sunroof” would mostly likely be an aftermarket item.. With a general question comes a general answer..
:-)
Does the roof rack interfere with the opening, closing and use of the sun roof?