 ZUKIWORLD Online – Everything Suzuki Your Complete Suzuki Automotive Resource for Editorial, Tech, Events, Adventure, Racing, and Forum

SKY Manufacturing
Installation and Review of Sky Manufacturing’s Samurai Light Tabs.
Editor: Eric Bewley
Springfield, OR -Sky Manufacturing and Off-road Design has provided Samurai enthusiasts with another fine product. Samurai Light tabs are designed to take the place of the factory windshield brackets allowing the owner to attach two off-road lights in this optimal place. We received the windshield light tab install kit via USPS. The kit contained two light tabs, 6 stainless steel socket head bolts and washers, installation instructions, and decals. The parts are laser cut and jig welded. Overall, our impressions of the kit were favorable with the exception of some welding splash and a finish suitable for metal protection not presentation that led us to repaint the brackets before installation.
The following installation steps will illustrate an easy install and a great finished product. If you run at the dunes, at night, or just want a little extra light. The Sky Manufaturing Samurai Light tabs make an excellent choice.
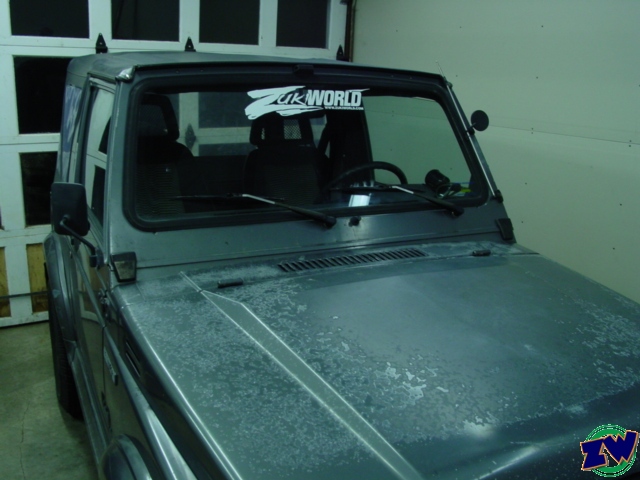 1. Prepare the vehicle by cleaning and installing this trick ZUKIWORLD windshield decal.
 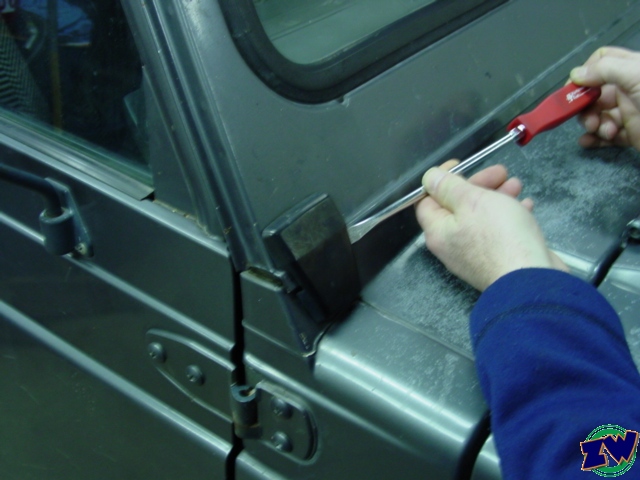 2. Remove the plastic cover that protects the factory windshield bracket. Take care not to damage the paint.
  3. Using an impact or chisel remove the 3 Phillips head bolts from bracket.
  4. Completely remove bolts and factory bracket.
  5. Create a ‘feedthrough’ hole for the light’s wiring. First measure, then use a punch to locate hole where desired.
  6. Drill for appropriate wire size.
  7. Install a grommit purchased from a local hardware store to reduce wire chafing and water leakage on your feedthrough hole.
 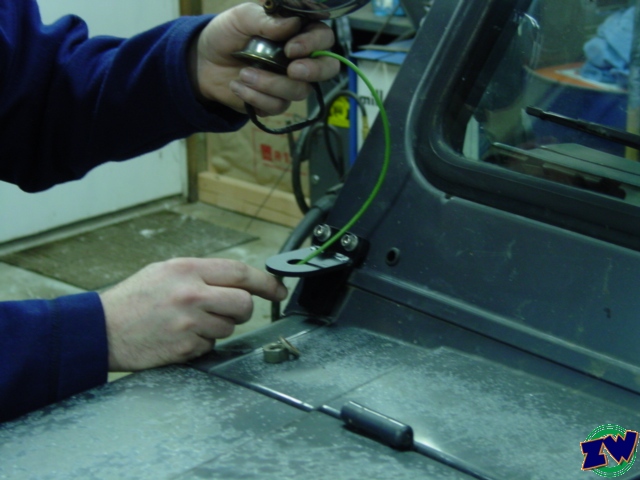 8. Install bracket using the new provided Socket Head bolts and washers.
 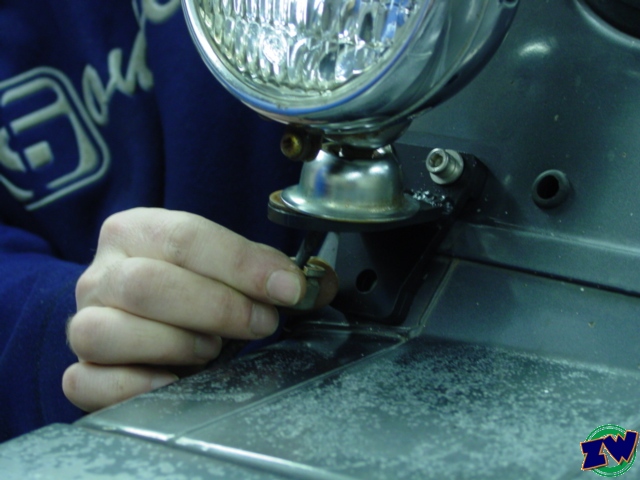 9. Install your light.
  10. TIP: using WD-40 as a lubricant. Feeding the wire through the grommit is eased.
  11. Wire your lights to an appropriately switched and fused circuit.
  12. Enjoy your new lights.


Any photo of the bracket itself before installation ?