 ZUKIWORLD Online – Everything Suzuki Your Complete Suzuki Automotive Resource for Editorial, Tech, Events, Adventure, Racing, and Forum

SHROCKWORKS ARMOR
Heavy Duty Rear Bumper For the Samurai
Editor: Eric Bewley
ALBANY, OR – Project: Hermey has become quite a reliable stable mate to our other vehicles and has happily carried guests and us alike on many adventures since it’s beginning. One of the things it has always needed; however, was some armor to protect it from trail damage.

This month we install ShrockWorks rear bumper as part of the entire ShrockWorks armor package. The bumper is made from heavy guage steel and arrived with nice welds and all hardware included. Installation requires regular shop tools and approximately 4 hours to complete.
1. Remove tail/brake light lense assembly 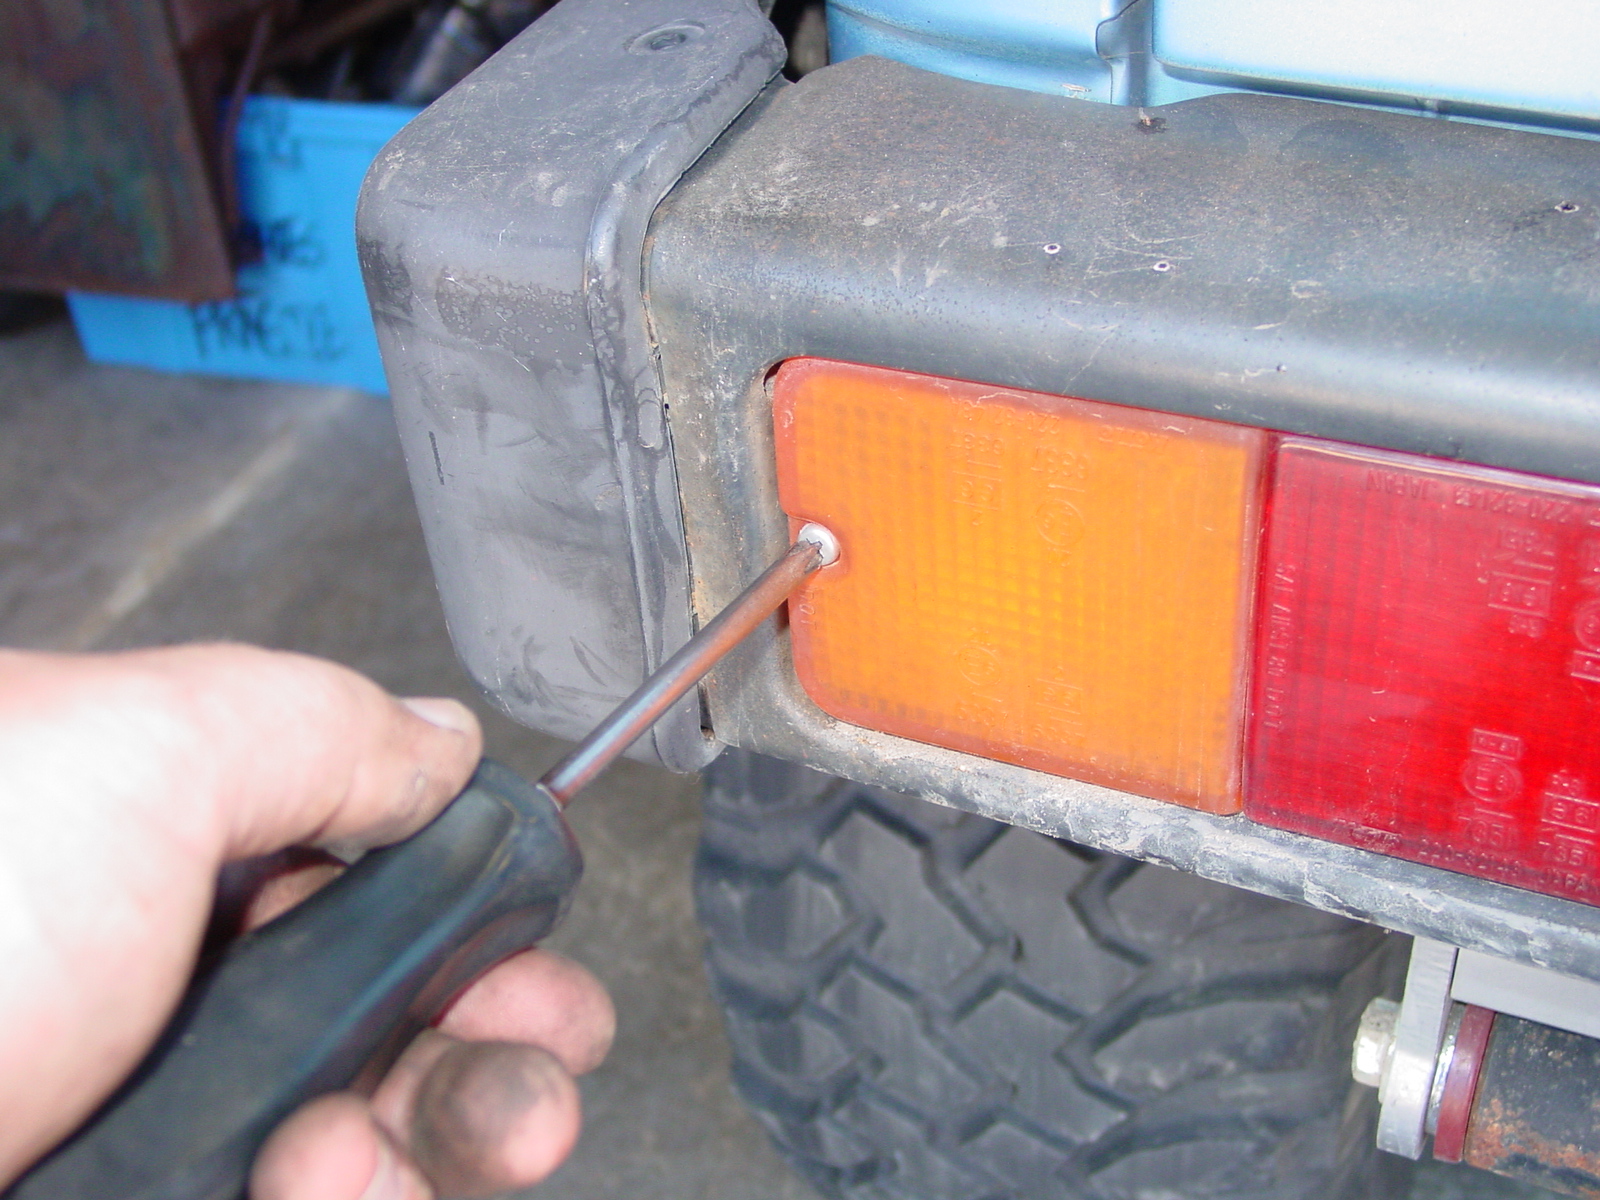 2. Remove marker light assembly
  3. Remove plastic bumper end caps; remove upper plastic rivet.
  4. Continue by removing two plastic screws
  5. Remove bolts holding bumper.
 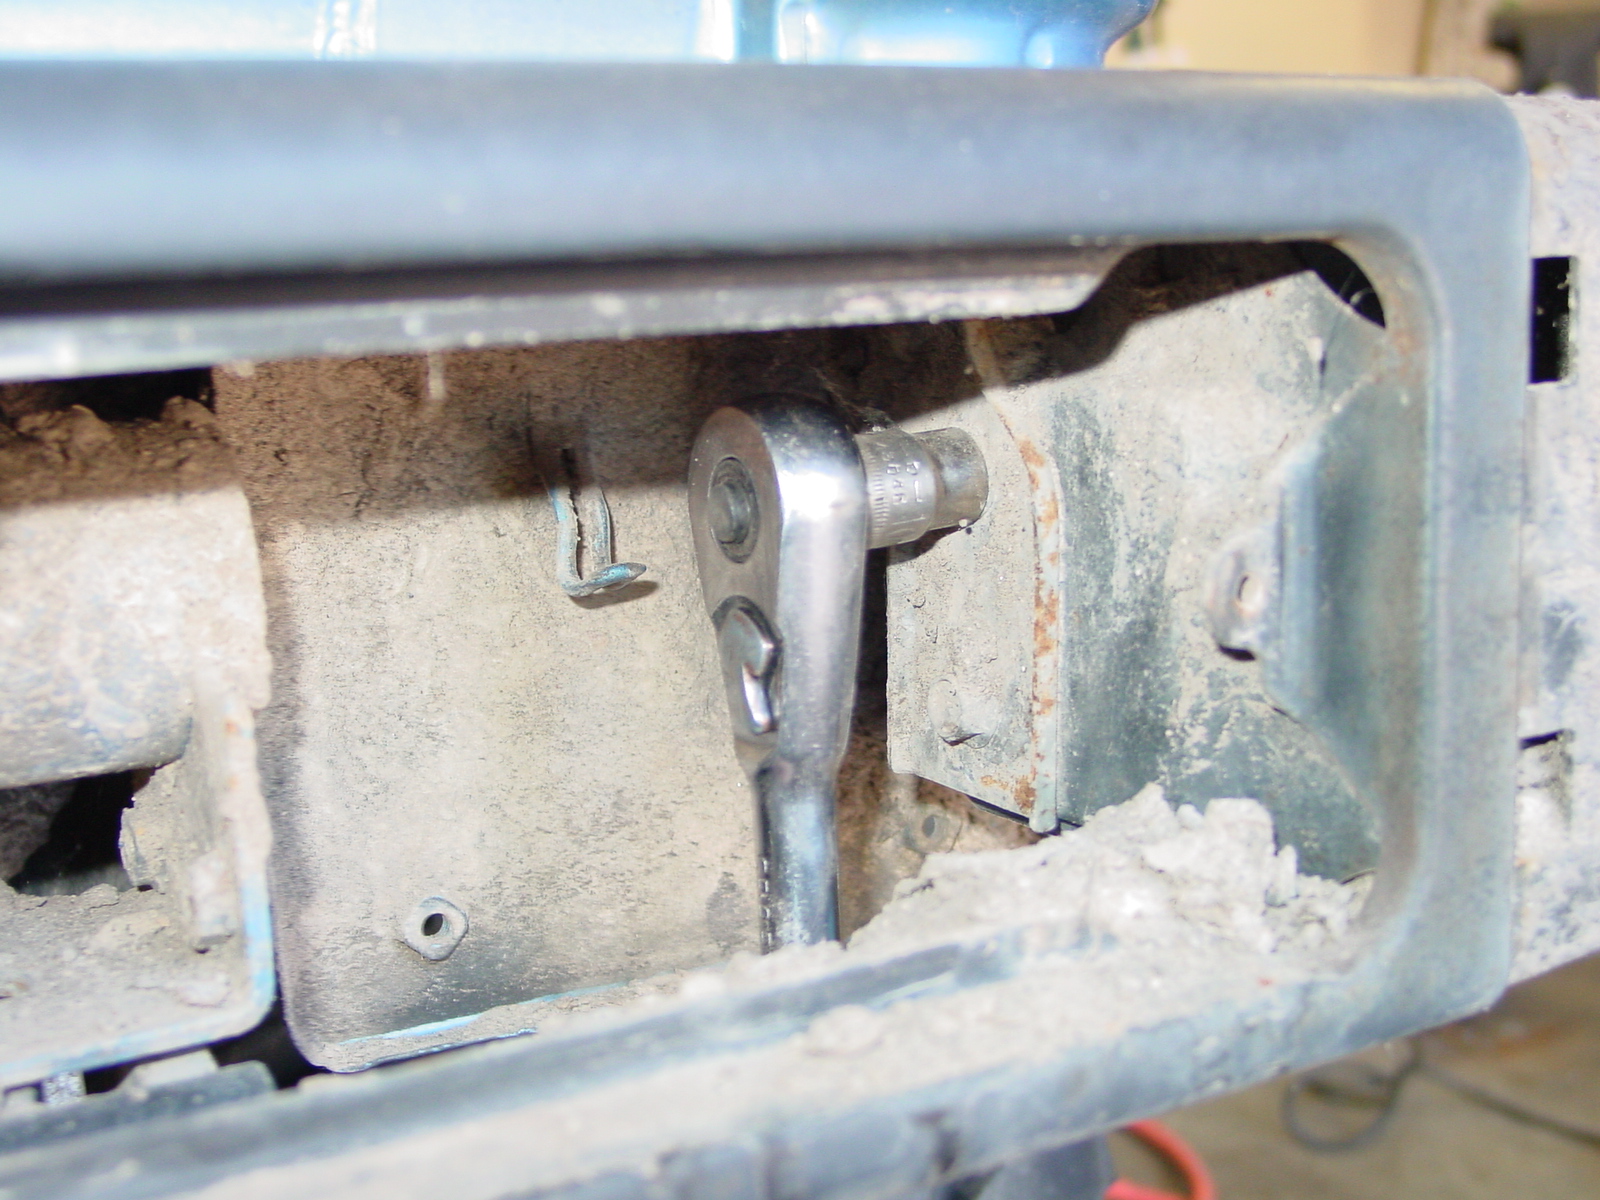 6. Continue to remove bolts.
  7. Continue.
  8. Remove stock bumper from vehicle.
  9. We have the Trail Tough YJ Conversion with missling links in the back so it was necessary for us to jack up the vehicle and remove this poly bump stop.
  10. Remove stock bumper mounting tabs.
 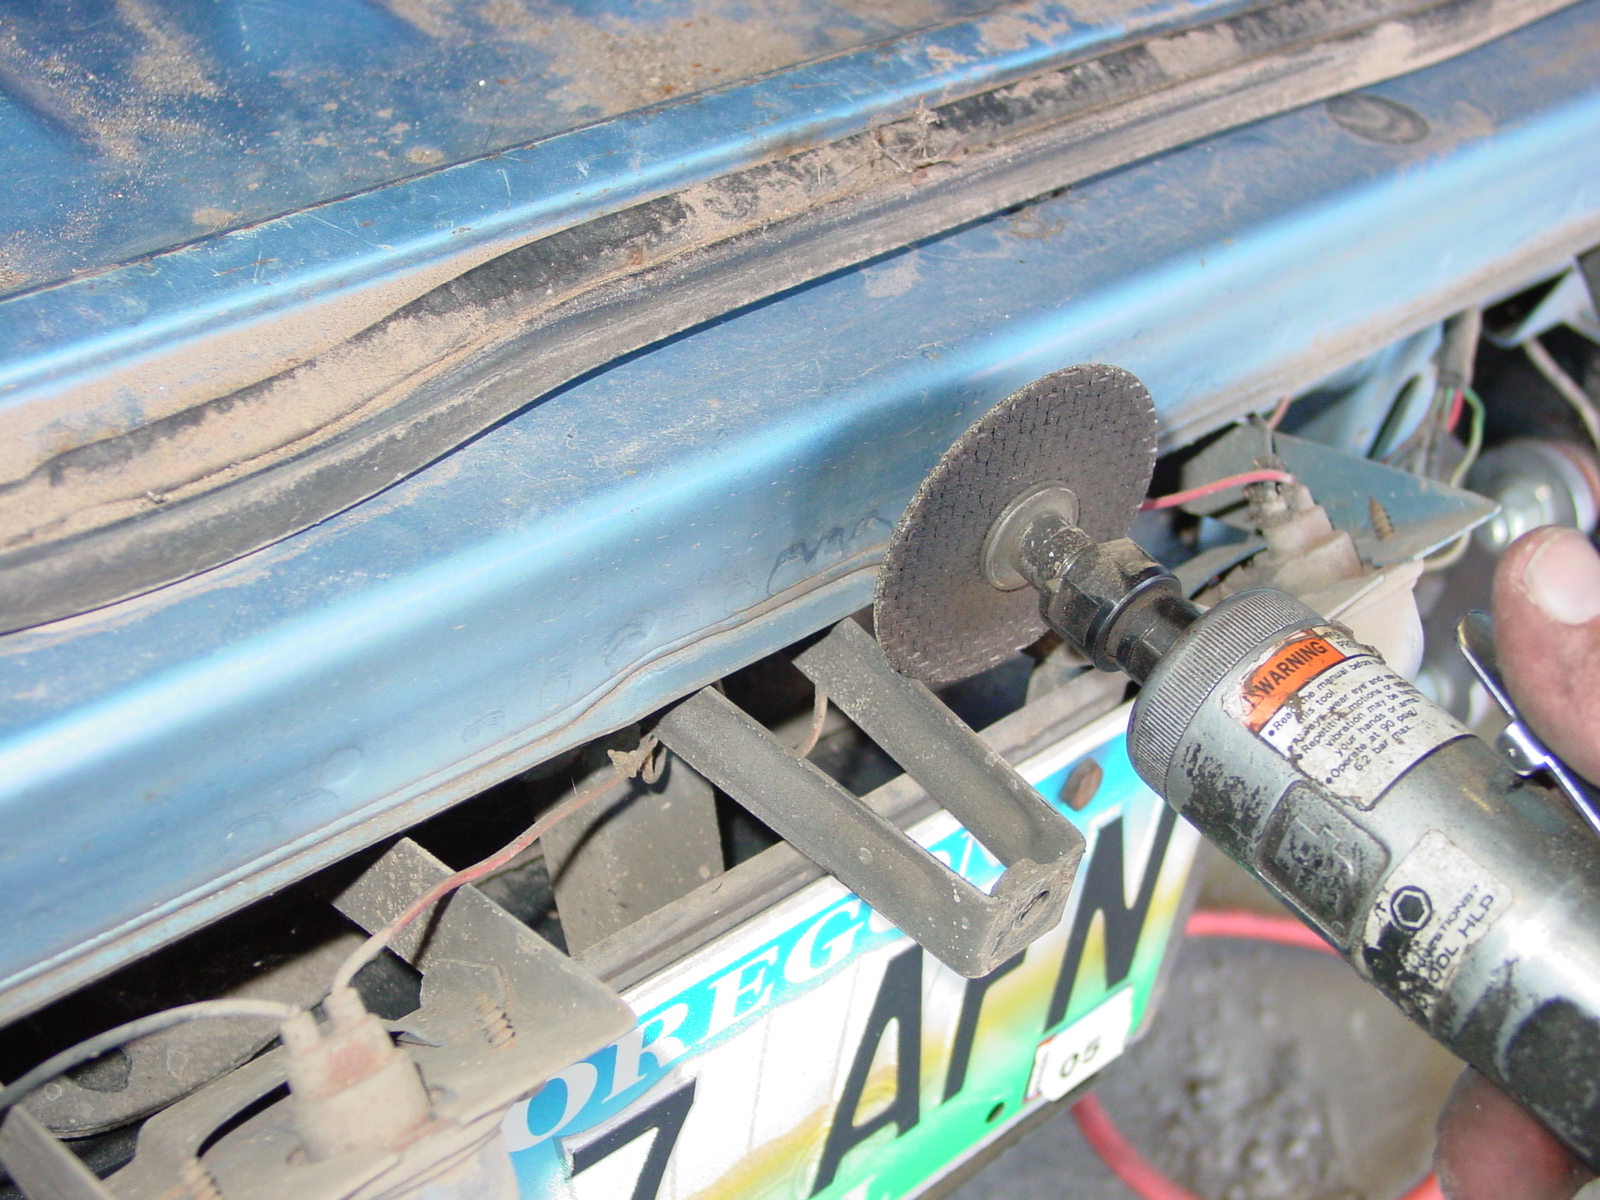 11. Continue.
  12. Trim fender flare mounting bracket.
  13. Continue.
  14. Test fit bumper.
  15. Wire new lights according to included instructions.
 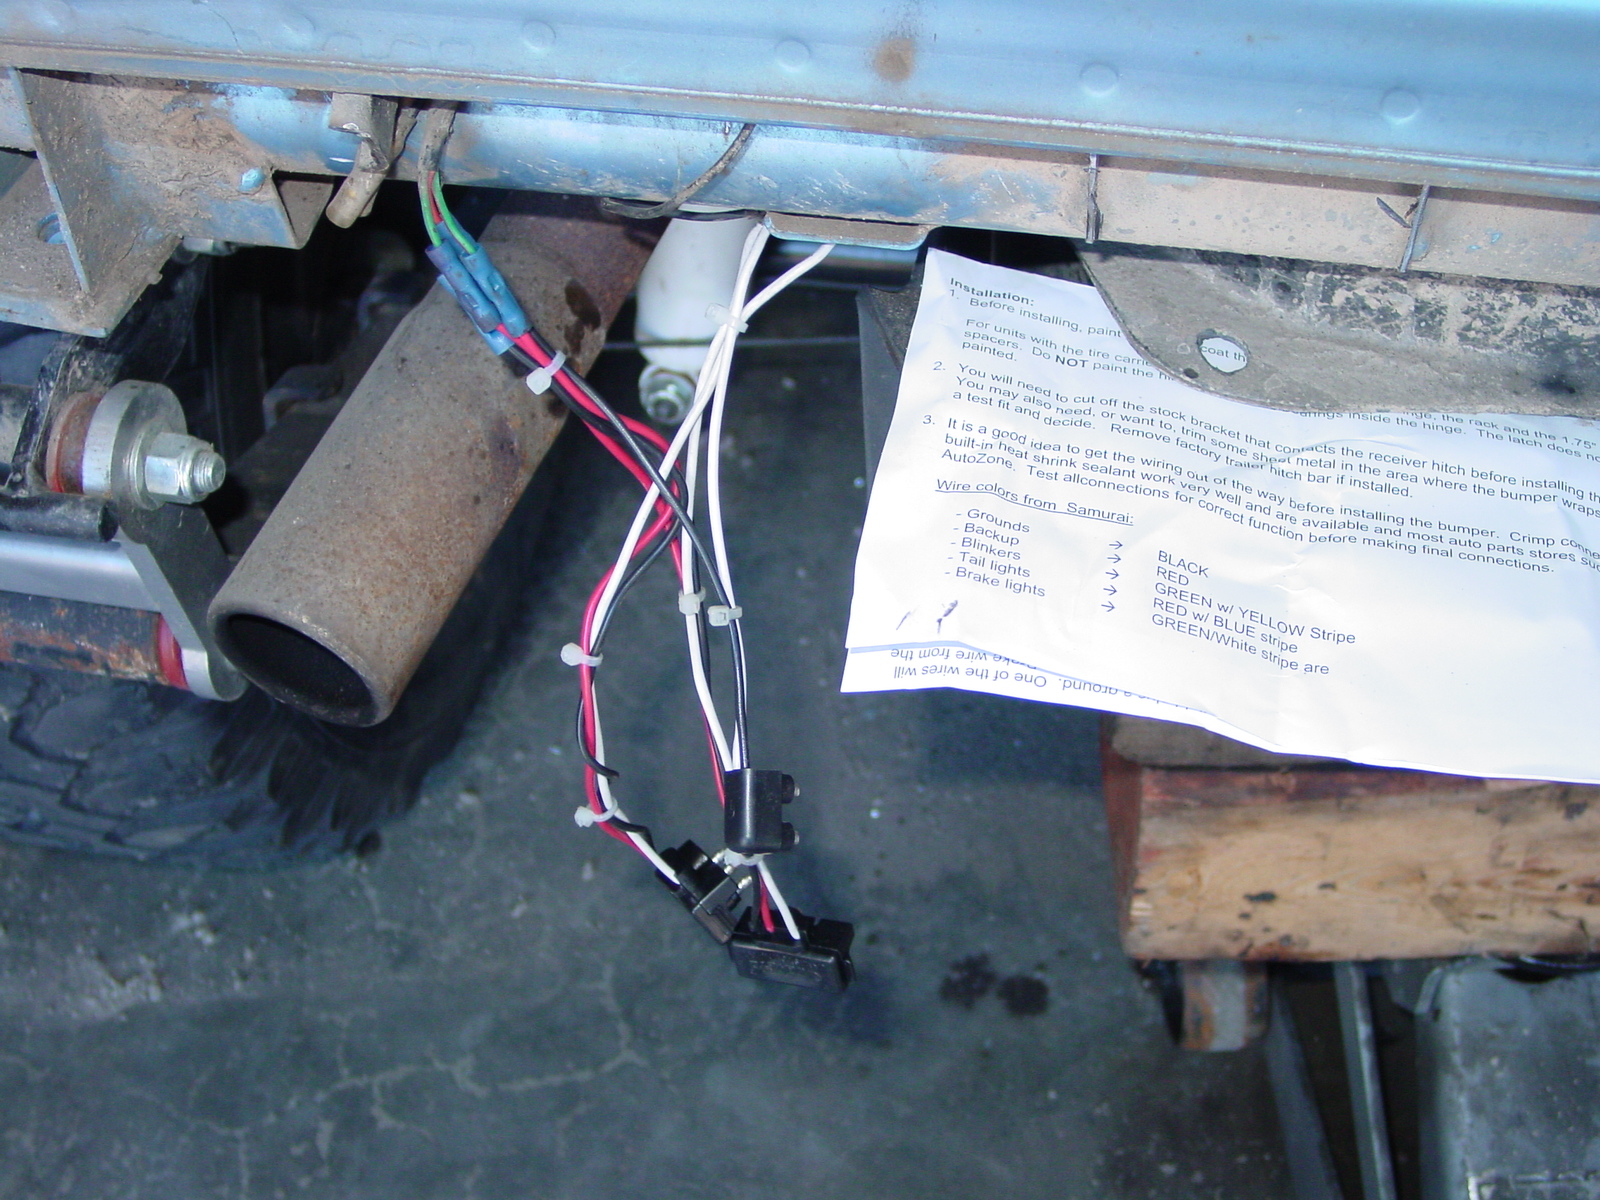 16. Have a friend help you install bumper. Lift into place and put the lower 4 bolt, washer, and nut assemblies in place. Do not tighten.
  17. Remove body mount bolt and washer.
  18. Install new bolts and bracket. Do not tighten.
  19. Verify bumper is situated straight and tighten all eight (8) mounting bolts.
 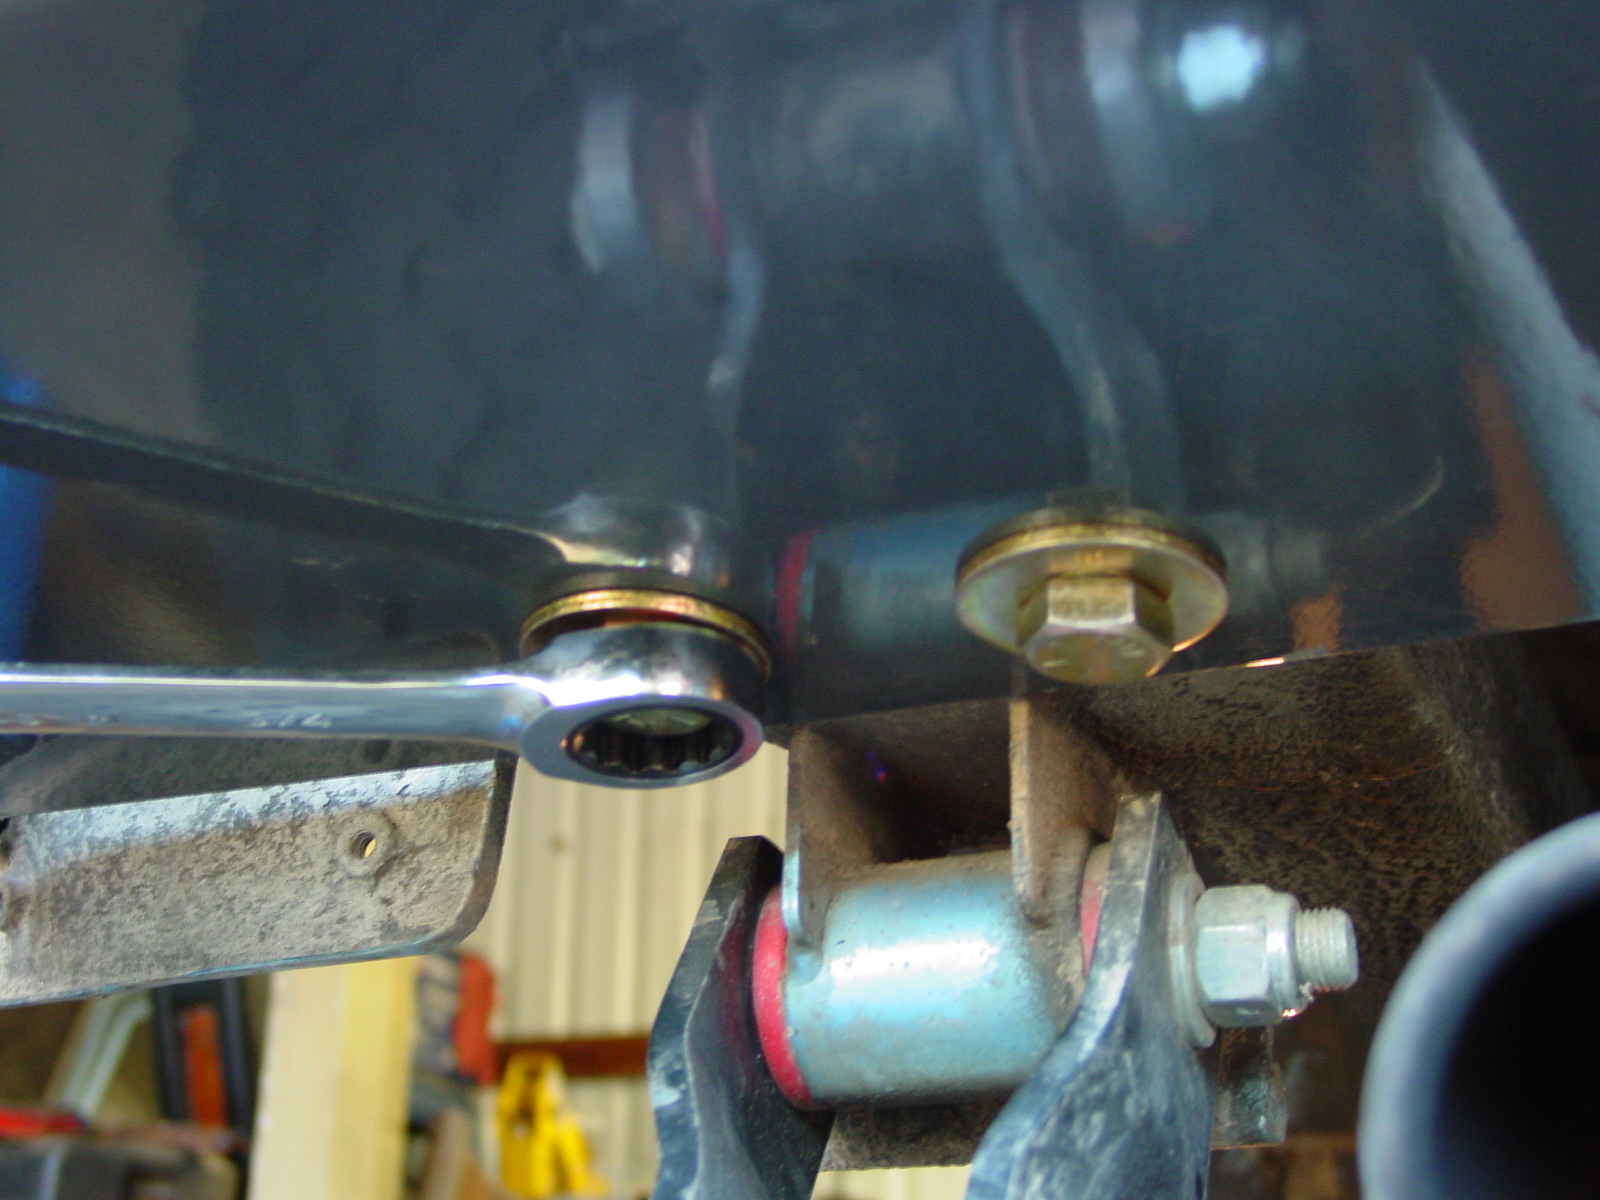 20. Install rubber grommit for lights, install lights.
 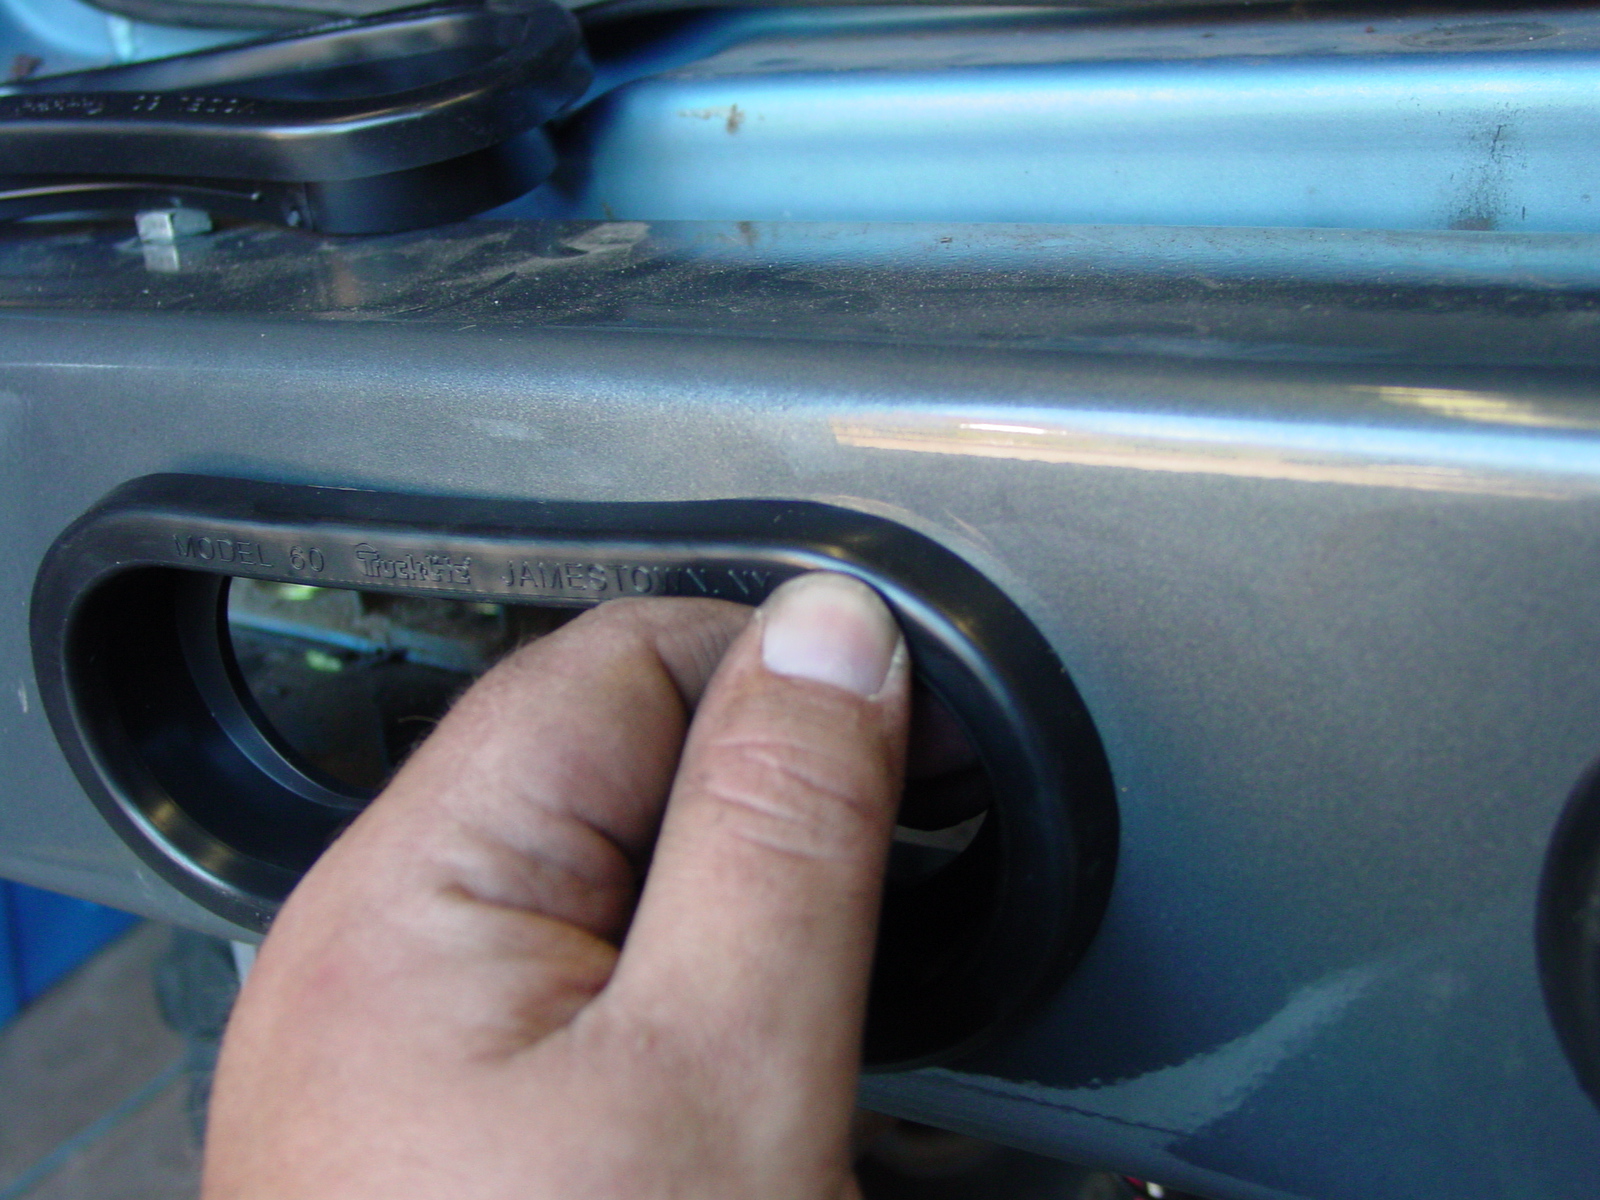 21. We did not chose the spare tire carrier option. So we has to reverse our spare tire to get the clearance needed so that we could shut our tailgate.
  22. Enjoy your new bullet proof bumper.
Trail testing revealed exactly what we thought. This bumper is tough. We have scraped our backsides several times now where I know that the stock bumper would have been bent into a pretzel. The only reservation we have is that the bumper ties the frame and the body together directly. We have noticed some added drivetrain vibration and are concerned about possible body cracks in the future. Additionally, we chose to powdercoat ourselves so we can not attest to the finish quality that would be normally received but if it’s anything like the build and weld quality there is no concern for it will be of high quality. Nonetheless, this bumper gets the job done in a straight-forward brute way and will protect your Samurai against it all…


check out smart meter blocker.comthe best thing to do is to lock up your meter so you dont get a smart meter to begin with. Lock it up 100 peecnrt legal!!thanks