 ZUKIWORLD Online – Everything Suzuki Your Complete Suzuki Automotive Resource for Editorial, Tech, Events, Adventure, Racing, and Forum

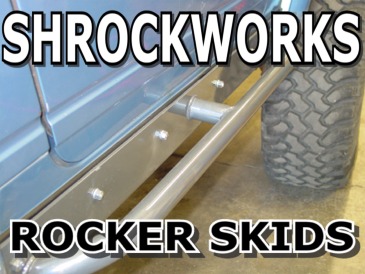
SHROCKWORKS SLIDERS
Rocker Panel Skids For Your Samurai.
Editor/Photo: Eric Bewley
ALBANY, OR – In this our final installment of the ShrockWorks armor project for our Samurai Project: Hermey, we have a great sense of completion and accomplishment. The Shrockworks armor really has finished off the Samurai well making it a formidable trail machine. The rocker skids that we have installed for this article are robust and make a solid addition and contribution to the total ShrockWorks armor package.
Intallation should take the better part of eight hours depending on the amount of damage and repair / prep you need to do to your rocker panels. We were fortunate and did not have to repair much more than the accidental ‘drill throughs’ that happened when we were drilling out the spot welds.
1. Remove factory plastic fastening screws for the rocker panel protection. 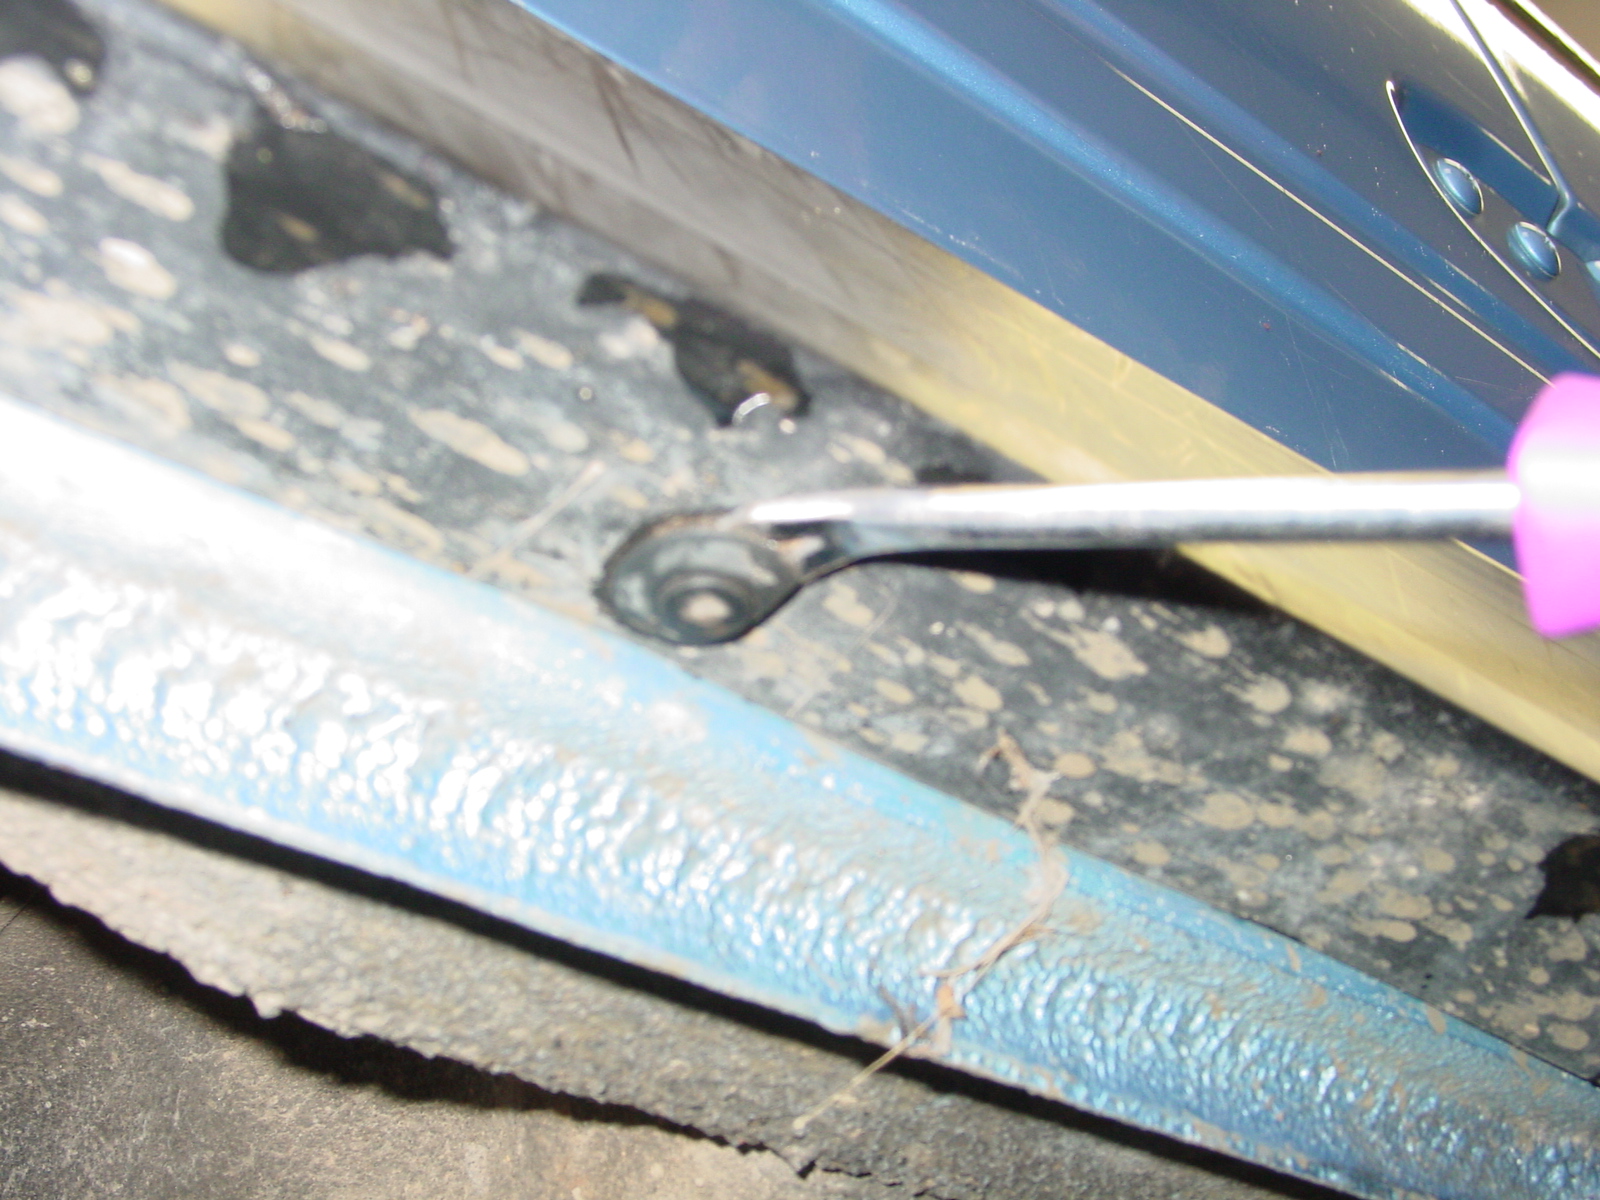 2. Remove factory plastic rocker panel protection exposing the factory undersupport.
  3. Find and mark where the spotwelds are located
  4. Using a spotweld drill, drill out spotwelds.
 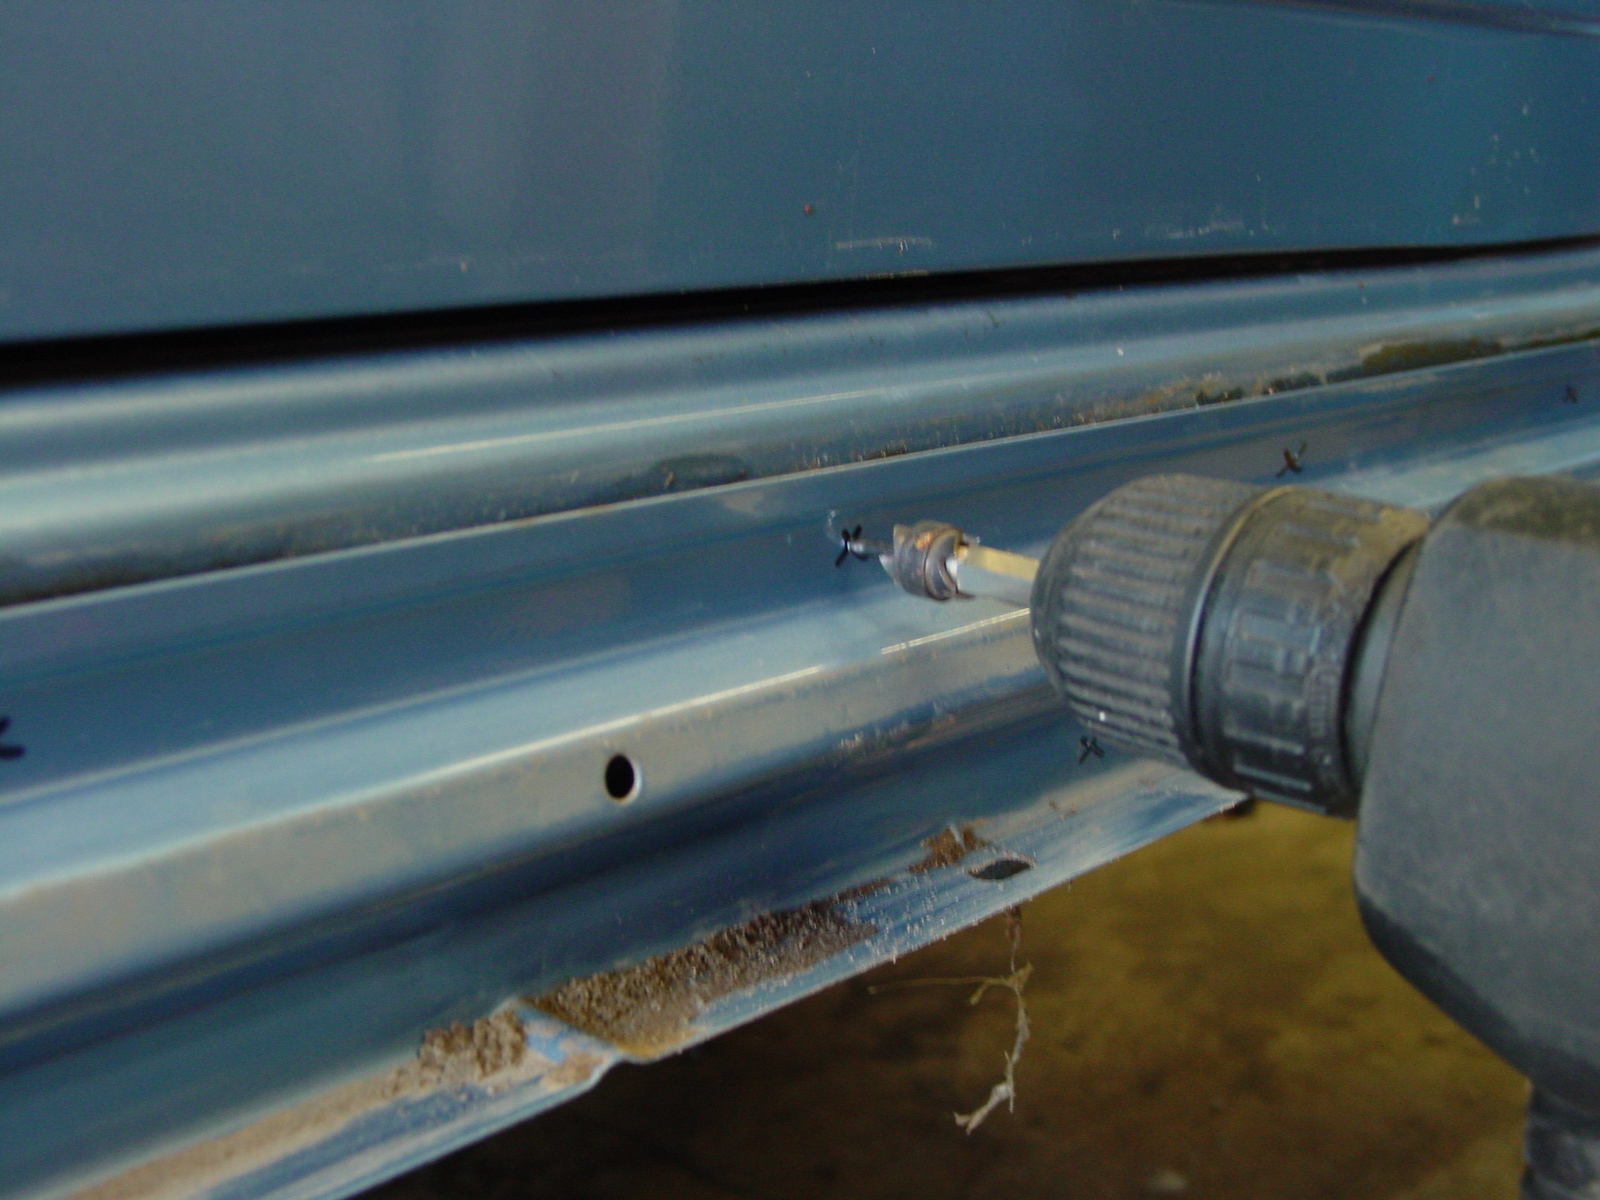 5. Using a drift punch, remove the rocker undersupport. Take your time at this step and make sure that you have drilled enogh, but not too much, of the spotweld.
  6. Haste makes waste. Here we did not drill far enough and the spotweld ripped the sheetmetal.
 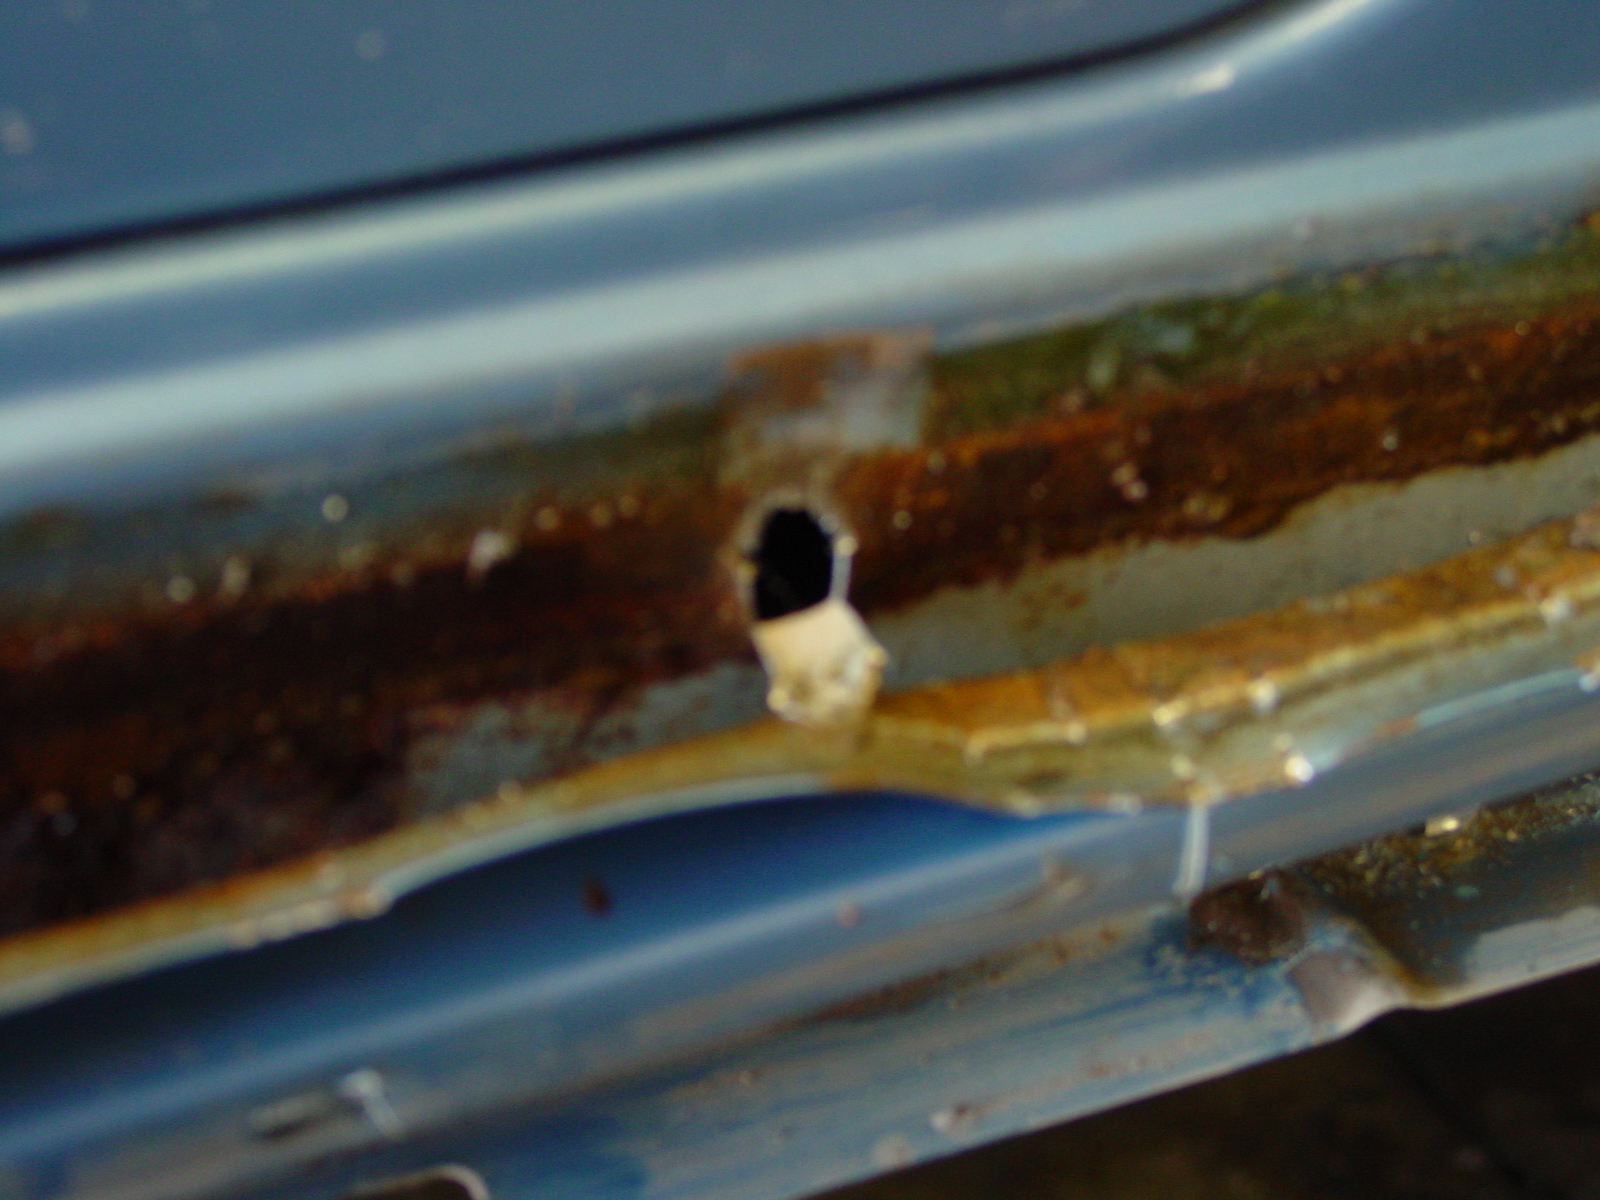 7. Once the undersupport is removed, clean and prep the rocker surface.
  8. Paint and or rust proof surface.
 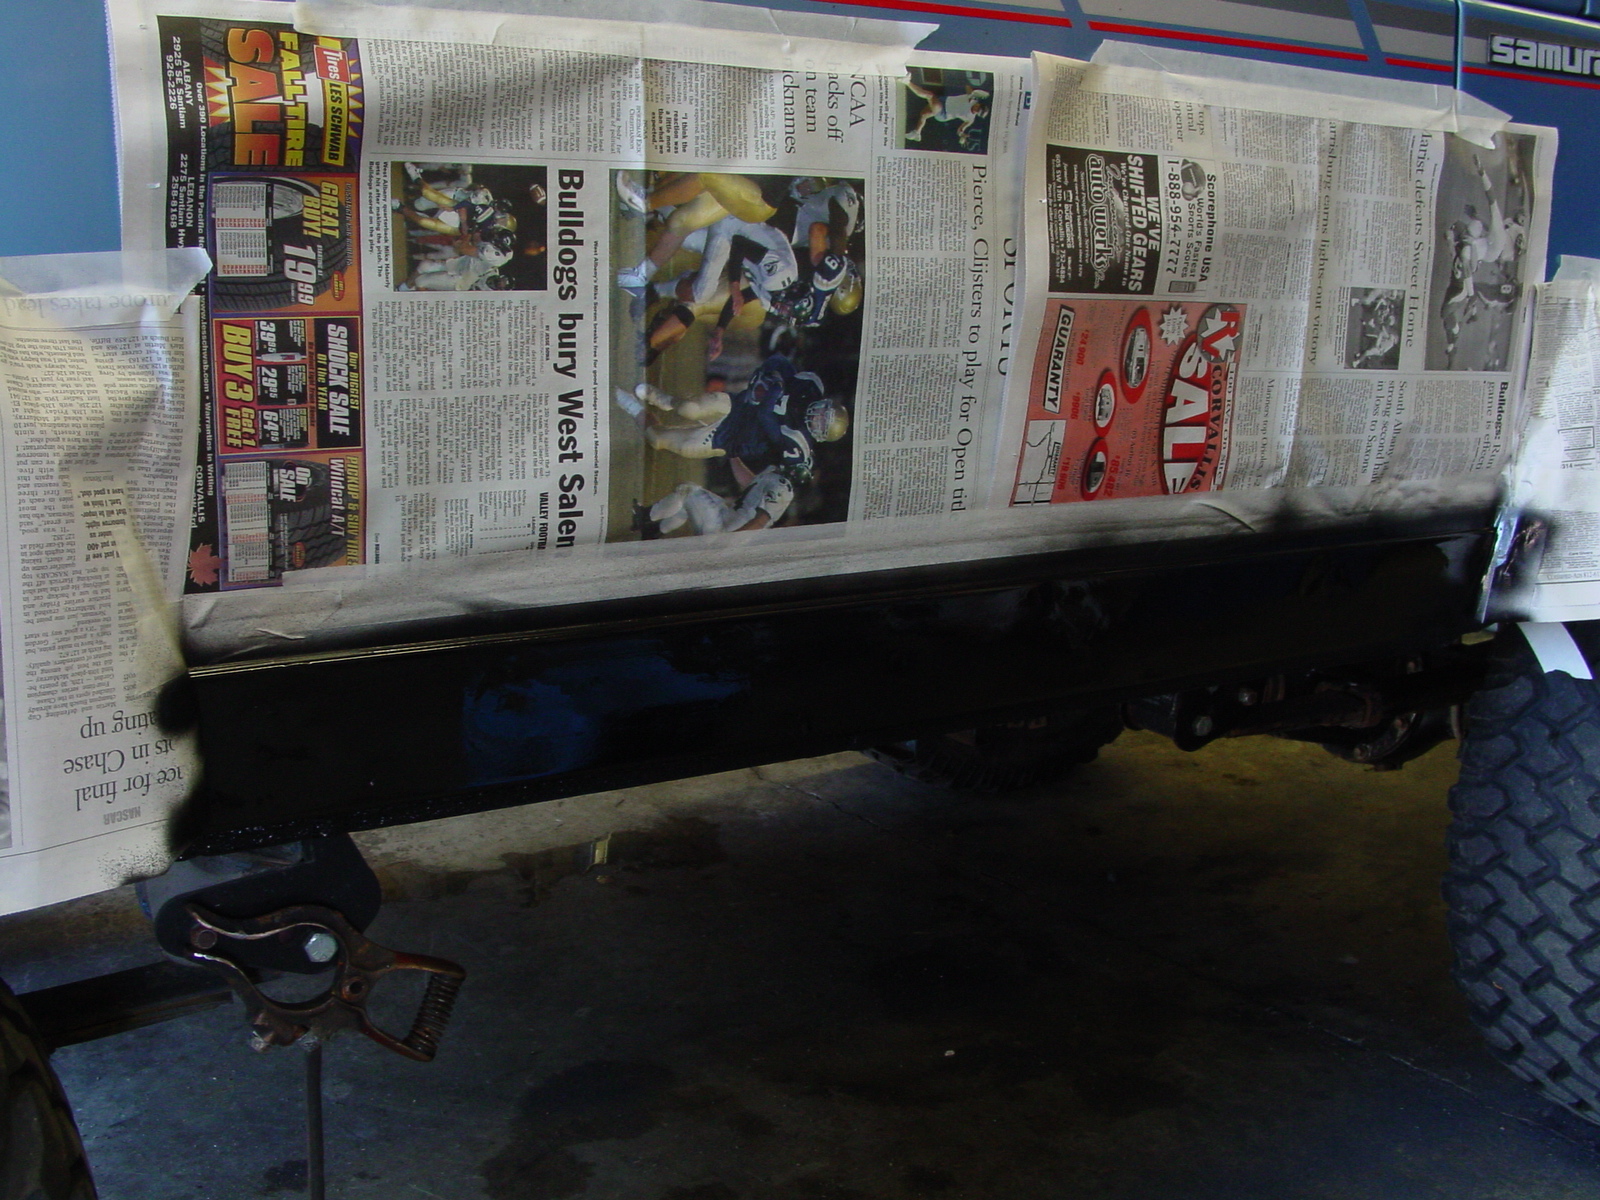 9. Using a large hammer or mallet, flatten the lower body seam against itself.
  10. This was shipping damage, that tab needs to be straight.
 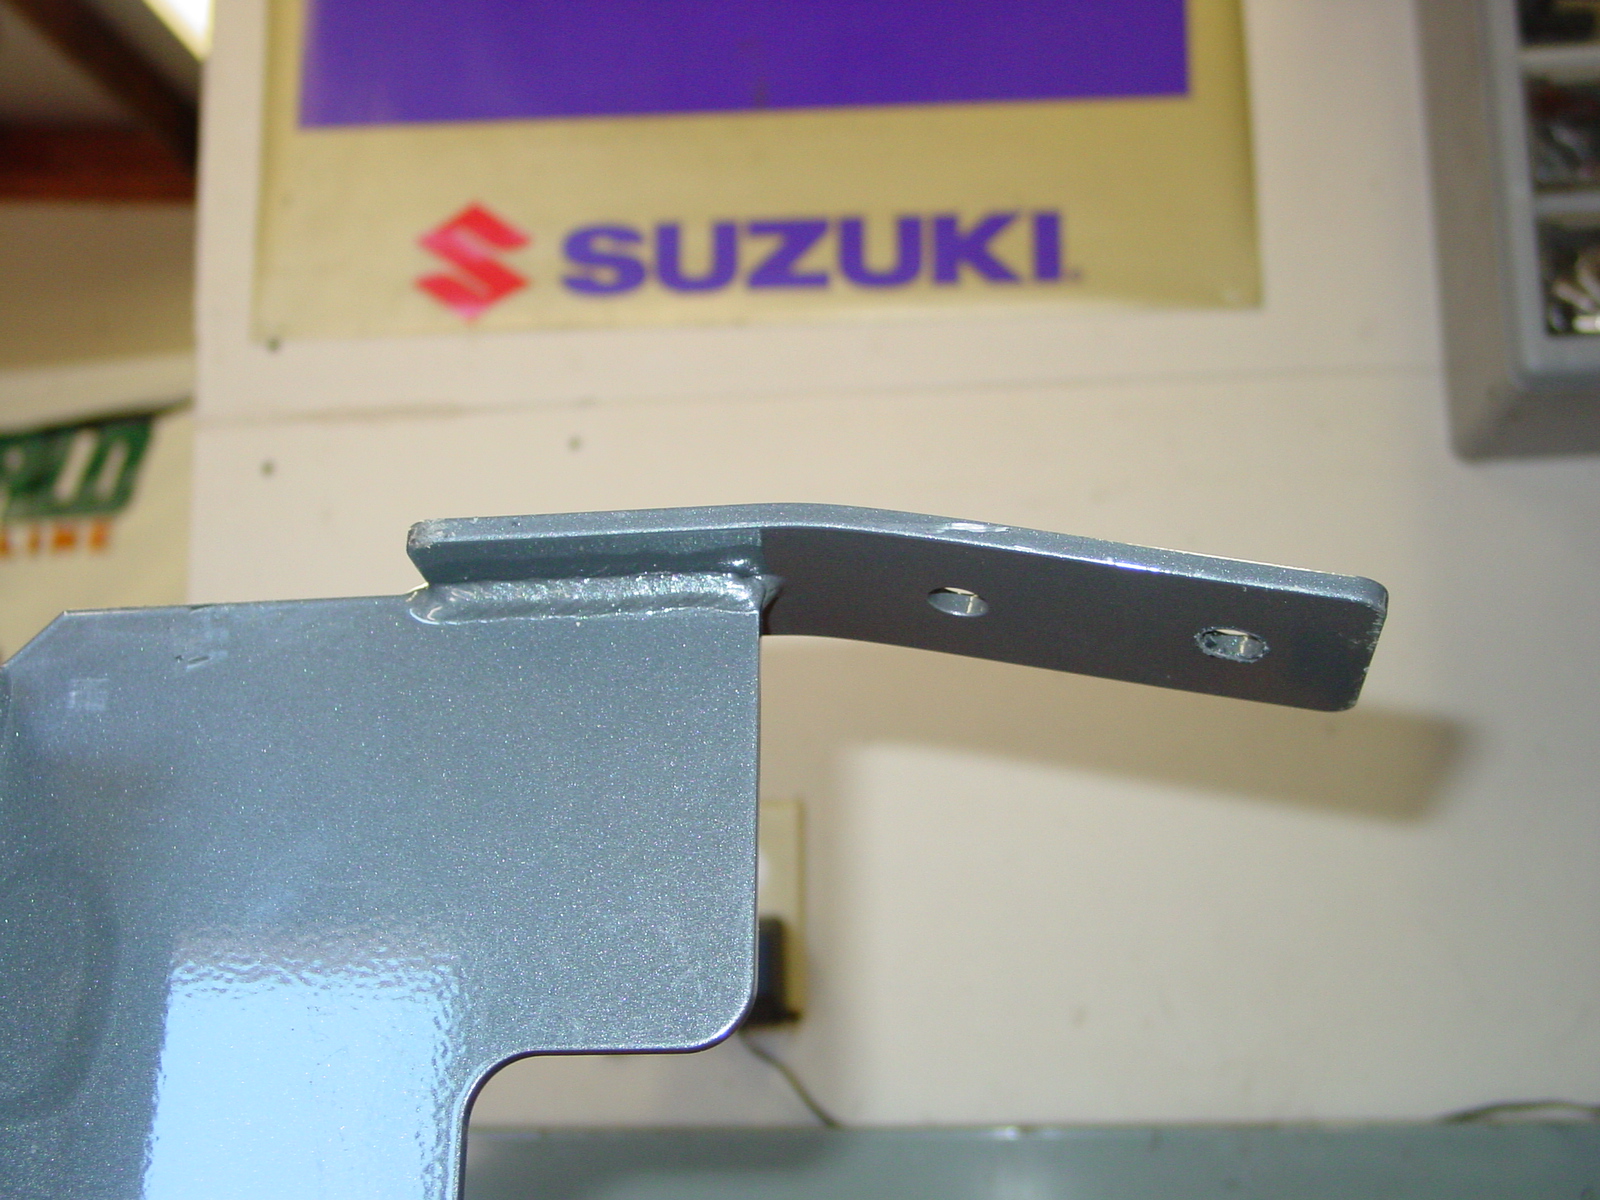 11. Use a floor jack and jack the new rocker skid into place. Mark with a punch where the holes should be drilled.
 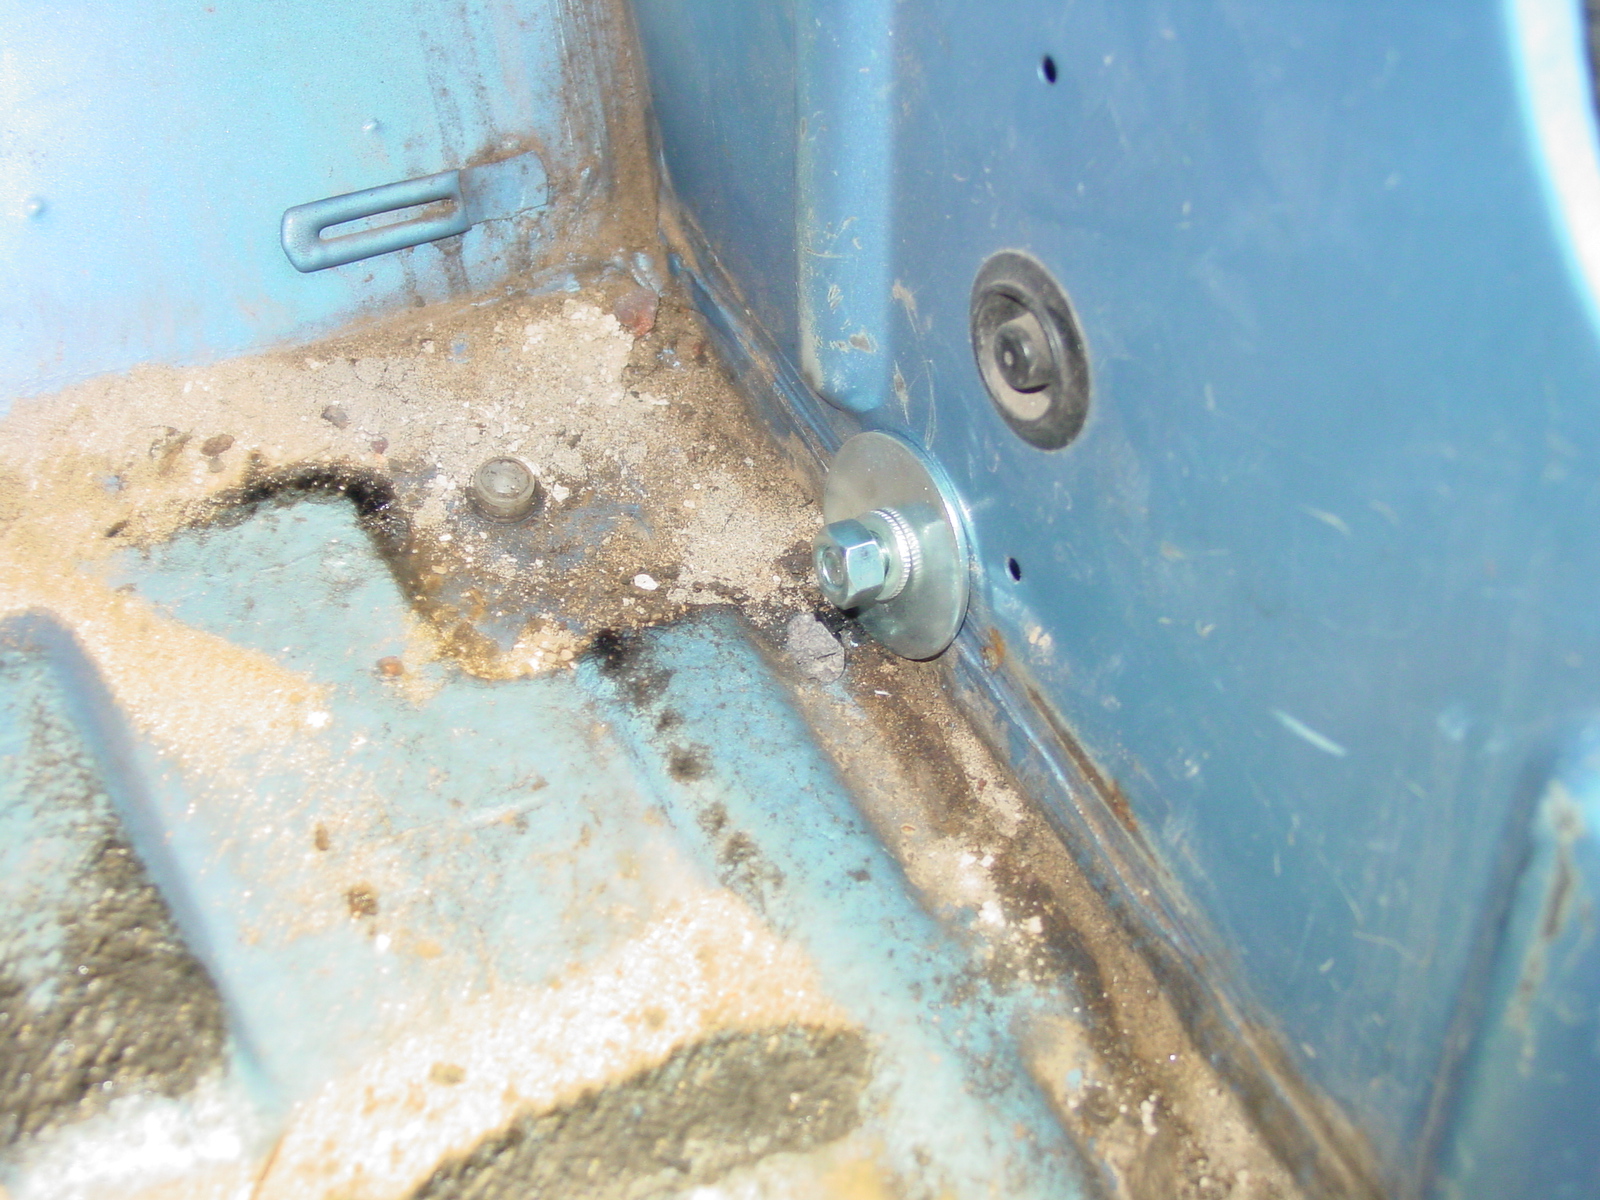 12. Lower rocker skid out of the way and drill the five (5) side holes.
 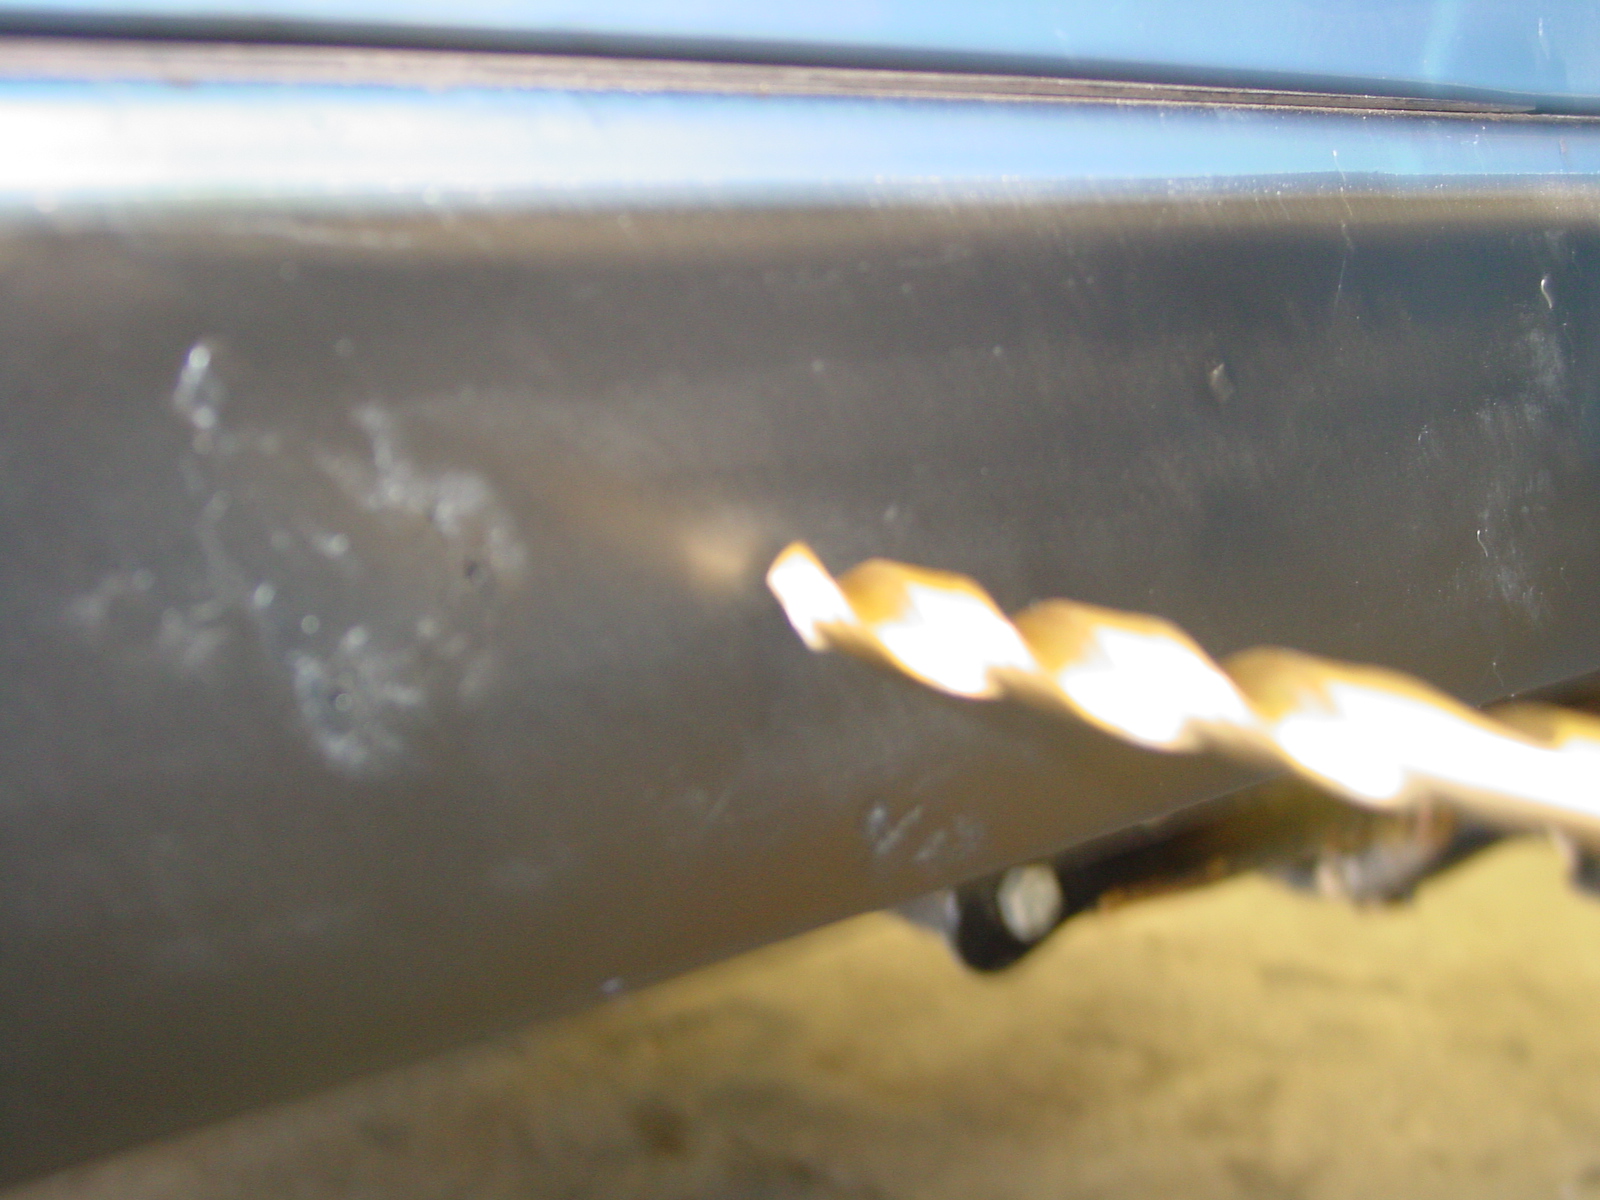 13. Using the floor jack reposition the new rocker skid and install the hardware (bolts, nuts, and washers) 14. Snug bolts.
  15. Drill the rear two bolt holes and the two holes underneath.
 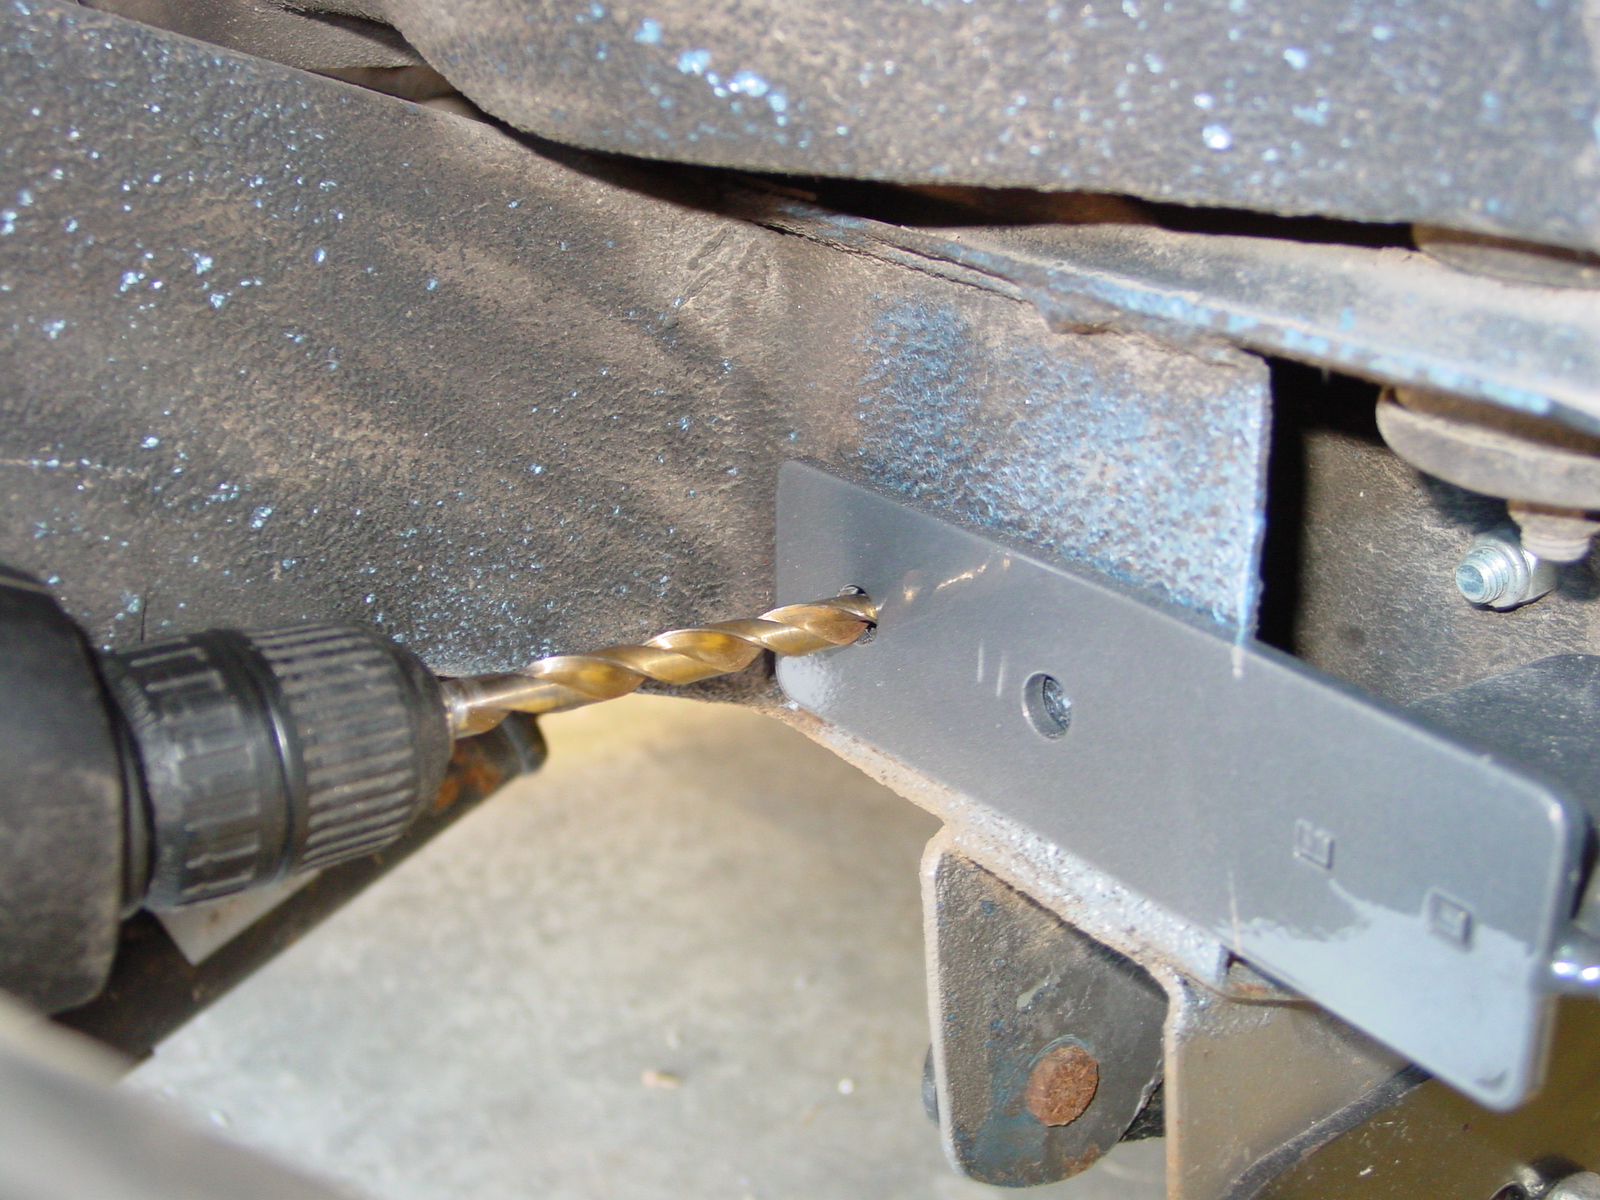 16. Install hardware.
 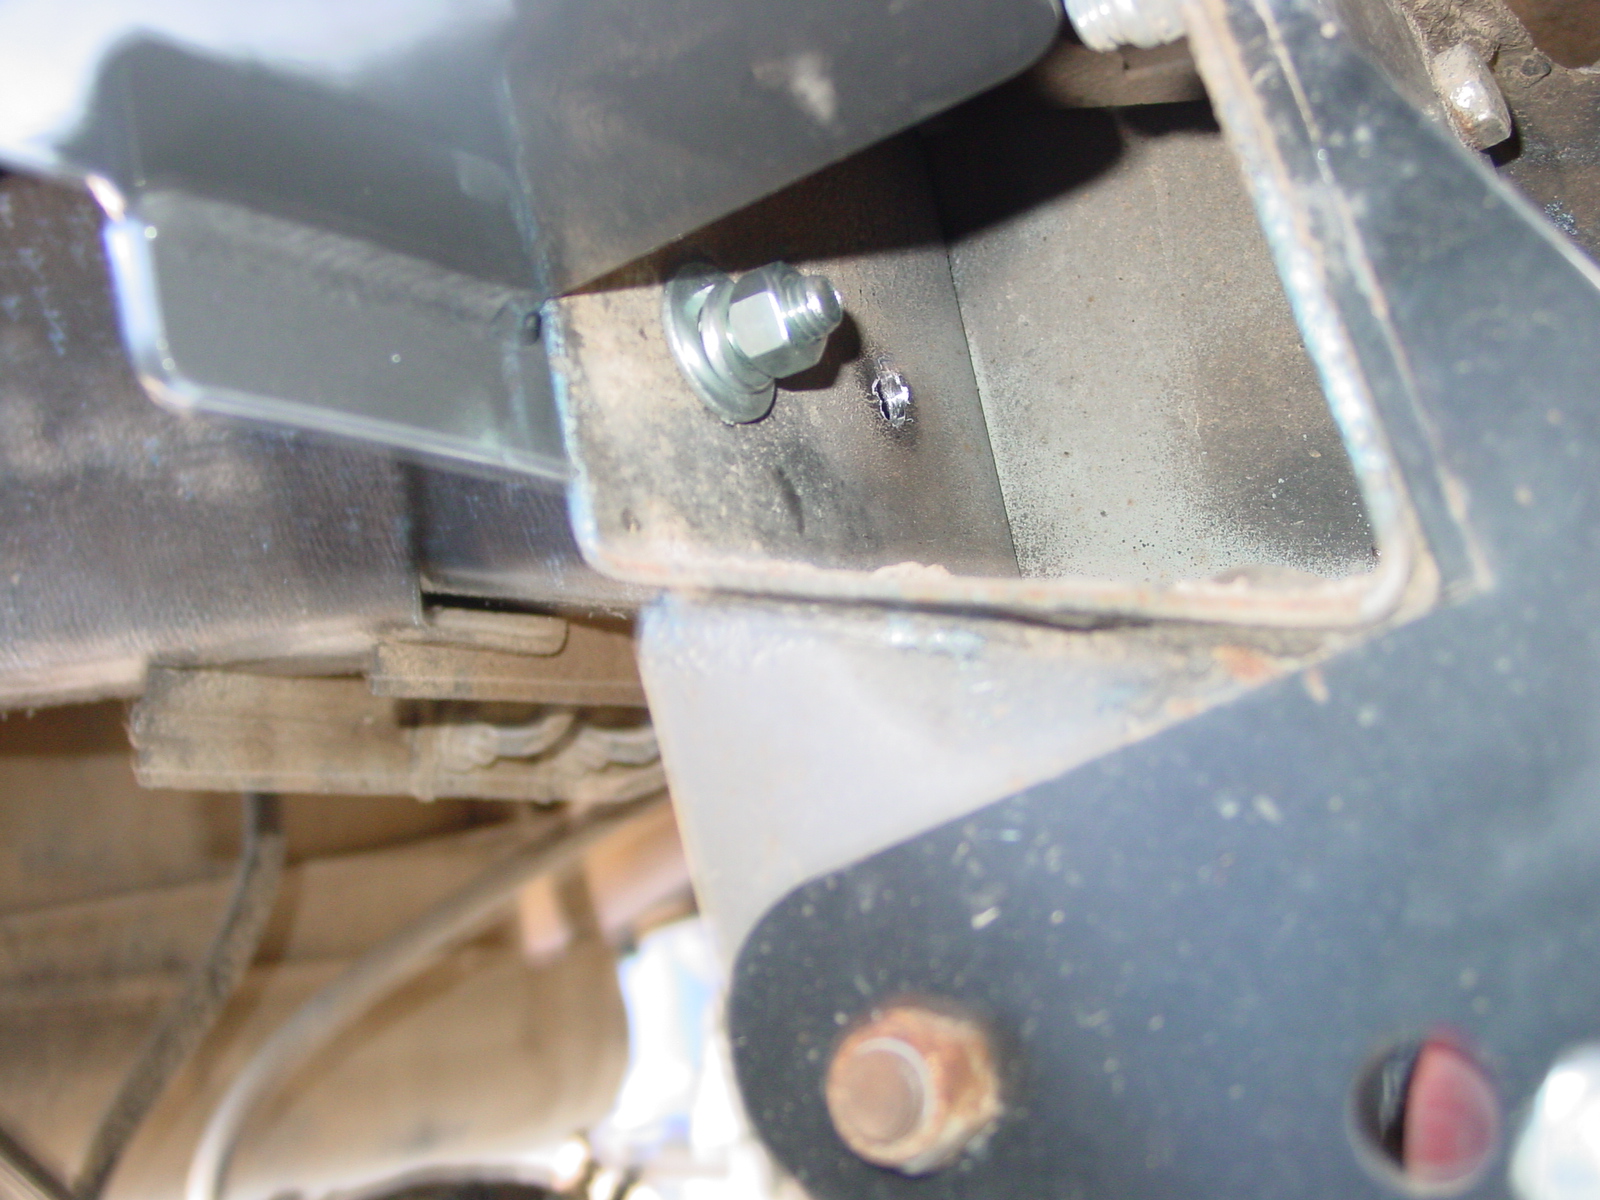 17. Snug bolts.
  18. Install the floor plate, install hardware.
  19. Tighten bolts (you may notice the floor tweek as the bolts become tight.)
  20. Tighten all bolts (recheck all hardware after 100 miles)
  21. Trim excess bolt.
 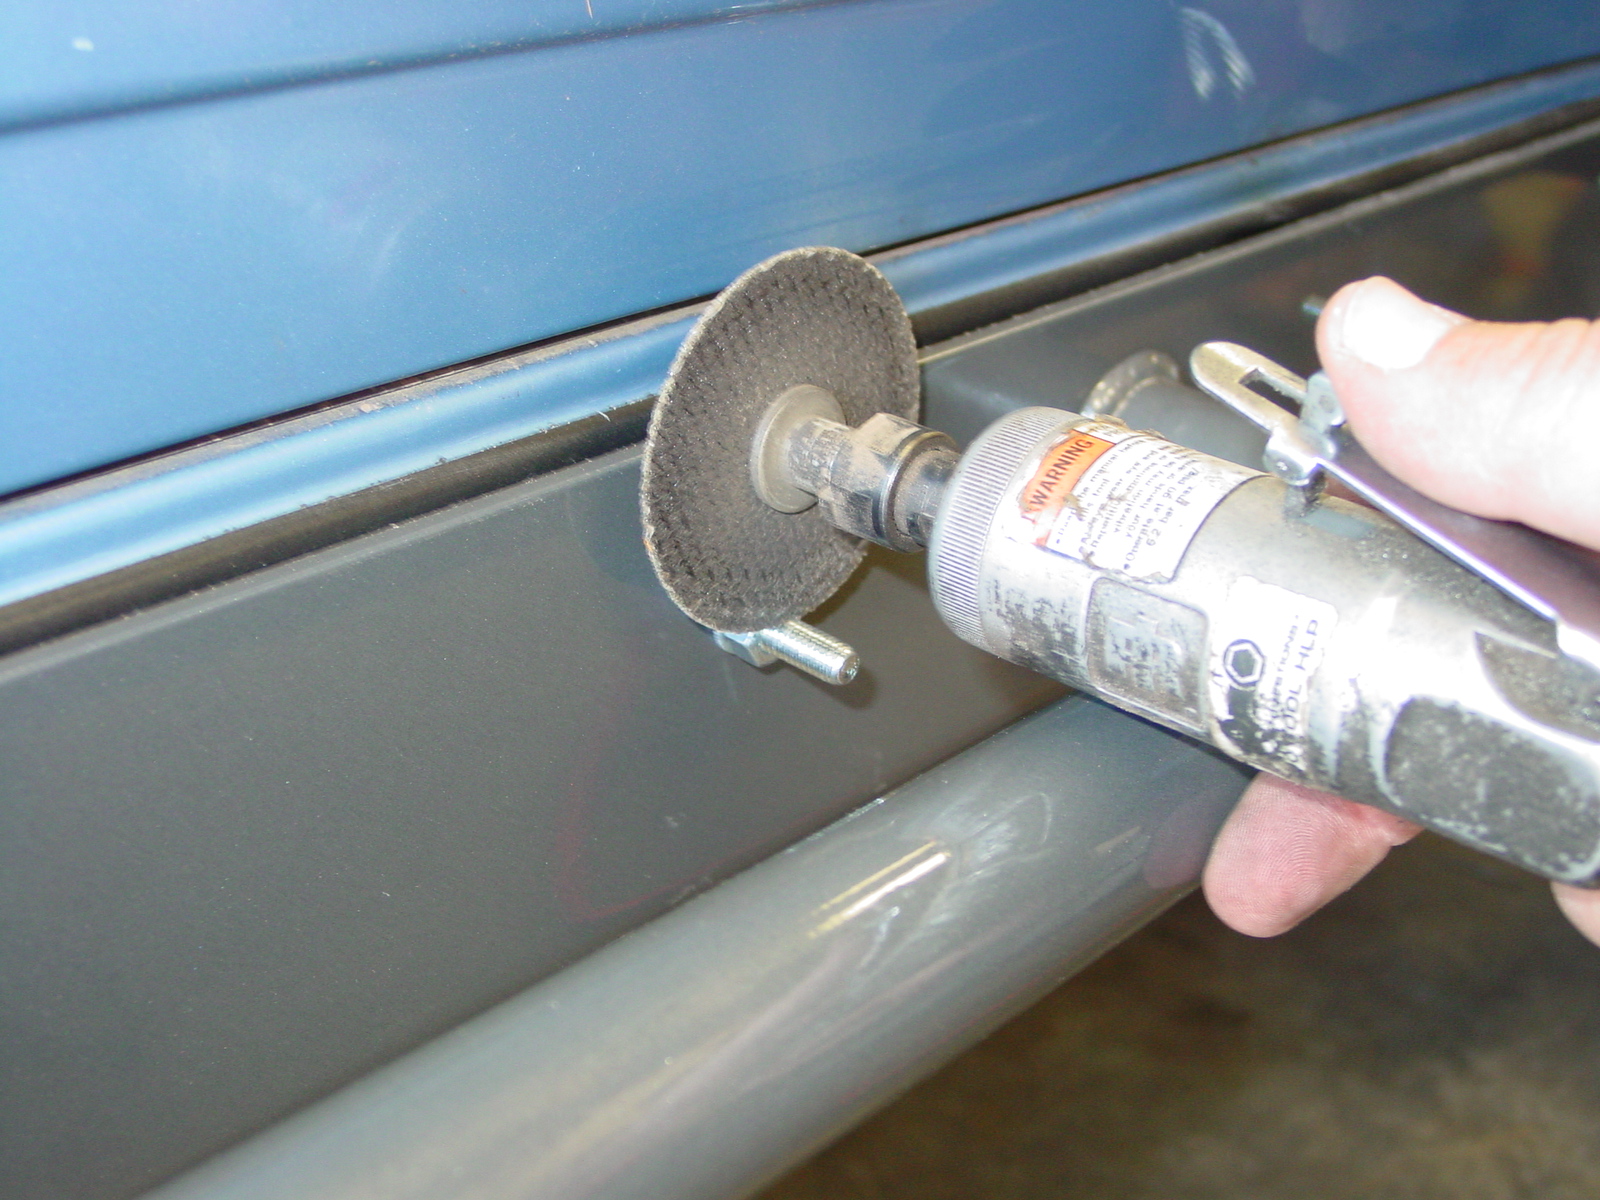 22. Repeat steps 1 thru 21 for other side.
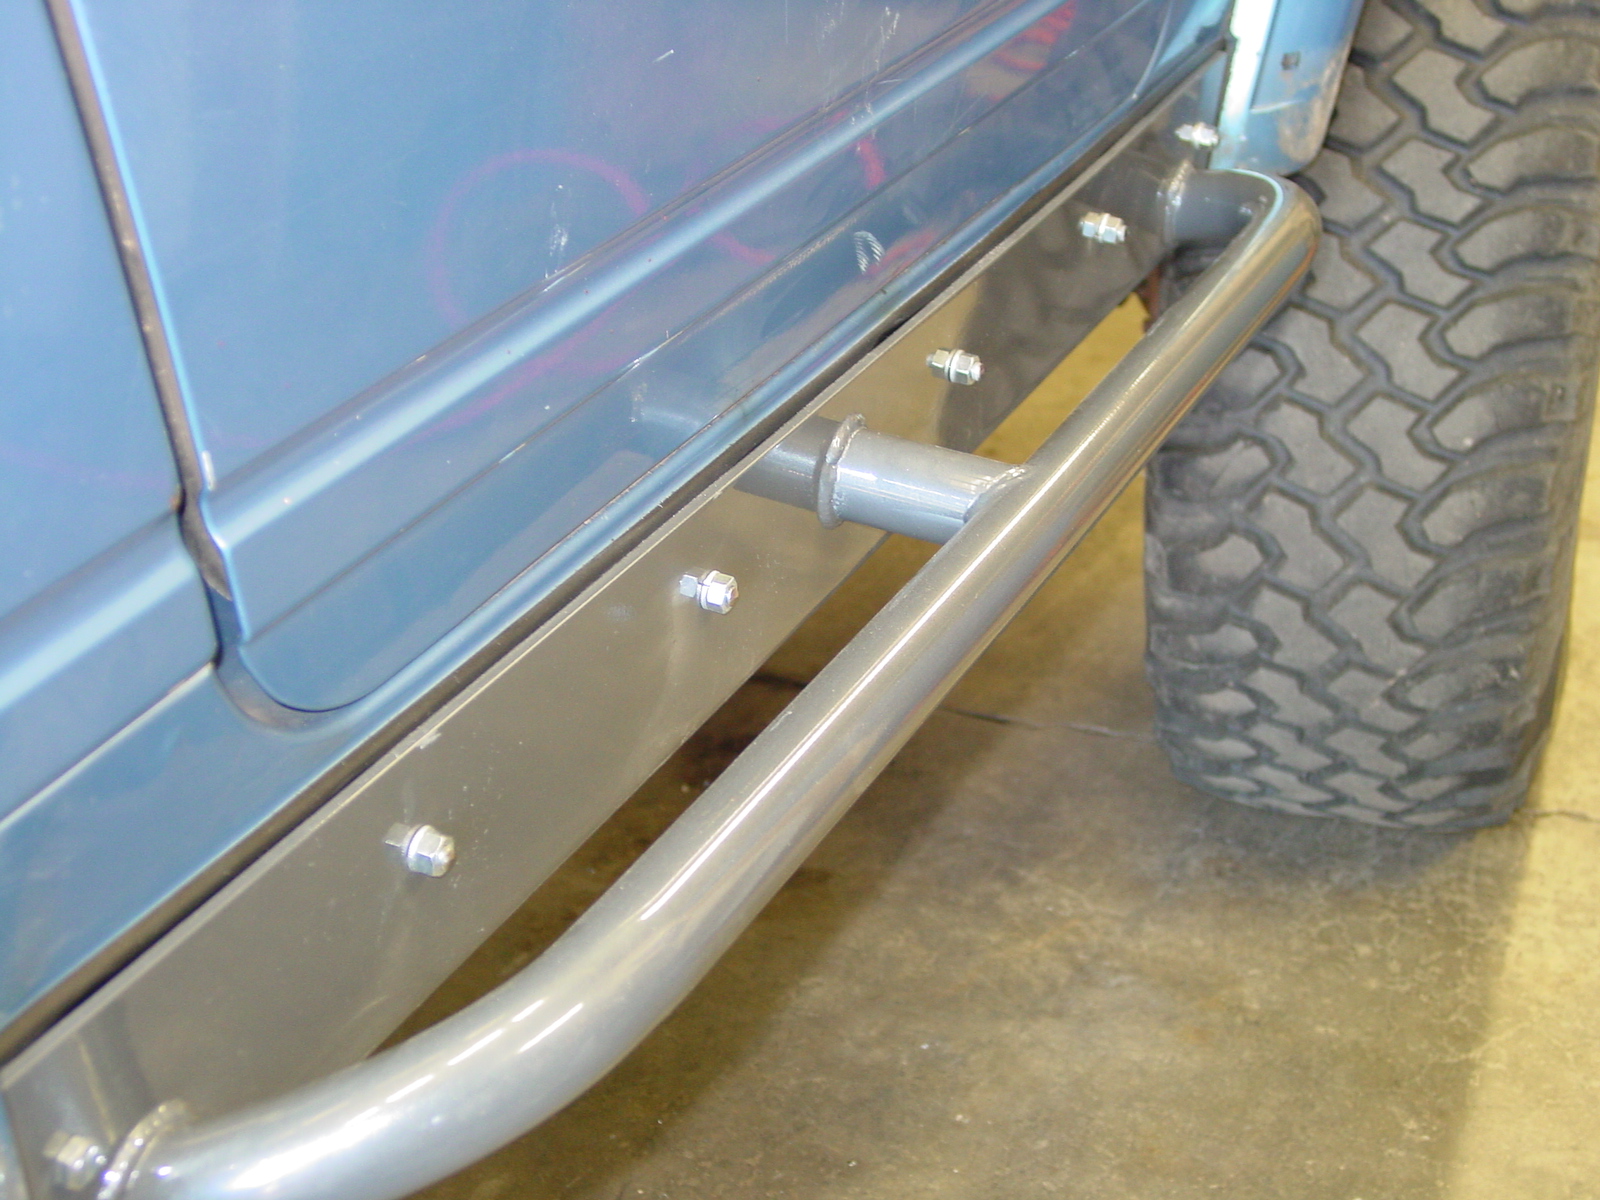
There were a couple of gotchas on this install. First, is we had to feed the side bolts from the inside out which left a pretty ugly bolt, washer, and nut combo hanging outside for all to see. If the step tube was adjusted just a small bit it would be possible to feed the bolts from the outside in which would give a nicer finish. The second gotcha was that there were no sleeves supplied for the side bolts. Having a sleeved bolt would help immensly because what happens with this kit in its current form is that the body starts to crush when you tighten down the bolts thus one never truly gets a tight, torqued bolt.
In no way do these to small issue detract from the otherwise great build quality and fit. We opted to powdercoat ourselves so we can not comment on the factory finish but if it is like the build quality, there is nothing to fear. The ShrockWorks rocker skids are an excellent addition to any Samurai armor plan.


Are there any such thing as rocker skids for Suzuki X-90’s
Good question… The chassis is the same as a Sidekick / Tracker so those ones would be ‘close’ but It’s hard to say how different the body is out there at the end. I know Calmini and I think Trail Tough have both made sliders for x90s before. Give them a call