ZUKS OFF ROAD
Rear Bumper For Your Suzuki Samurai
Editor/ Photo: Eric Bewley
ALBANY, OR – We are continuing our build up of our ’92 Suzuki Samurai. This time we are going to be installing Zuks off-road’s rear bumper. When you order a bumper for Myron at ZOR, you get a chance to customize what you want on your bumper. We chose to keep the stock tail lights and also decided against a spare tire carrier. These options as well as others are available to look at on their website.

Installation of this bumper requires only standard hand tools. We did have a bit of trouble fitting the bolts into the upper tabs that use the body mounts and had to drill out the holes on the bumper to get it to fit. The other bolts went into their place correctly.
1. Bumper came in raw steel. We had them powder coated to match our vehicle’s theme. Step one, inspect. 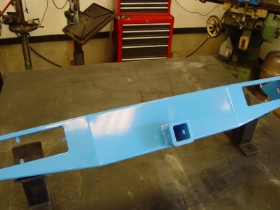 2. Remove stock bumper
  3. First, remove end caps from bumper. Our Samurai had already lost most of it’s bolts and screws for this so it was quite easy to remove.
 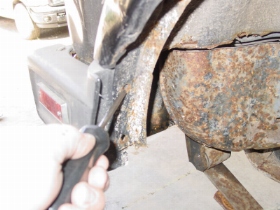 4. Another key piece to remove.
 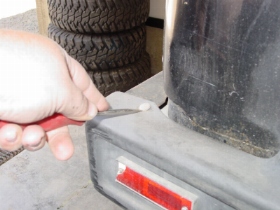 5. Remove this too.
  6. Remove lenses and light assemblies.
  7. Disconnect wiring at plug.
 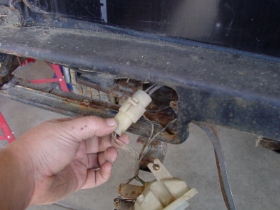 8. Remove the four (4) remaining bolts holding bumper on. Then, remove bumper.
  9. The license plate holder, lights, and tabs that held the stock bumper on will now need to be removed.
 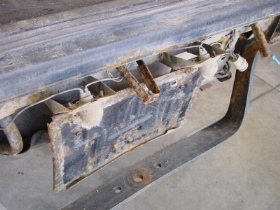 10. Clean up body area where plastic used to be.
  11. example
 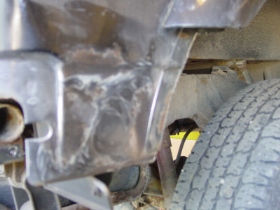 12. Prep area for painting.
  13. Paint prepped area to help stop rust and promote a nice clean look.
  14. Place “blind nuts” in the appropriate locations. Raise bumper into location and loosely fit bolts.
  15. On the upper two bolts that use the body mount bolt locations, we had to enlarge the bumper’s holes to get correct bolt fitment.
 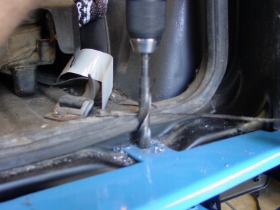 16. plug in and install side marker lights.
 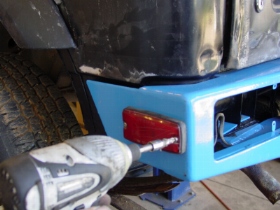 17. Plug in and install rear light assemblies.
 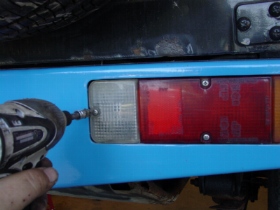 18. Admire work.
  19. Here one can see the different angle that the bumper is cut at then the body line of the Samurai. We’ll probably trim the body back to match the bumper but would prefer to keep the stock line as it follows the fender flares more closely.
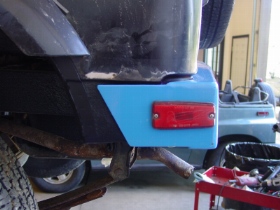
Overall the bumper install went smoothly and can be done with just a limited amount of tools. As we were fitting this bumper we wondered due to the fitment if this bumper was designed on an already customized Samurai. The angles on the bumper, specially on the sides, suggest a cut body line. This may concern some who want to maintain a more stock appearance. Overall, ZOR’s rear bumper is a good value and will definitely protect your assets.
Telephone: (714) 488-2272
COMMUNITY FORUM DISCUSSION AND COMMENT THREAD

 ZUKIWORLD Online – Everything Suzuki Your Complete Suzuki Automotive Resource for Editorial, Tech, Events, Adventure, Racing, and Forum


Nice Bumper. Wonder if the factory edge/ corner plastics where side markers seat would match and fit sides of this new bumper.
Yes. The ZOR rear bumper will fit the OEM plastic caps for a clean transition to the stock flares.
Have a 1992 suzuki Sam with elect ign and carb. Looking for parts, carb and ign parts? Carb is highest on list. Thanks 432-212-6697. Odessa TX